Thursday, June 20, 2013

1986 MX72 Cressida Wagon Build: "Joby" Part 1

Copy-pasting this from my build thread on another forum.

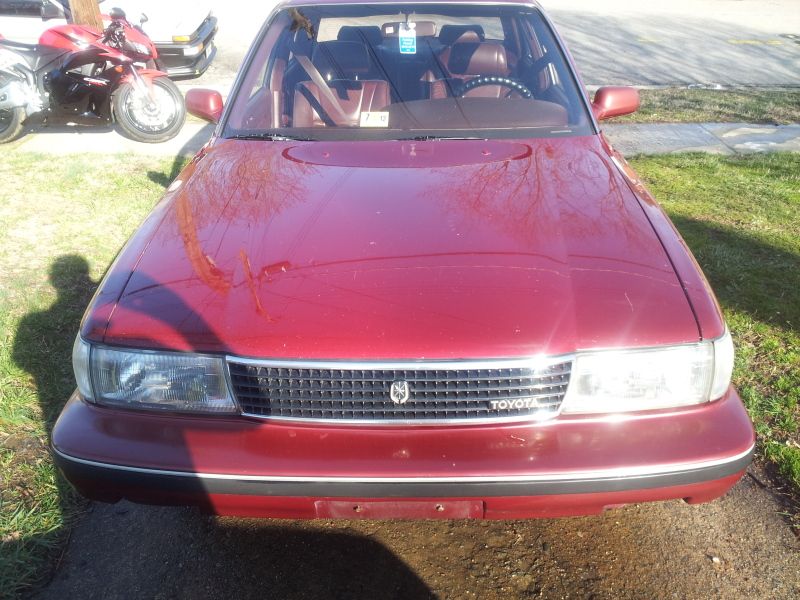
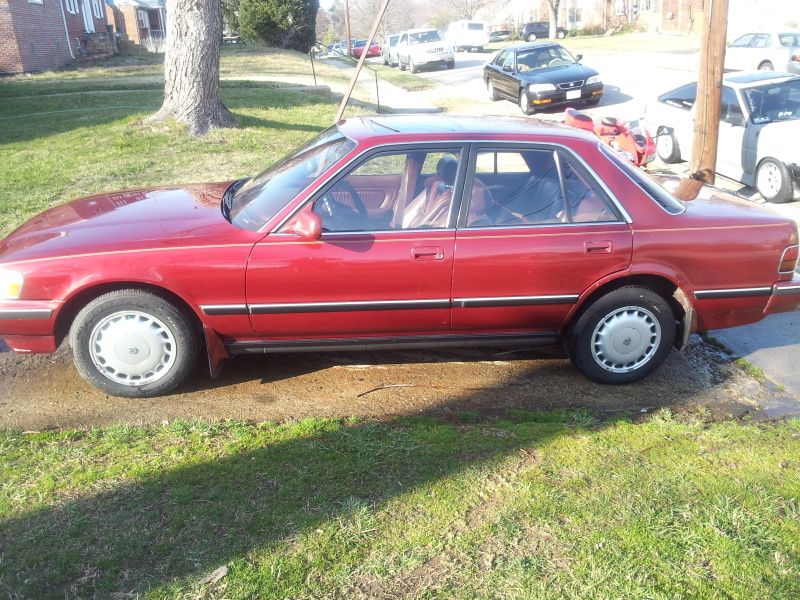
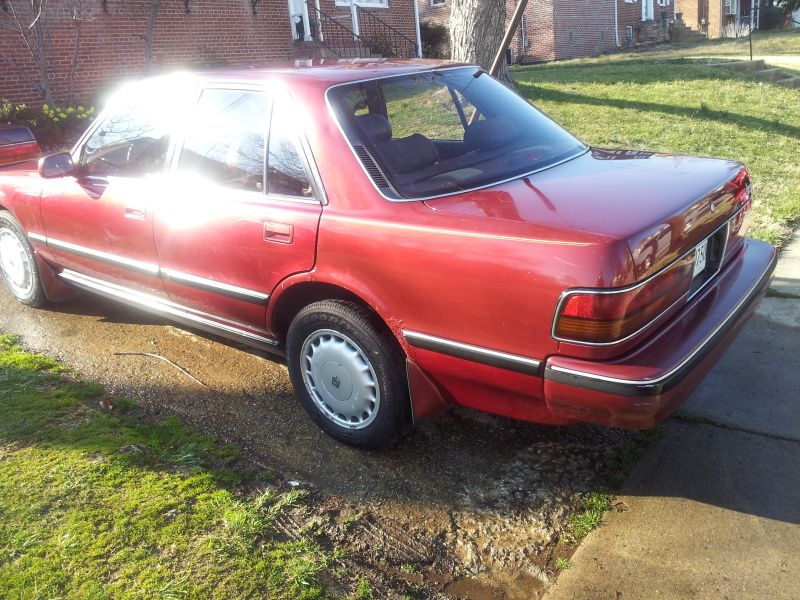
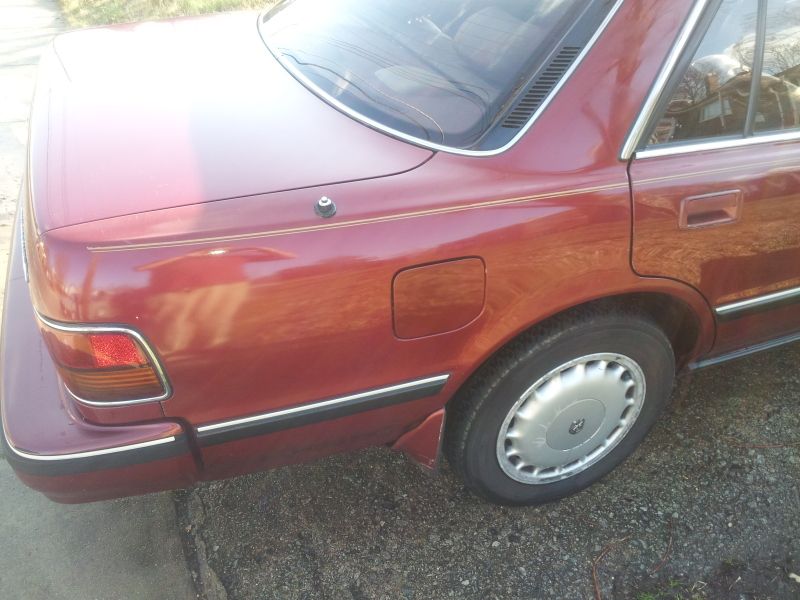
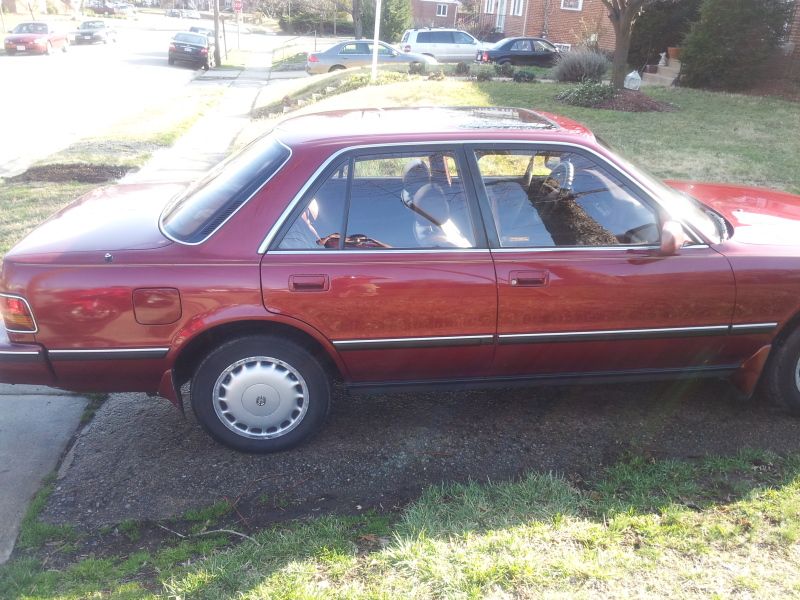
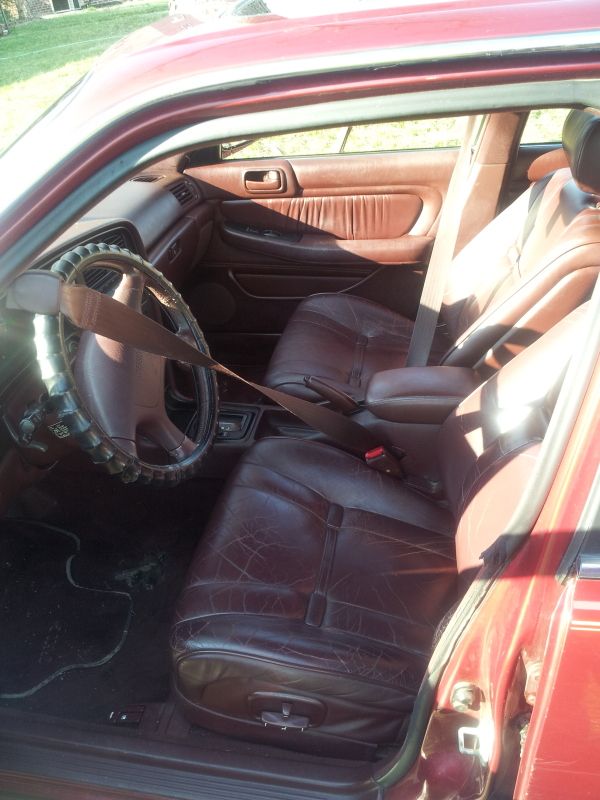
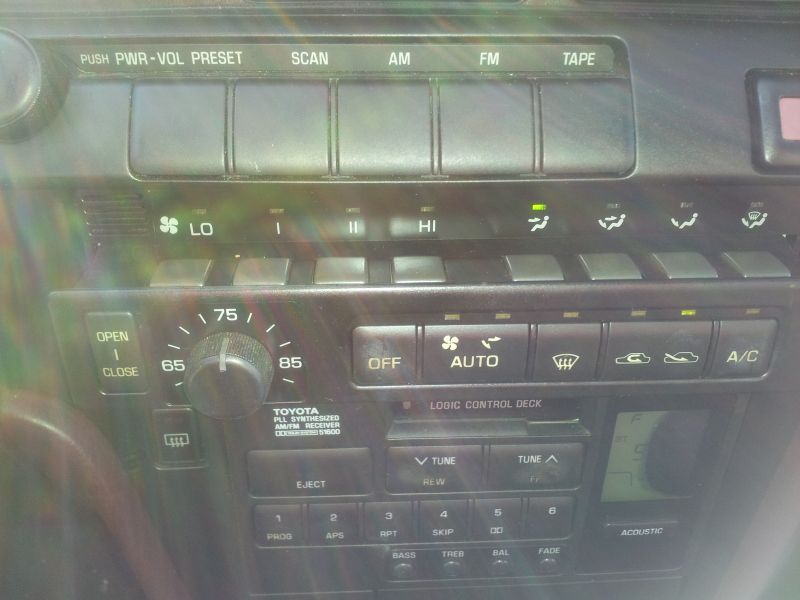
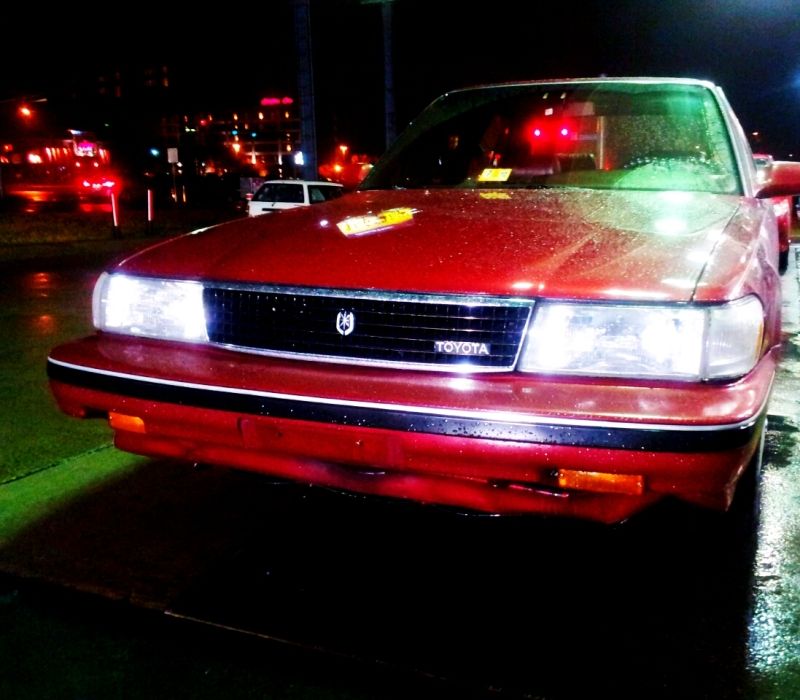
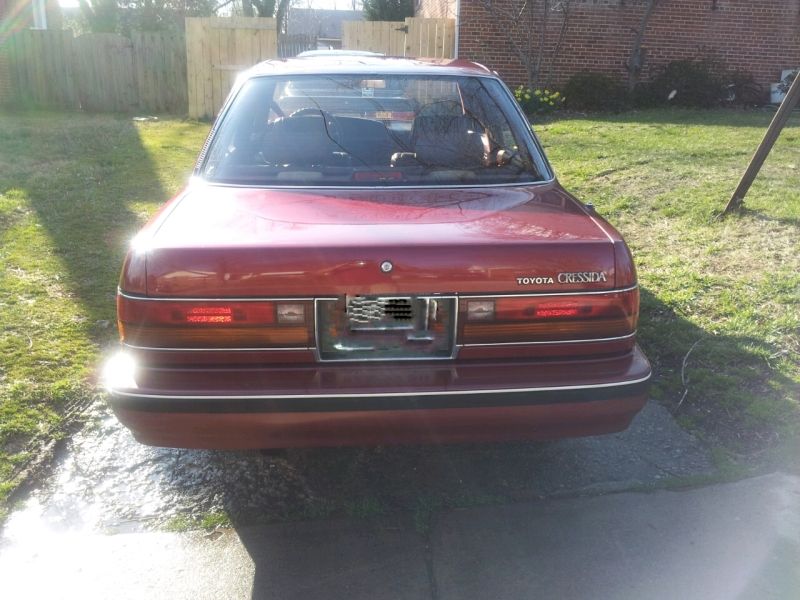
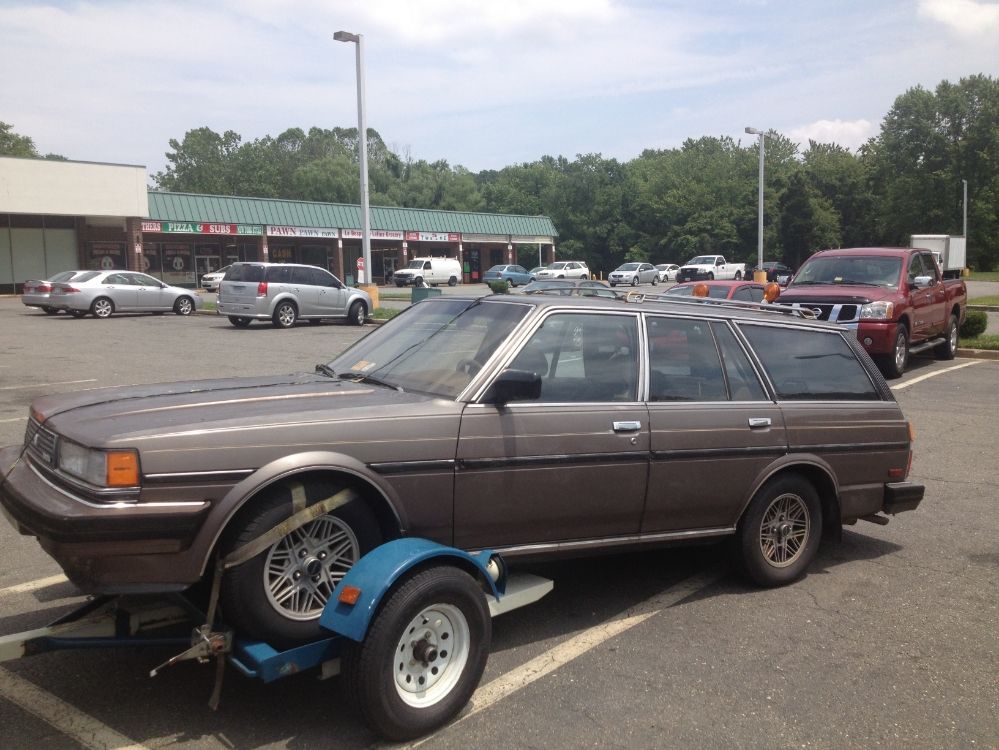
Picked up this poor thing from a guy up in NoVA on 6/9 for $600. It has 158k miles, leaks pretty much every fluid, needs a battery, supposedly overheats (it never did for me), the paint is TERRIBLE, the left rear door doesn't open from the outside, the front right window won't roll down from the switch on the driver's door (never tried the pass. side switch), but the interior is in almost PERFECT shape, and it runs. And it's (more or less) a Celica-Supra wagon!
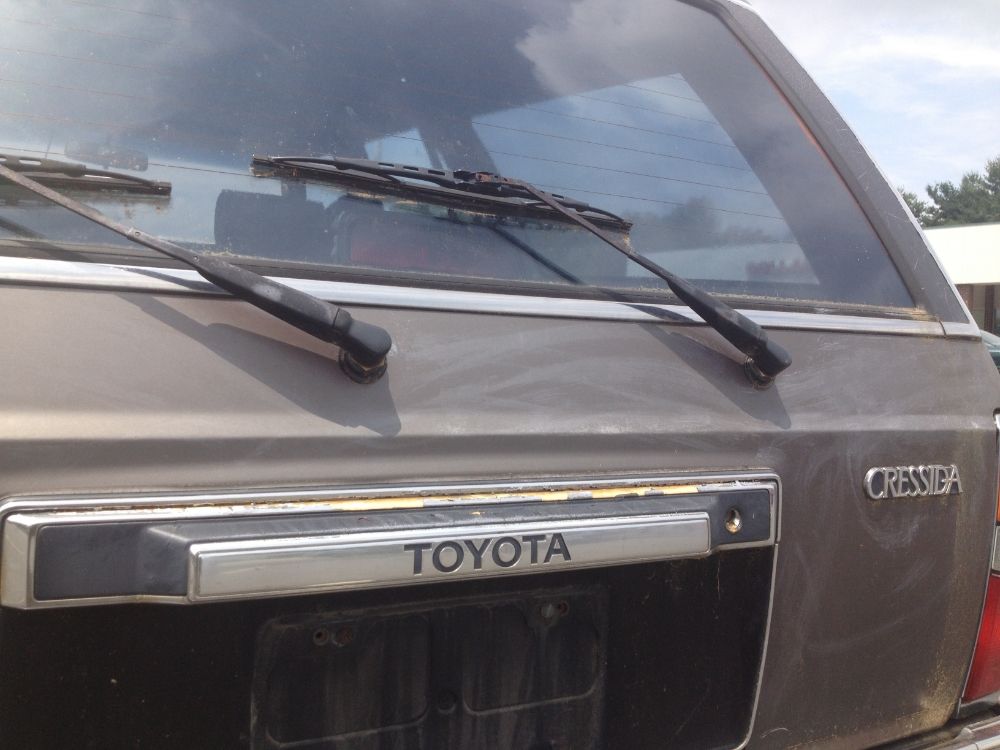

Here's the service history I have for it.

6/23/98 - 106k
Rear brake shoes & wheel cylinders

6/30/98 - 106k
Battery

7/9/98 - 106k
Emissions fail

7/15/98 - 106k
Air filter, spark plug

8/26/98 - 107k
Front struts, alignment, rotation

9/22/98 - 109k
Transmission service, antenna mast, wheel balance, front wheel bearings

4/27/99 - 115k
Water pump

6/18/99 - 117k
Radiator fan

10/19/99 - 121k
New (used) distributor + spark plugs

1/3/00 - 124k
Plug wires

3/17/00 - 125k
R&R tail shaft housing/diff

3/21/00 - 126k
"Differential assembly/rear susp" + gear oil??

8/24/00 - 130k
Left rear wheel bearing

8/25/00
Catalytic converter

3/22/01 - 137k
Rear muffler

7/18/01
Oil change

10/1/01 - 141k
Neutral safety switch

Right now my plan for this car is to remove the engine and transmission and re-seal everything out of the car. This will make it WAY easier I think. I would LOVE to do a manual swap but parts will be hard to find locally and cheaply. It needs a W58 transmission/shifter/slave cylinder from a MA70 Supra, a W58 from any other car has the shifter in the wrong position. I would then need an MA70 flywheel and clutch kit, as well as an AE86 Corolla clutch pedal, MA60 Celica-Supra master cylinder, and I would have to custom make a hard line, and add in a stainless soft line. Then, the drive shaft needs to be re-sized to fit (I don't remember longer or shorter). Then the big issue is getting the speedometer to work. Still not clear on how that happens.
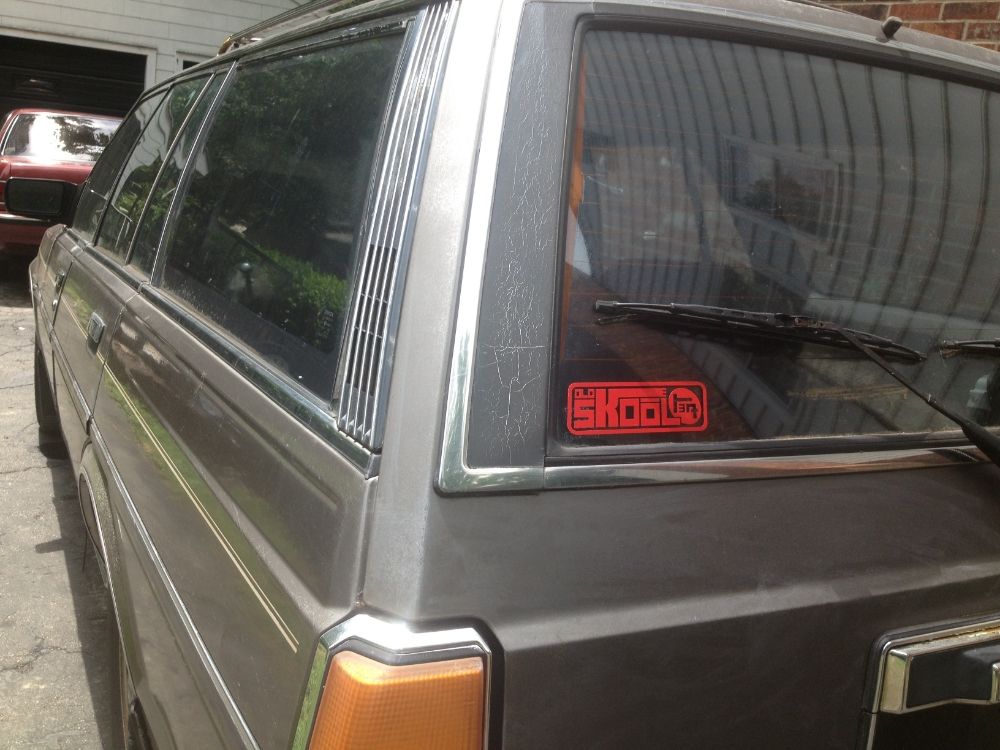
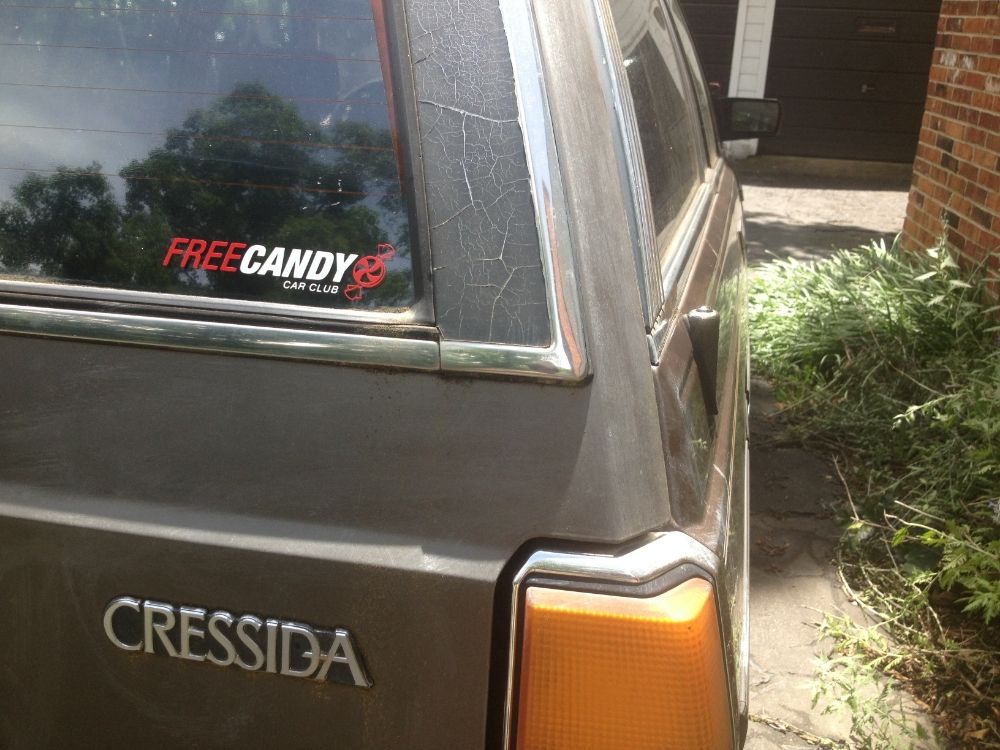
6/11/13
In talks with a SupraMania member in Fredericksburg about picking up a Supra W58 with around 130k for $200 if it has the slave cylinder, $175 if not.

6/12/13
OK so I plan to pull the engine and replace pretty much every gasket and seal in the motor, I have a couple options.
1) Super cheap no-name brand rock auto kit - $100
2) medium priced rock auto kit made by the same parent company as FelPro - $150
2.5) the above kit + oem head gasket for quality where it really counts - $230
3) the LAST later-generation 5M-GE OEM complete engine overhaul gasket kit in the country from Toyota - $318

EDIT: Holy hell, shipping for that kit on rockauto is like $20, bringing the total to $167. I googled the SealedPower part number and Summit Racing has the same kit for $110 with free shipping. I think I'll do that.


6/14/13
Picked up the row-your-own gearbox today. $250 got me a W58 5-speed manual trans from a 1986.5 Supra complete with shifter/boots and reverse light switch, two used clutch/pressure plate pairs, a flywheel, a brown shift boot to match my interior, and a stock Supra shift knob. And I discovered that the Cressida's driveshaft will in fact spline up into the W58. WIN.

6/16/13
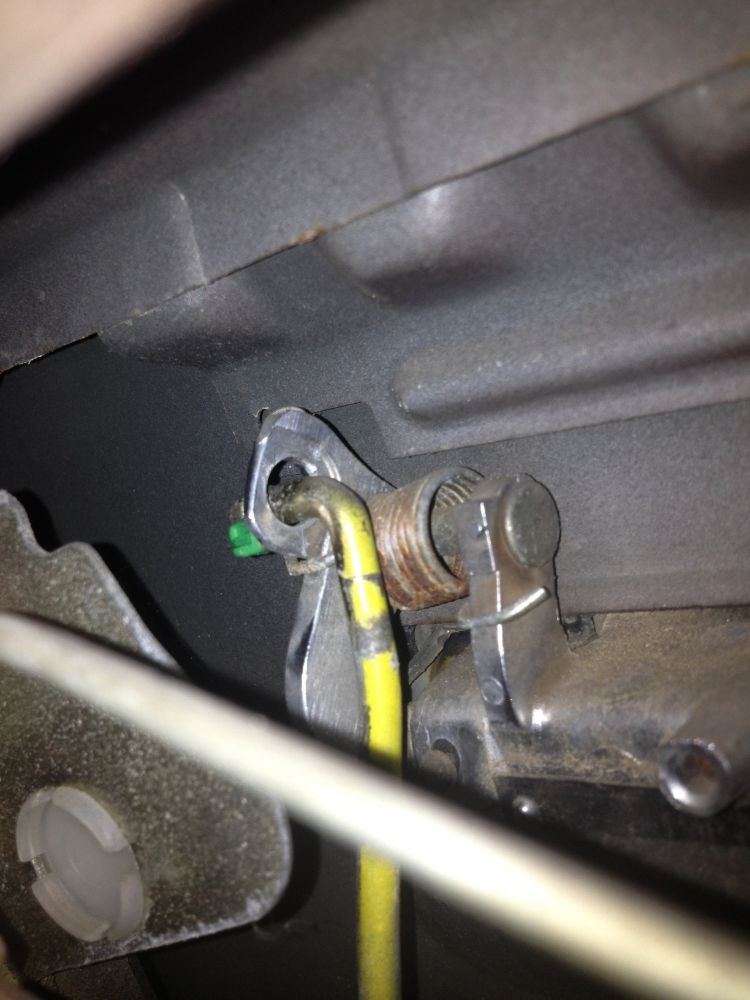
So the left rear door wouldn't open from the outside. I got bored and took 15 min to remove the door panel and have a peek inside. This is what I found
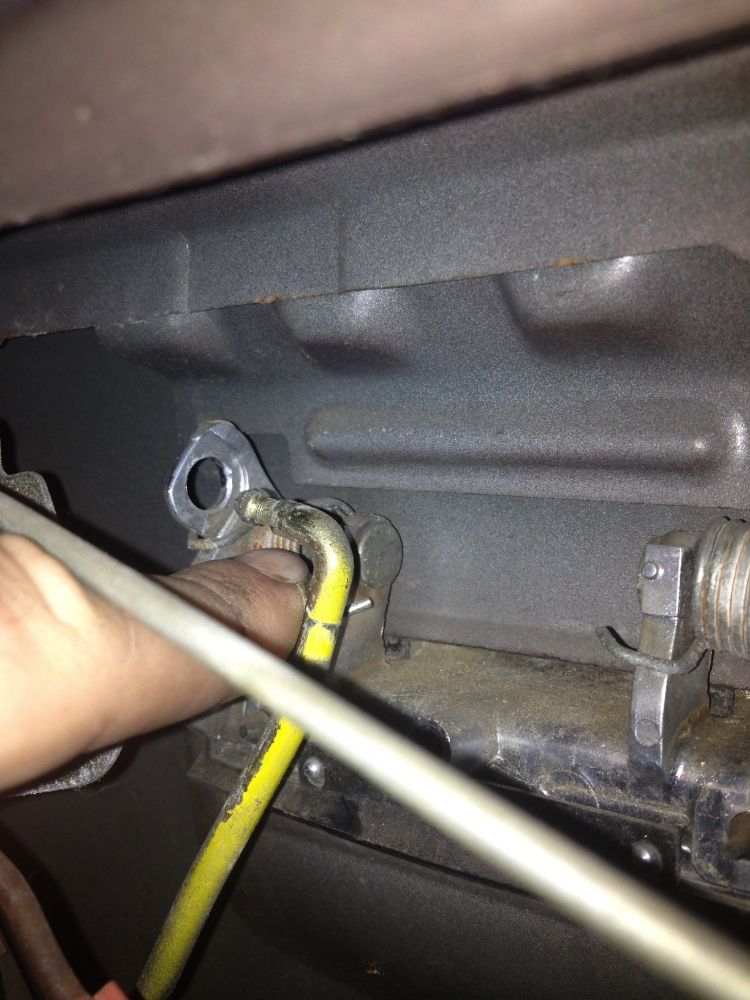
Turns out this little plastic clippy thing had broken and couldn't hold the rod in the handle anymore.
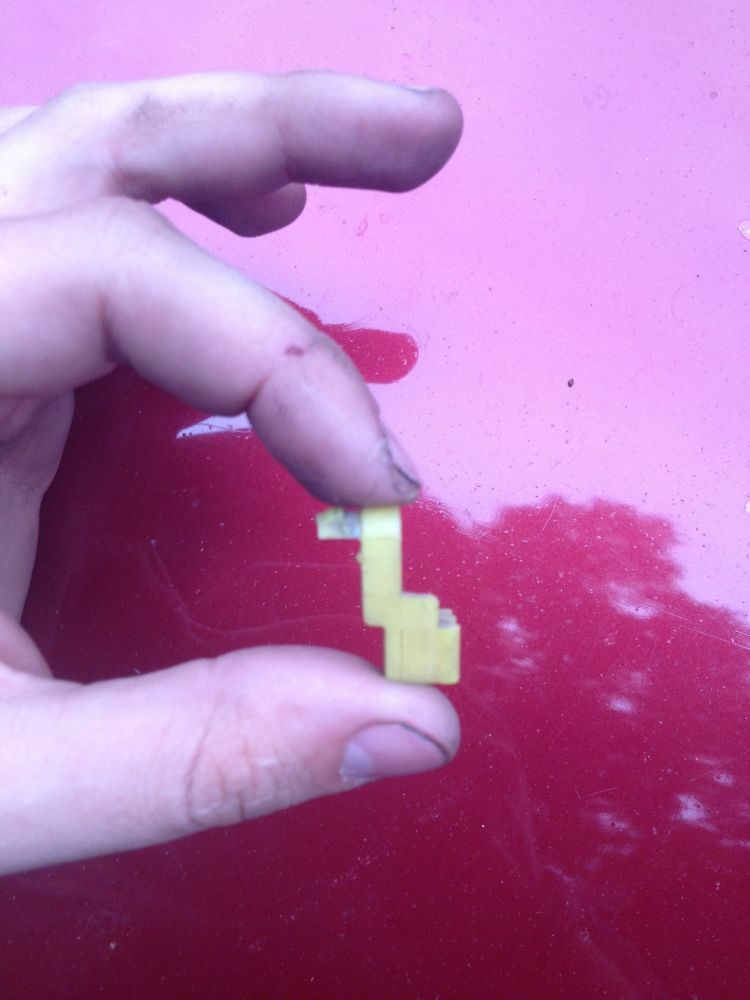
So I took it off, put a zip-tie on the end of the rod, and now the door opens from the outside. Aww yiss.
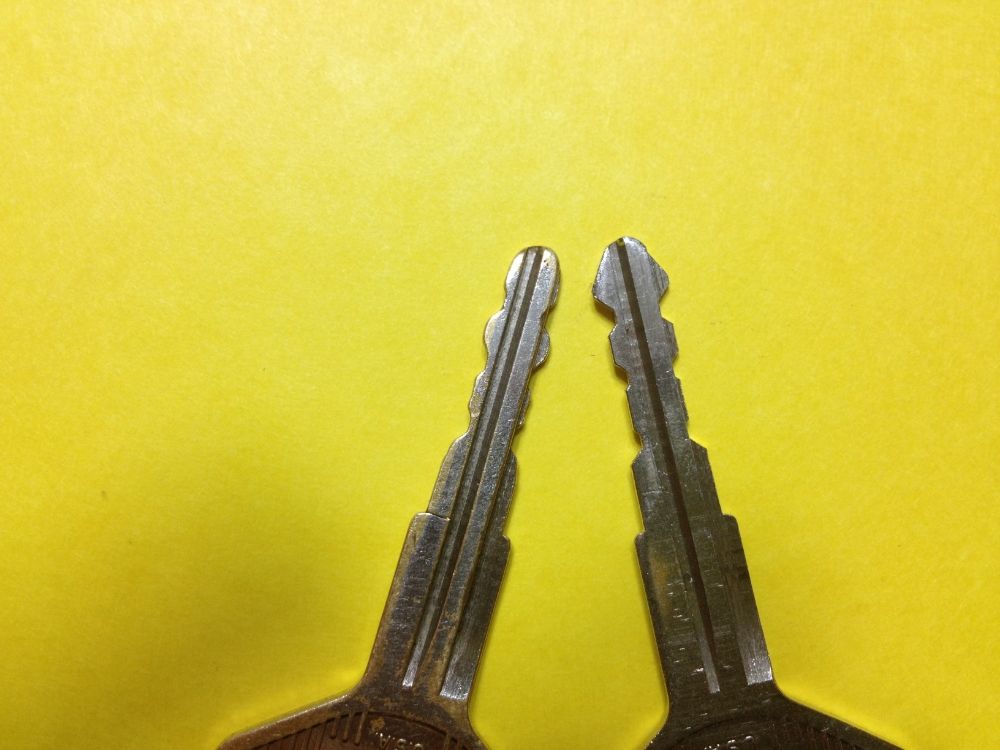
I also discovered that both of my keys I have for this car are valet keys, so they don't open the passenger door or the hatch. Gonna have to get the code off the door lock cylinder to get a new master made.


6/17/13
Took the lock over to McGeorge and got a new key made. Holy balls my keys were worn as hell check this out. It was even starting to crack. One or two more unlock attempts and it would be snapped, stuck in the lock. The key opens both front doors, but the hatch lock won't turn. I'll have to remove the cylinder and grease it up or something, later.
6/18/13
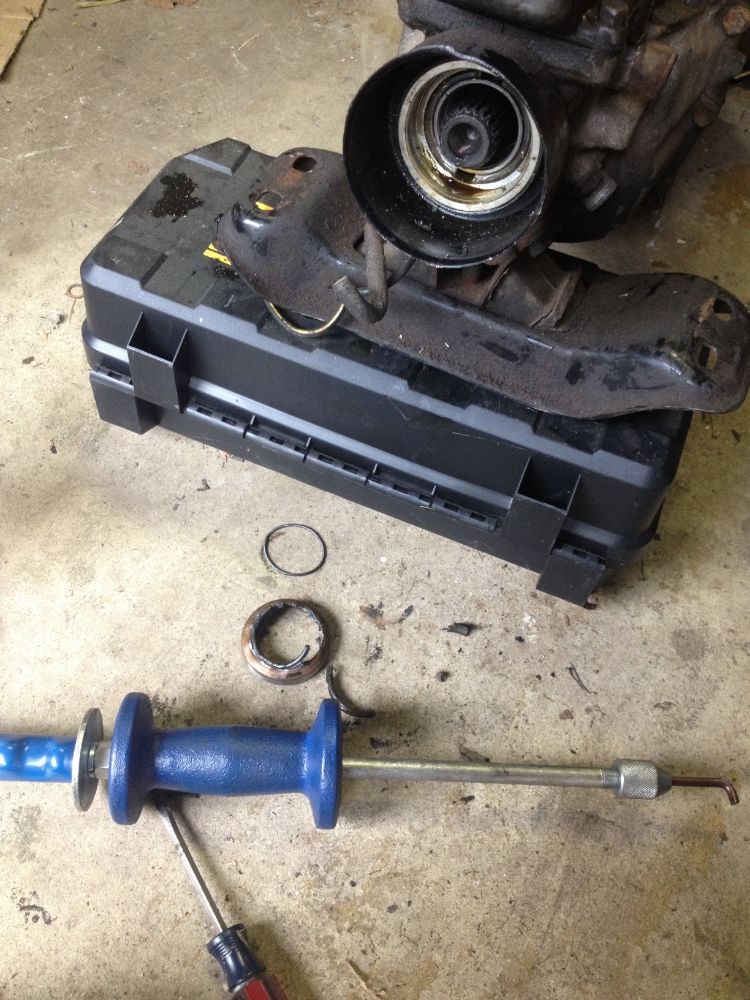
I got the input shaft seal and bearing cover gasket put in on the W58. The output shaft seal was quite a bit more difficult. The one IN the transmission was a little different design than the part I got from Toyota, I guess it was updated over time. The one in the transmission was a metal outer shell (maybe brass?) with a rubber inner seal. The new one was all rubber. I had to pretty much destroy the old one getting it out with my slide hammer.
6/19/13
I got 99% of the intake side stuff disconnected. Two fuel lines left on that side, plus the starter cable, then off to the exhaust side, then the radiator, and then it should be about ready to go.


6/20/13
Fe came up with the name of the car today. The car's name is Joby, after this magnificent video.


The plate shall be "AWW JOBY"

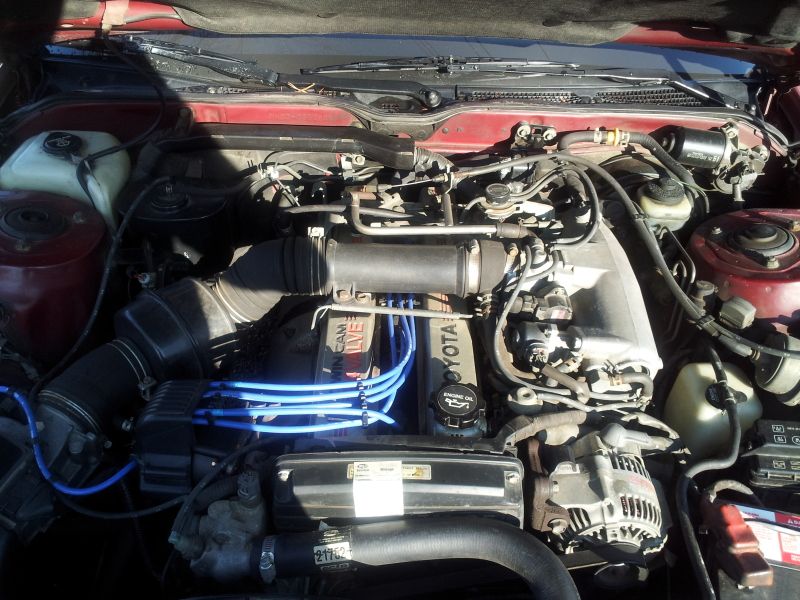
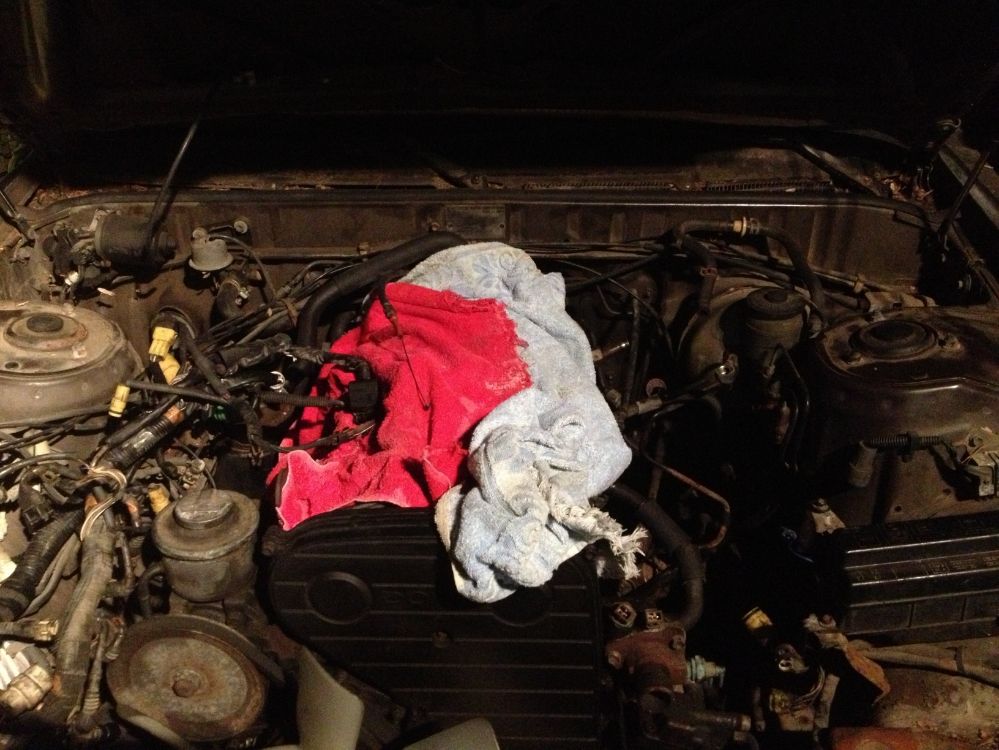
Anyways, I got everything else disconnected and the engine is basically 4 bolts away from being ready to come out. Since I don't have a hoist, I decided to clean up some of the more visible bits of the engine. This thing is probably the dirtiest engine I've ever seen.
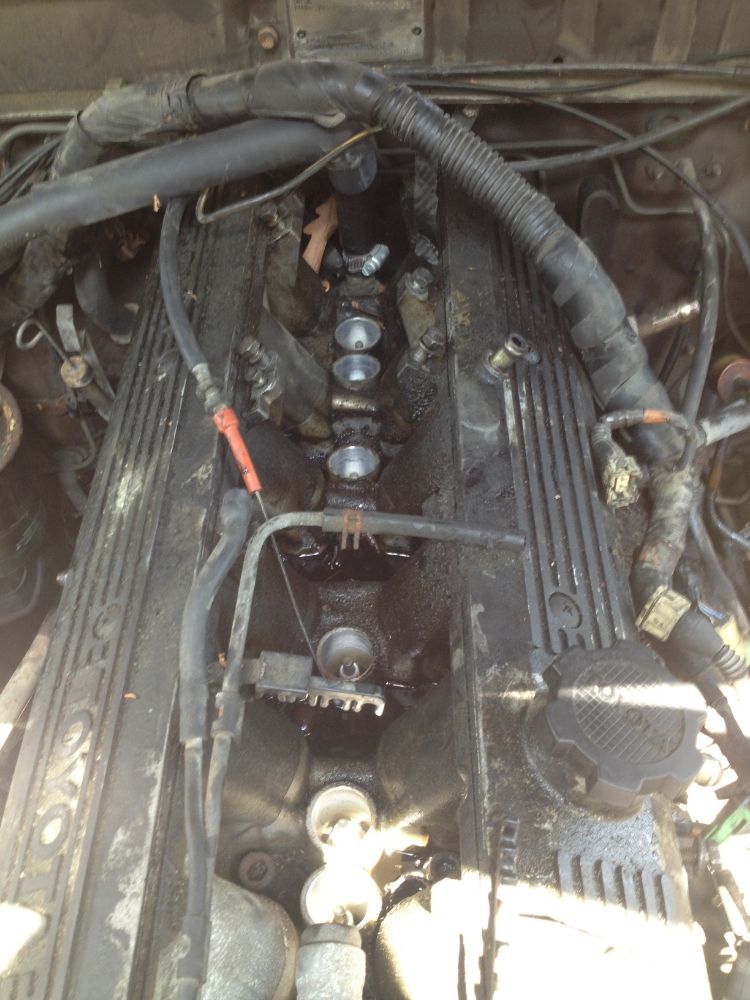
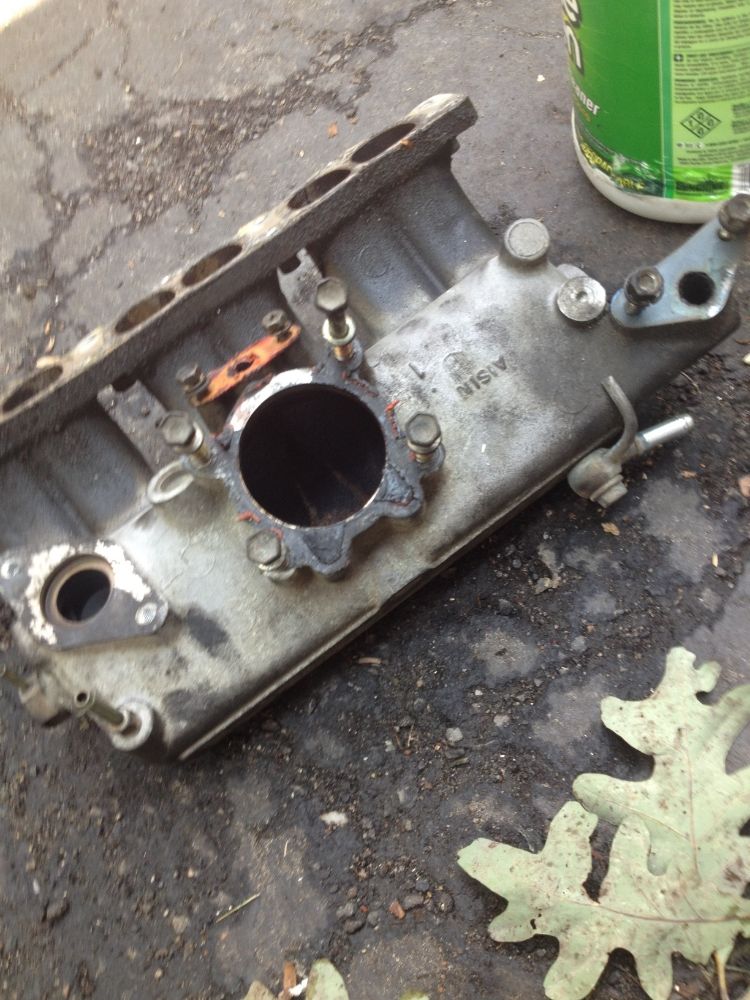
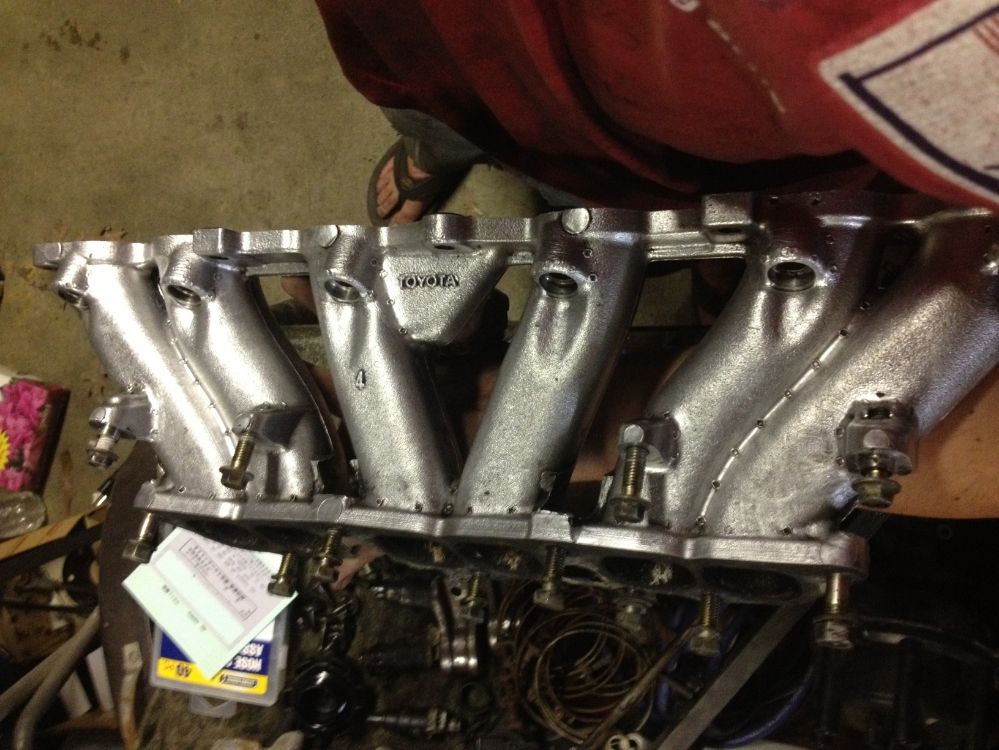
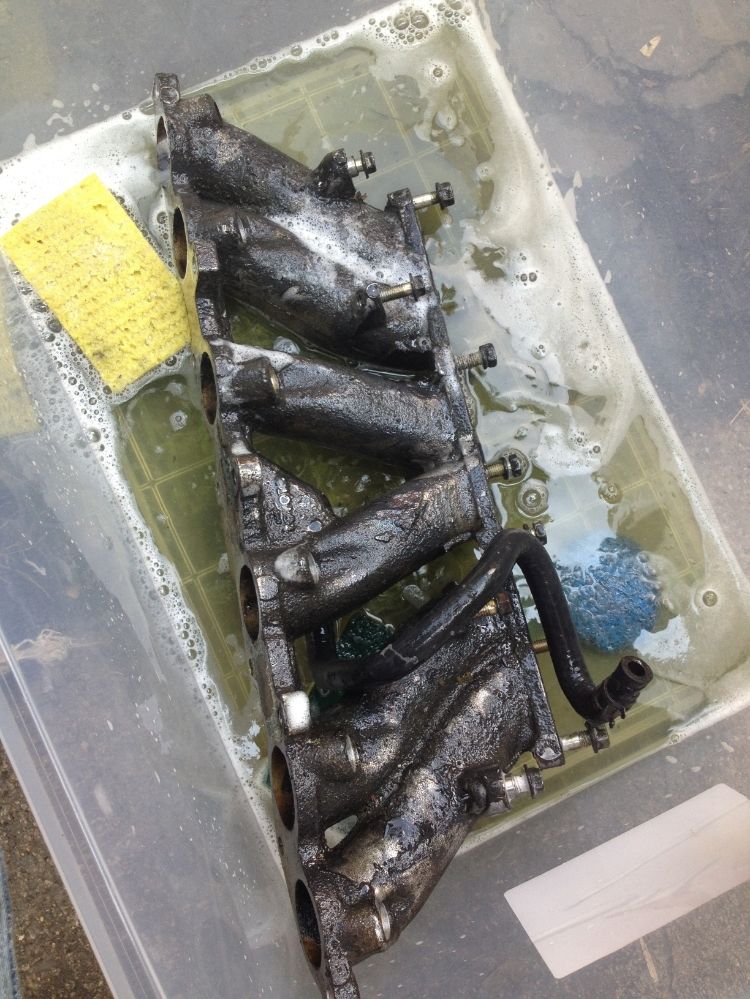
So I took a tupperware container and threw in some water and simple green and some friends and I scrubbed the two intake manifold bits, valve covers, throttle brackets, and fuel rail until they were thoroughly degreased.


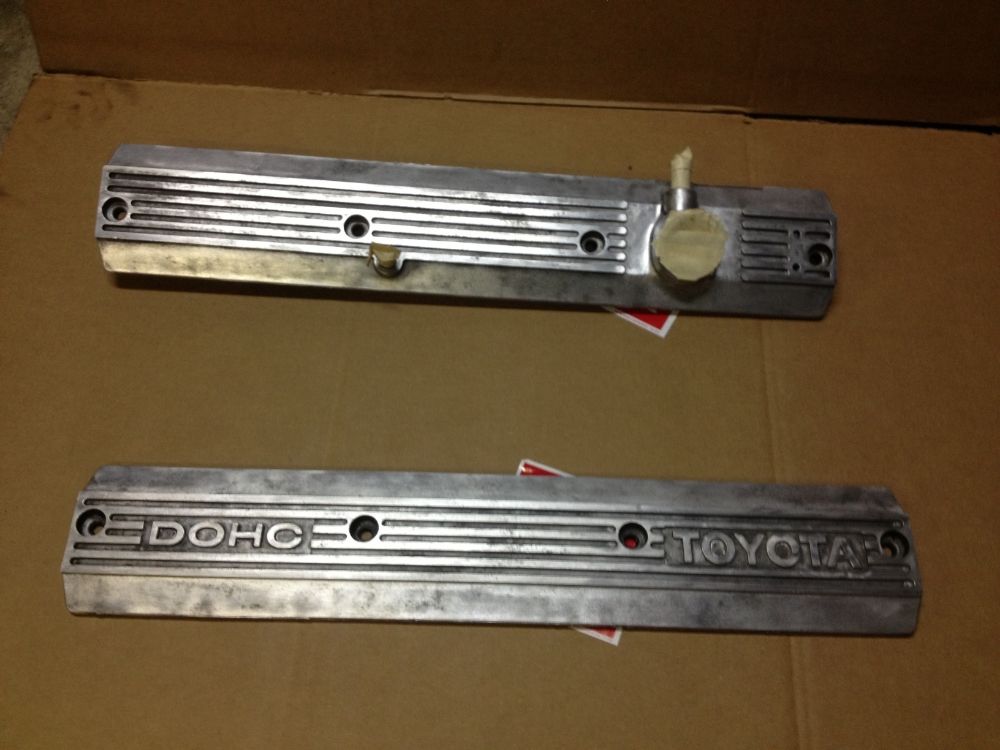
So then later this evening I got all the paint off the valve covers and prepped them for paint. Here's how they turned out:
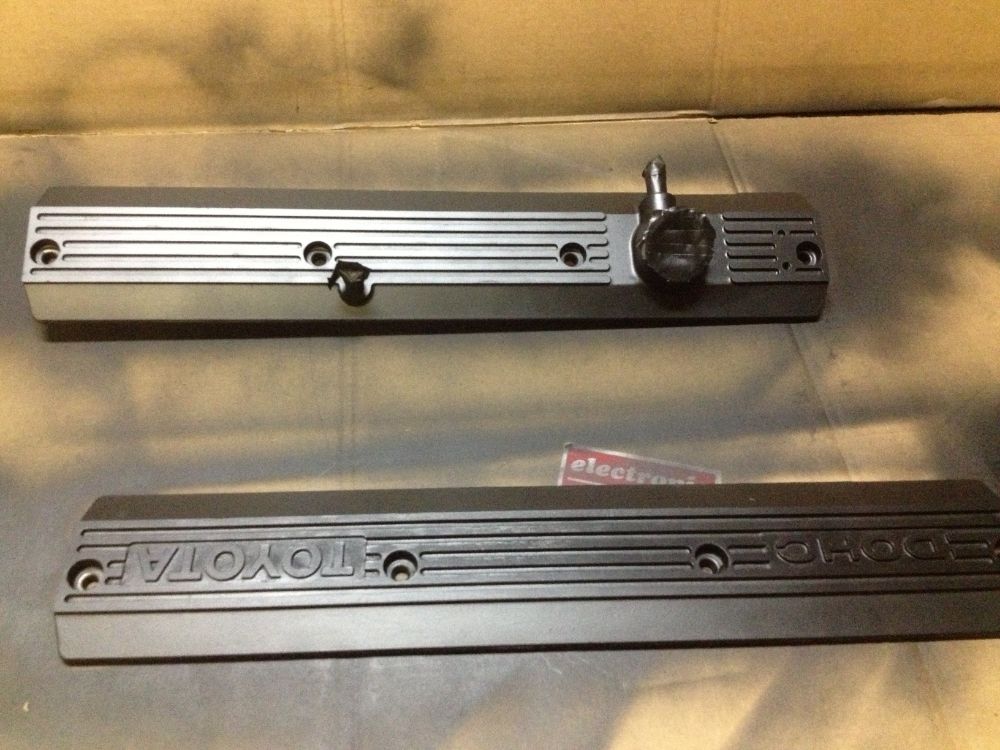
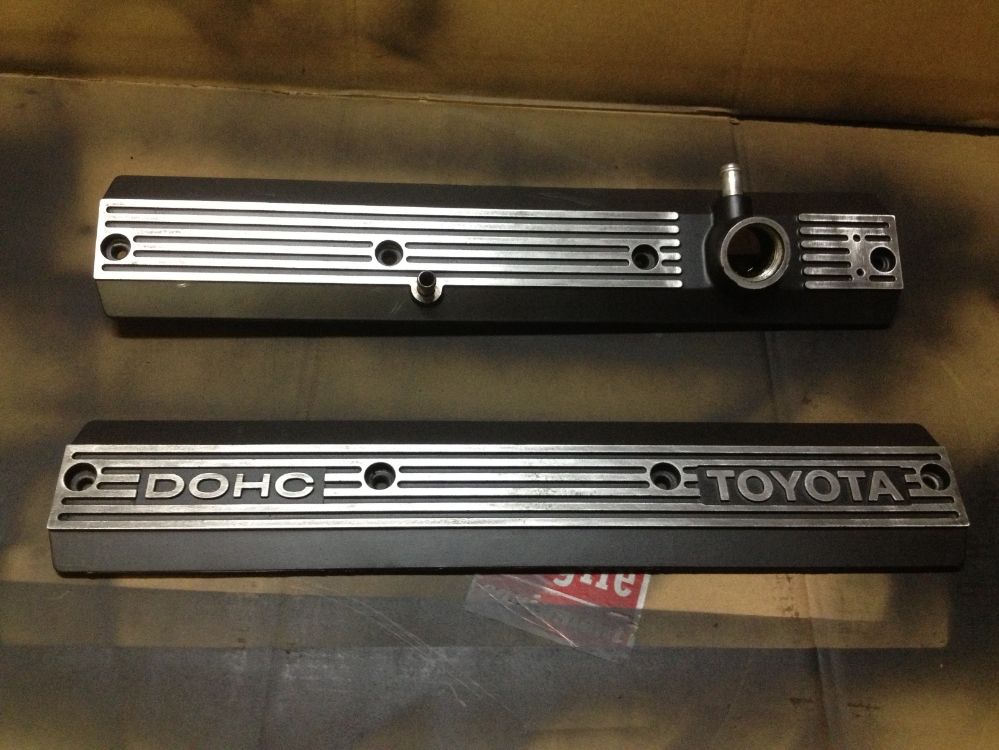
And here's how the engine sits right now.

Thursday, May 30, 2013

MX83 Cressida Project Part 1

I'm copying this stuff from my build thread on our club forum, putting it here so I can share it with the public.

3/24/13
I bought this pretty thing today. It has a blown head gasket, the radio is broken, and the AC needs to be recharged, but supposedly everything else on the car works fine. It has around 193k miles. I plan on fixing the head gasket and either using it as a daily driver or selling it.

Here are the pictures from the VADriven thread

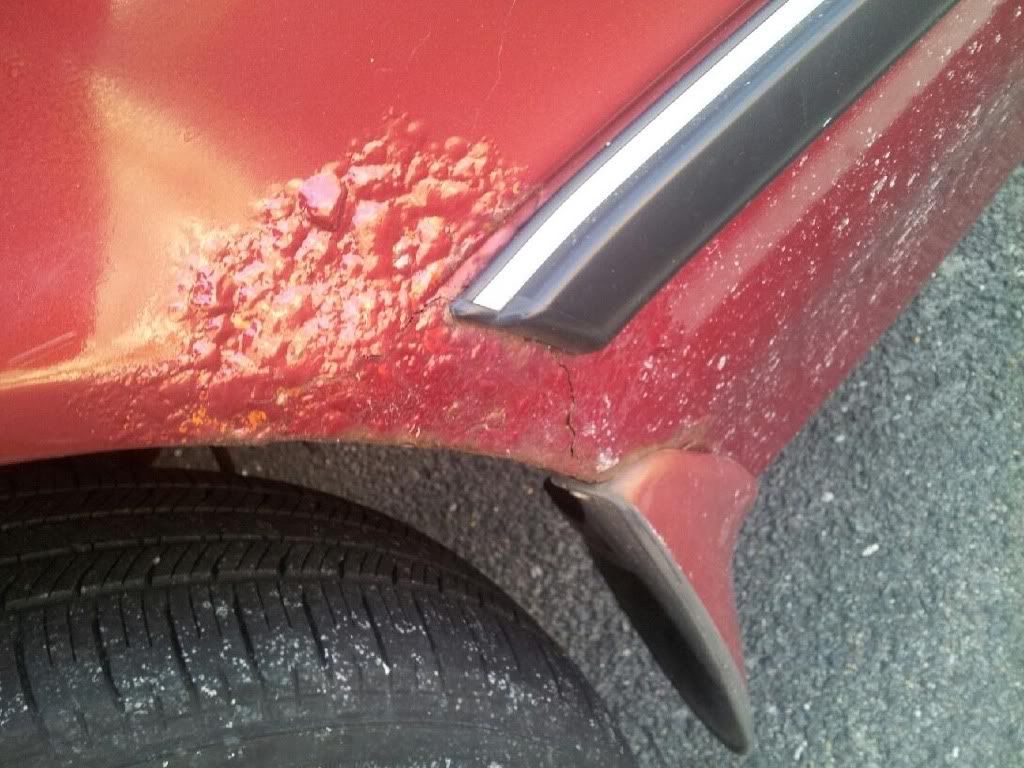
Some additional pictures of the rust spots:
Here's a picture of it when we loaded it on the trailer:


5/11/13
Finally broke ground on this project and got my hands dirty today. I'll have pictures up tomorrow, but basically all of the wiring harness up to the fuel injectors is disconnected, the intake piping is off, radiator is out (to make access easier, also I think the radiator may be cracked), accessory belts are off, lots of little things removed/disconnected (PCV system which is hella nasty, will be cleaned before reinstall, the super-convoluted throttle linkages, battery, lots of vacuum lines, etc). Intake manifold plenum is only held on with one bolt right now, then that can come off and I can have access to the fuel rail/injectors. I also sprayed the exhaust heat shield nuts with PB and that will come off tomorrow as well, then I'll hit the manifold bolts with PB multiple times for multiple days before even attempting to remove them.

 5/12/13
Also got a bunch done today with Corey's help. The head is now off.
Cracked radiator. New one off Rock Auto is like $100
Misc bits
Head
Gasket was pretty trashed
Before and after:
Ordered a radiator, valve cover bolts/sealing washers, and fuel injector o-rings. I'm gonna go by Toyota tomorrow and order the few other gaskets I need, then we should be good to go in terms of parts. Then I just gotta take the head into the machine shop tomorrow or Tuesday.
Spent so far:
Head gasket/intake manifold gasket/exhaust manifold gasket - $210
Fuel injector o-rings - $11
Radiator - $115
Valve cover bolts (to replace retarded philips head screws) with sealing washers - $21

Total spent : $357

Expenses to come:
Machine shop labor for milling the head
Parts -
Crush washers (should be cents each):
upper filter - fuel line
upper fuel line - fuel rail
cold start injector fuel line
front fuel line - fuel rail
lower water outlet fitting

Gaskets (hopefully only a couple bucks each):
water outlet housing - head
lower intake manifold - upper intake manifold
throttle body - intake manifold
Idle speed control valve - intake manifold
EGR - head
EGR - intake manifold

Hoses: (ventilation hose will be kinda pricy, but it's pre-formed and a weird size):
ventilation - 12263-42010
a metric ass ton of small screw-on type hose clamps to replace the god-awful pinchy types

 5/13/13
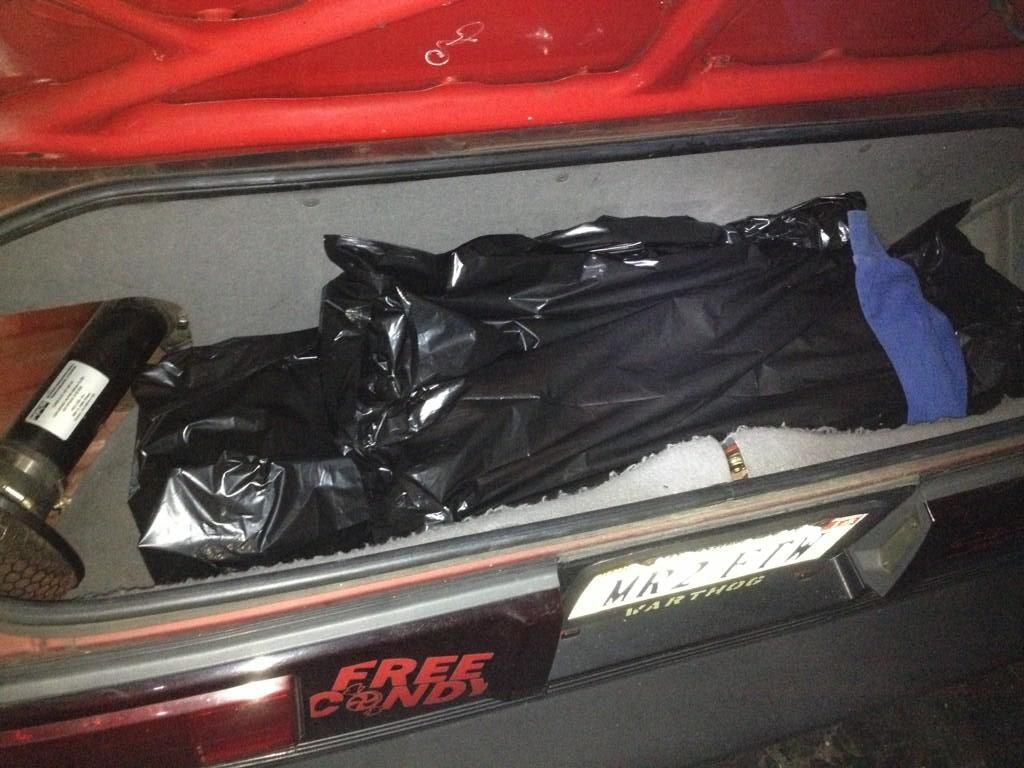
 7M head fits in my trunk. Nice.

 5/14/13
Previous total: $357
Plus all the above listed gaskets/seals/o-rings (plus VC and cam gaskets): $177
Fel-Pro valve stem seals from Amazon: $37

New total: $571


5/16/13
Radiator + crap ton of Toyota gaskets


5/28/13
Head is back from the machine shop.

New total is $650


5/28/13
Also started replacing the valve stem seals tonight. The tool for removing the valve spring retainers was too big so I had to grind it down a bunch, but now it works. I got 13/24 done before I came in and cleaned up, since I have to work early tomorrow.

5/30/13
Got some work done tonight. I picked up my torque wrench and a tube of RTV from the Ju house and grabbed some new spark plugs from Advance.
Spark plugs: $22

Also ordered a distributor o-ring and the lower injector o-rings from Lithia Toyota (I got the upper injector o-rings on accident previously) :$28

New total spent:
$700

I lost one of the head bolt washers too, so I'll be picking that up form Toyota tomorrow.

Here's how I did the valvetrain stuff

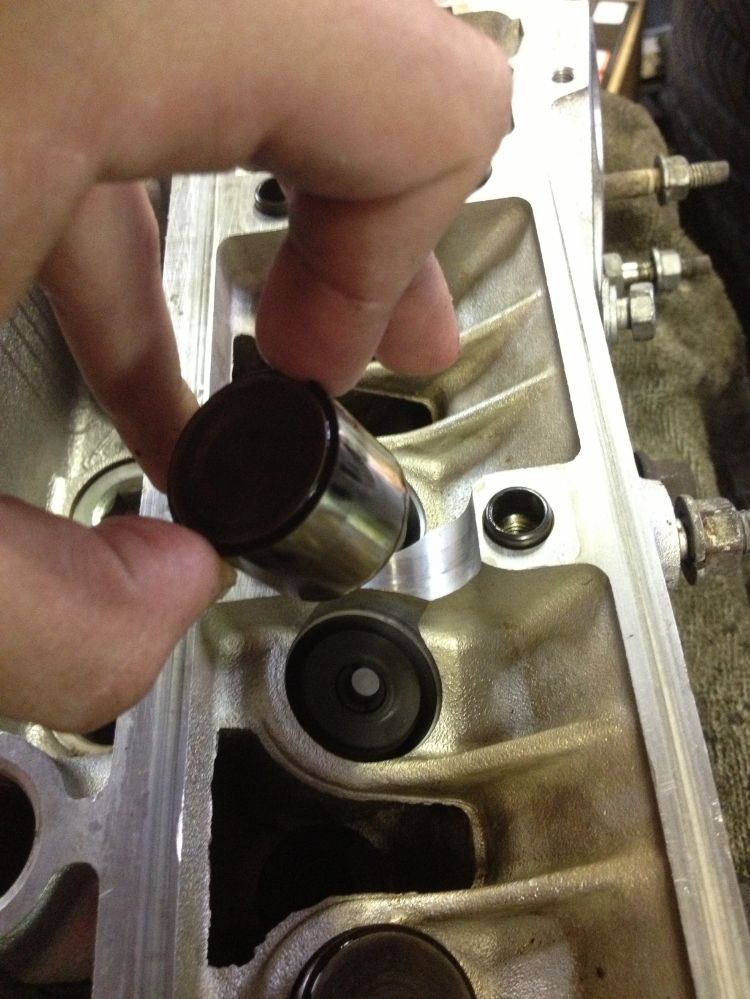
First you remove the lifter buckets (making sure to keep them in order or God help you)
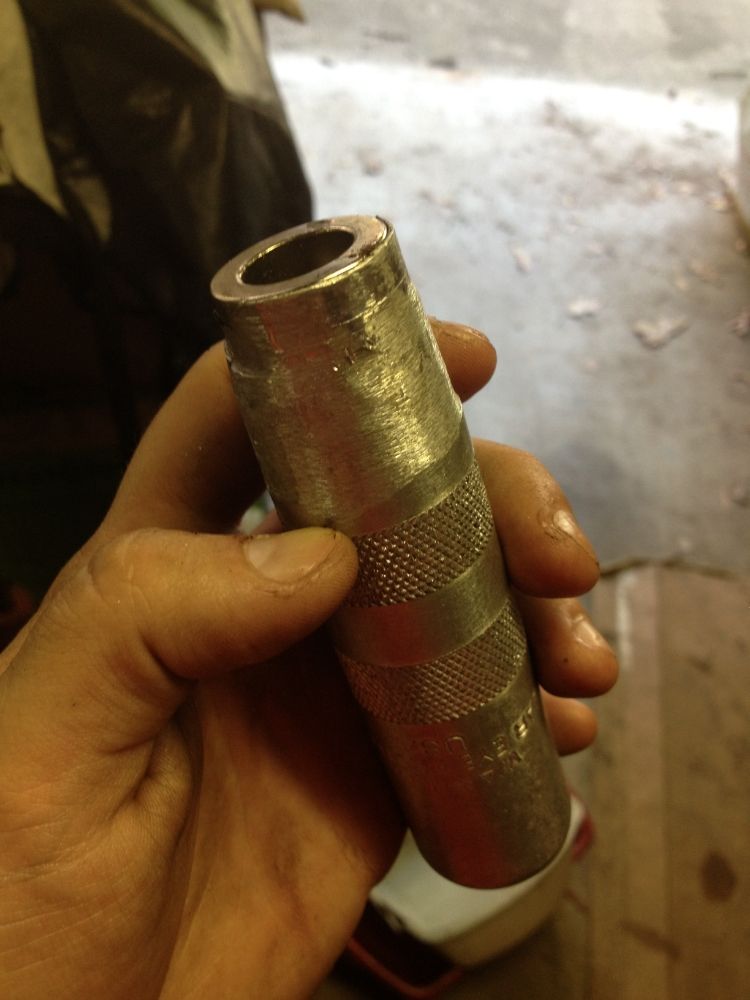
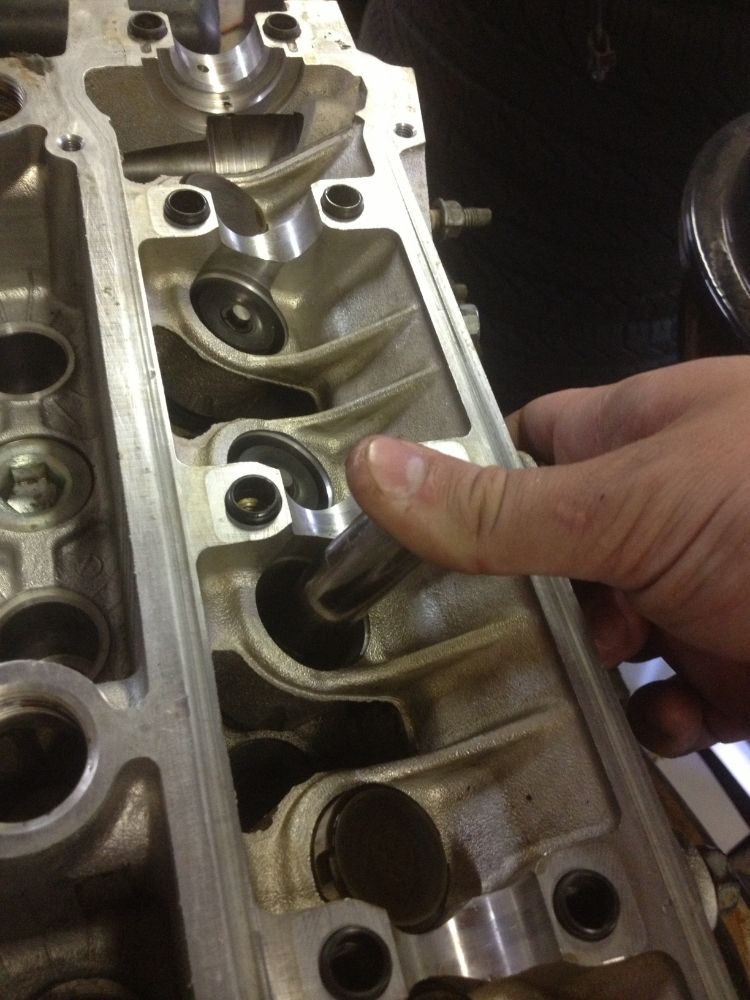
Then I used this tool that I bought off of Amazon or Ebay or somewhere. It ended up being too big around to fit down in the hole (giggidy) so I had to grind it down to fit, which made the magnet not want to stay in place which was annoying after having to use it on 24 valves, but it still worked so whatever.
You place it over the valve spring hat and give it a whack. When the spring compresses, the magnet sucks up the valve keepers, and you can pull out the spring, hat, and keepers together since they all stick to the magnet.
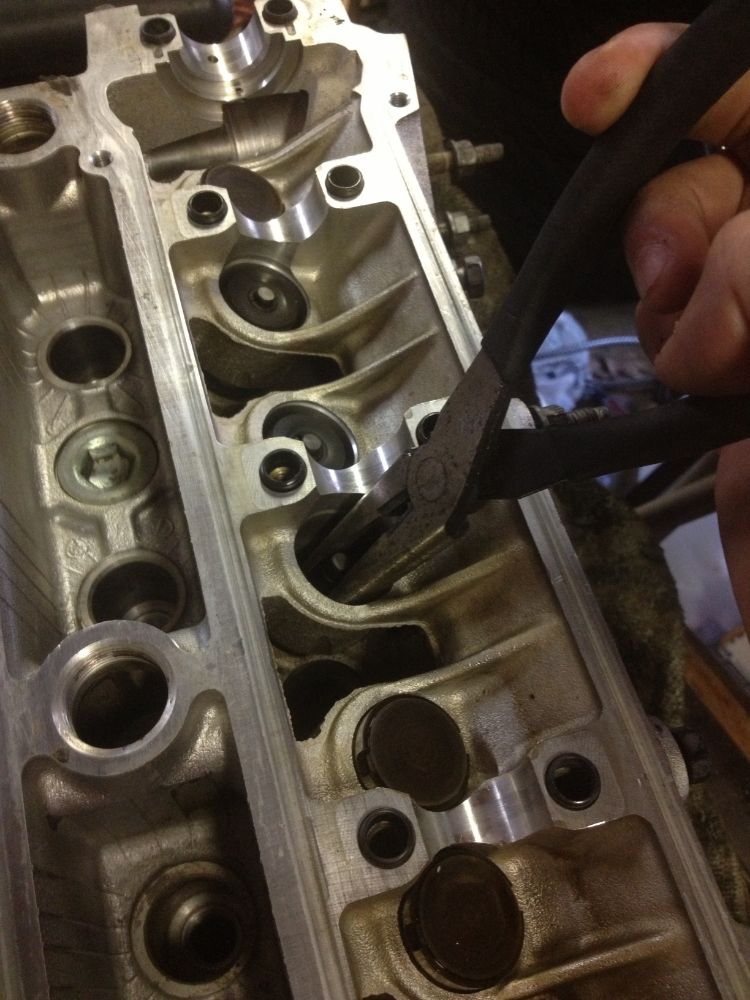
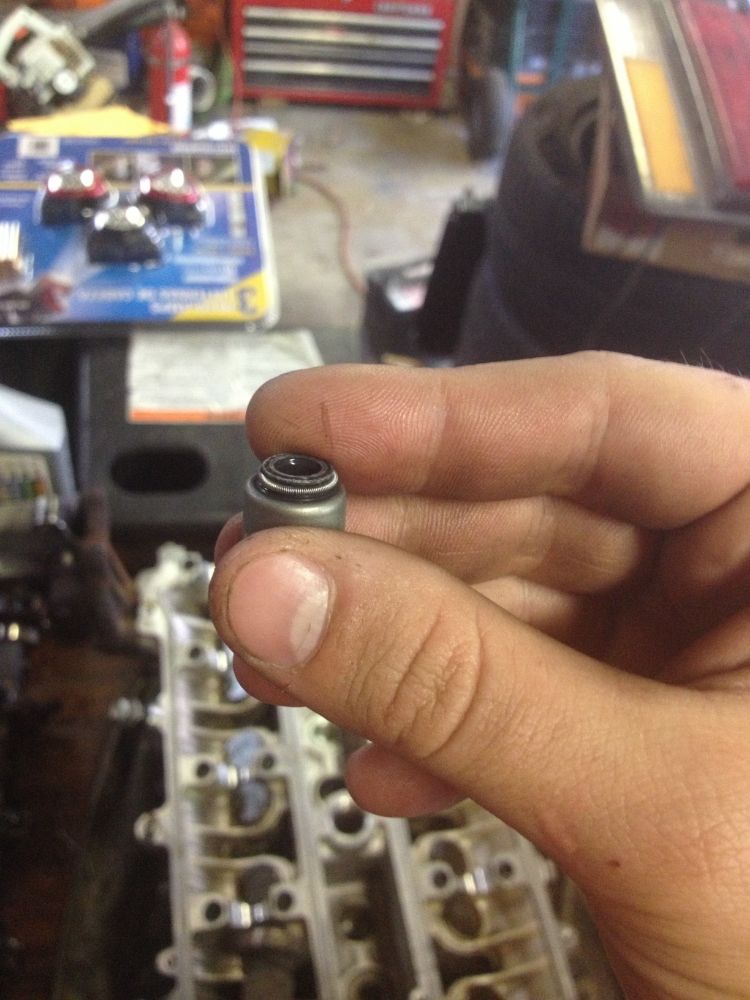
Once it's all out you can reach down in there with some needle-nose pliers to get at the valve stem seal
Just give it a yank and it comes right out (giggidy). A couple of them were really stuck so I had to use picks and stuff to shred them before they would come out, but most were really easy.
Then you take one of the new seals, and dip it in some oil before you install it. Lube is never a bad thing.
I used a 9mm socket to press them down into place. Then you can set the valve spring back in its place.
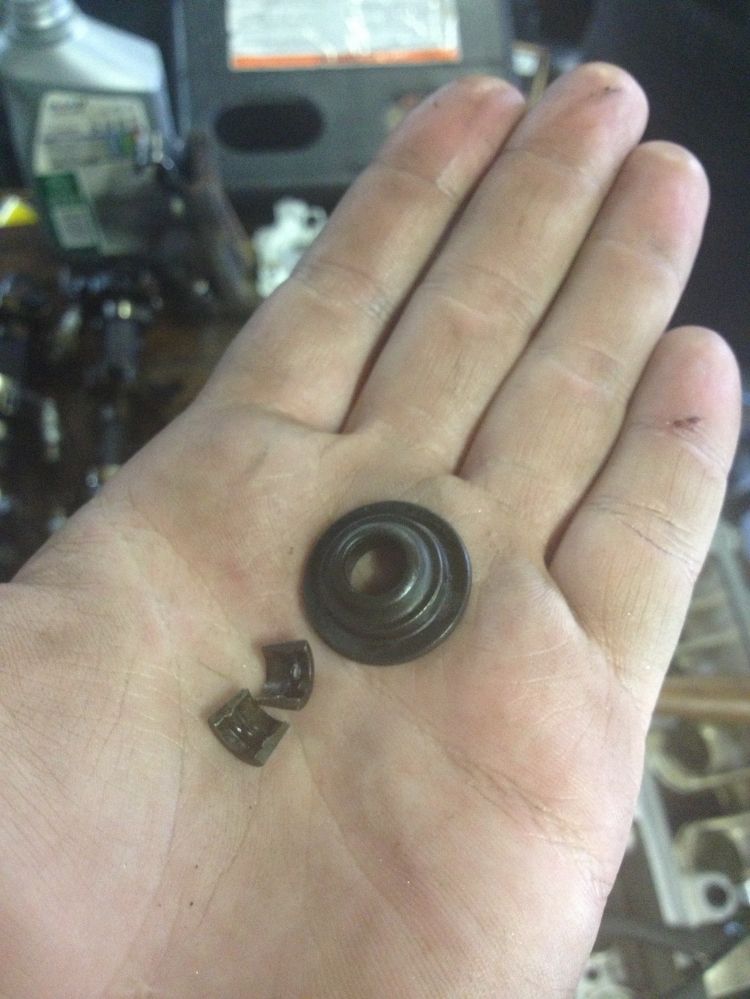
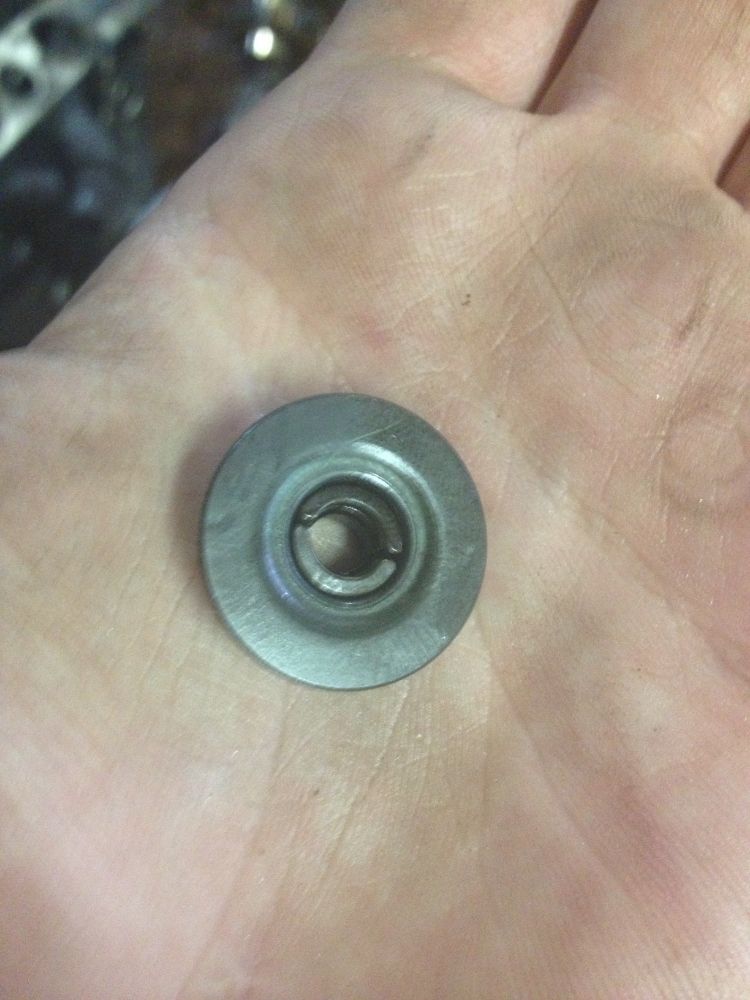
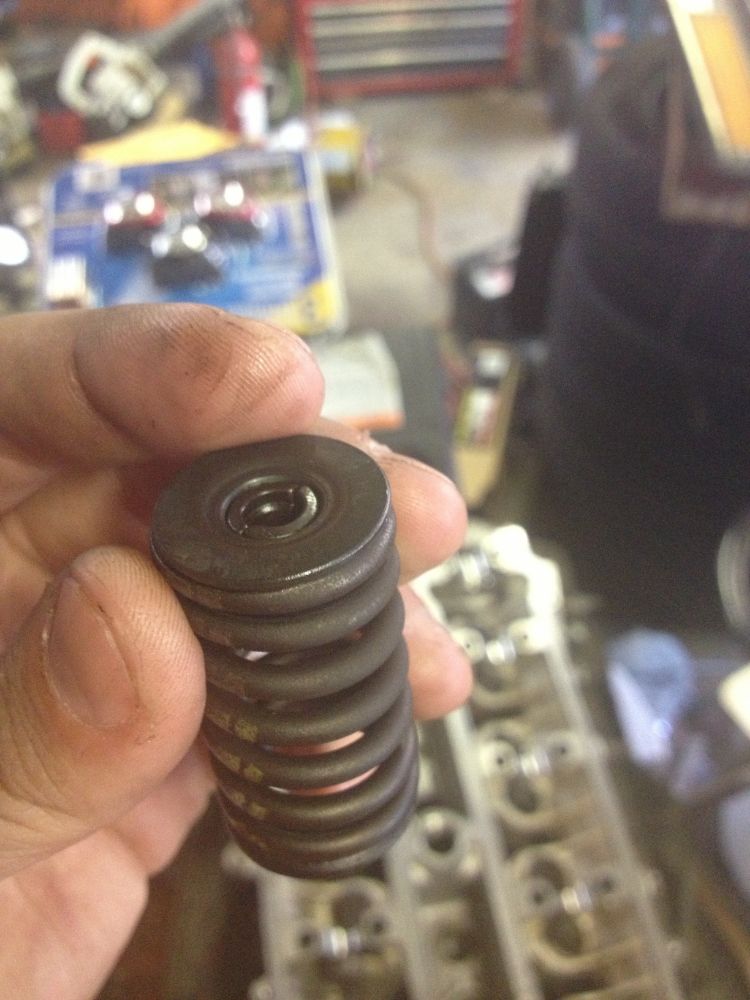
This is the upper valve spring hat and the valve keepers. These things are VERY small.
 Put them together like so
They go on top of the valve spring like this

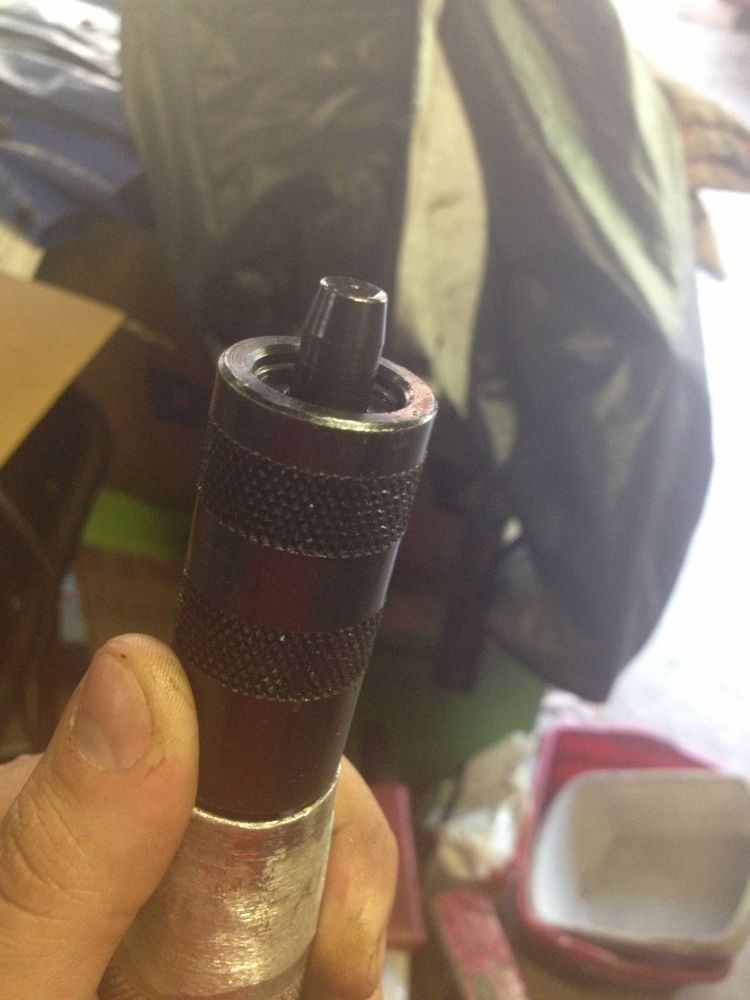
 This is the keeper installer tool. The little nub in the middle is spring-loaded, so when you press down, the outer ring compresses the spring over the stationary valve, and the middle nub makes the valve keepers fall into place around the valve stem
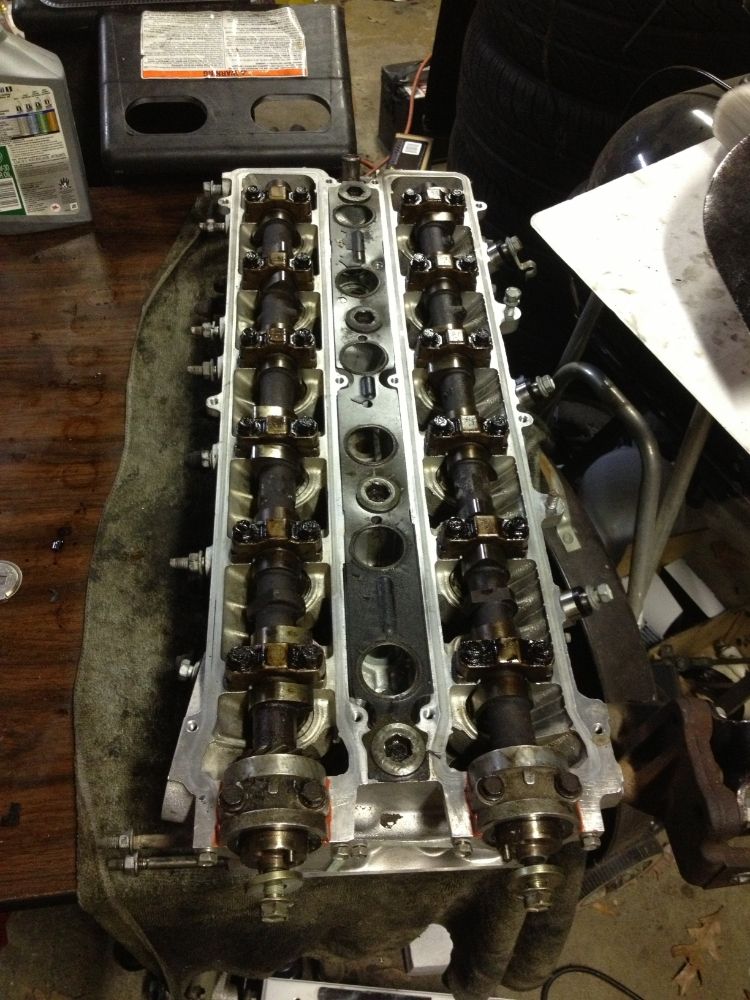
Reassembly is done! Cams are in, cam oil seals are in, everything is torqued properly.

And here's a shot of the nice clean combustion chambers