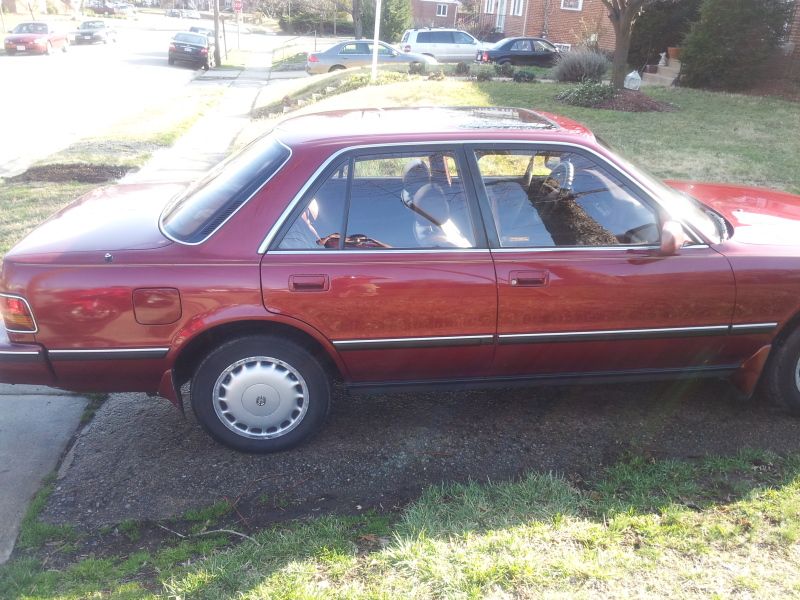
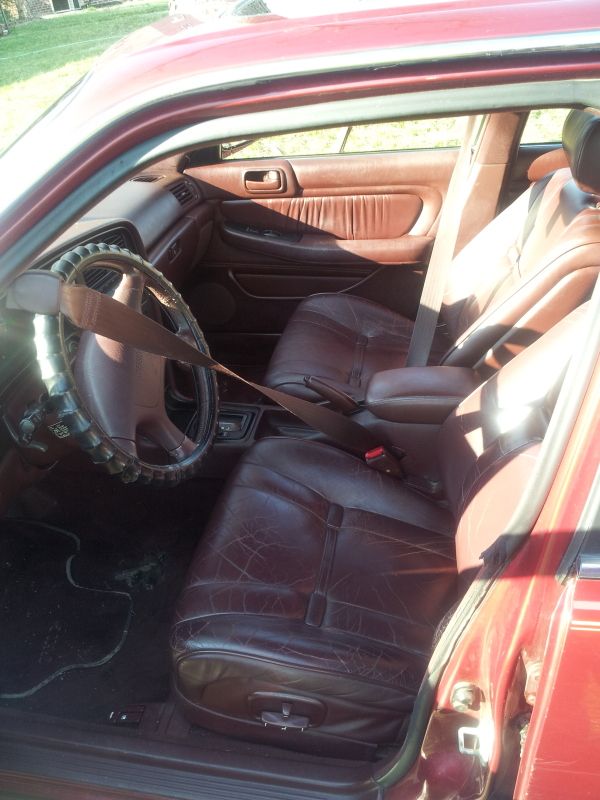
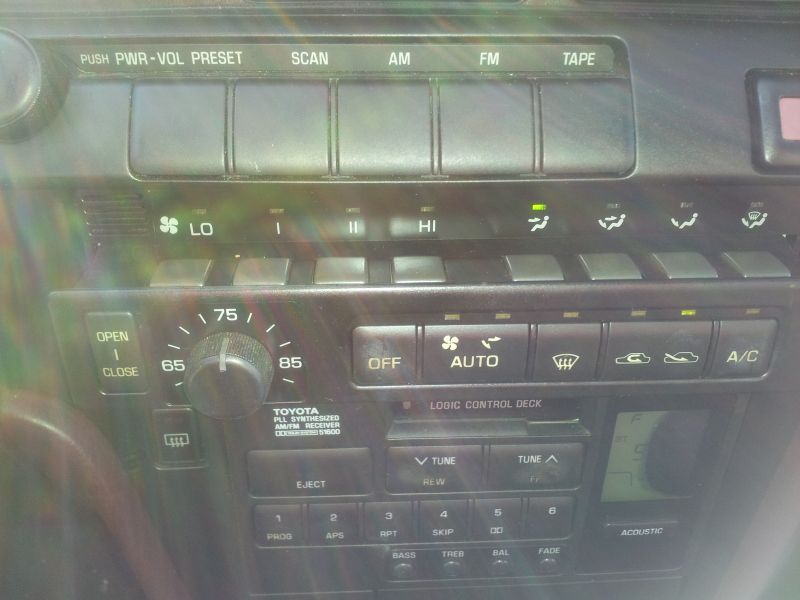
12 - 13 - 12
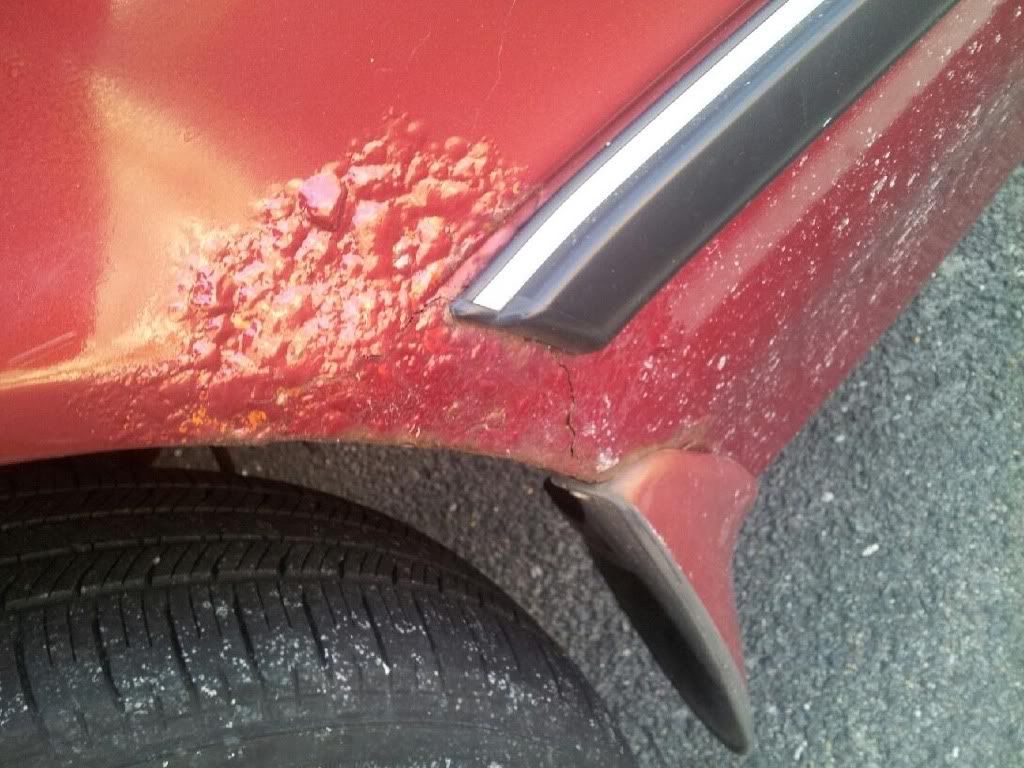
Minor fender bender tonight at rush hour in the Fan. Just a scuff on the
bumper and one of my already-breaking eyebrows snapped a bit. Car is
fine, car I hit had very minimal damage, mostly just a scuff. No big
deal, just annoying.
12 - 18 - 12
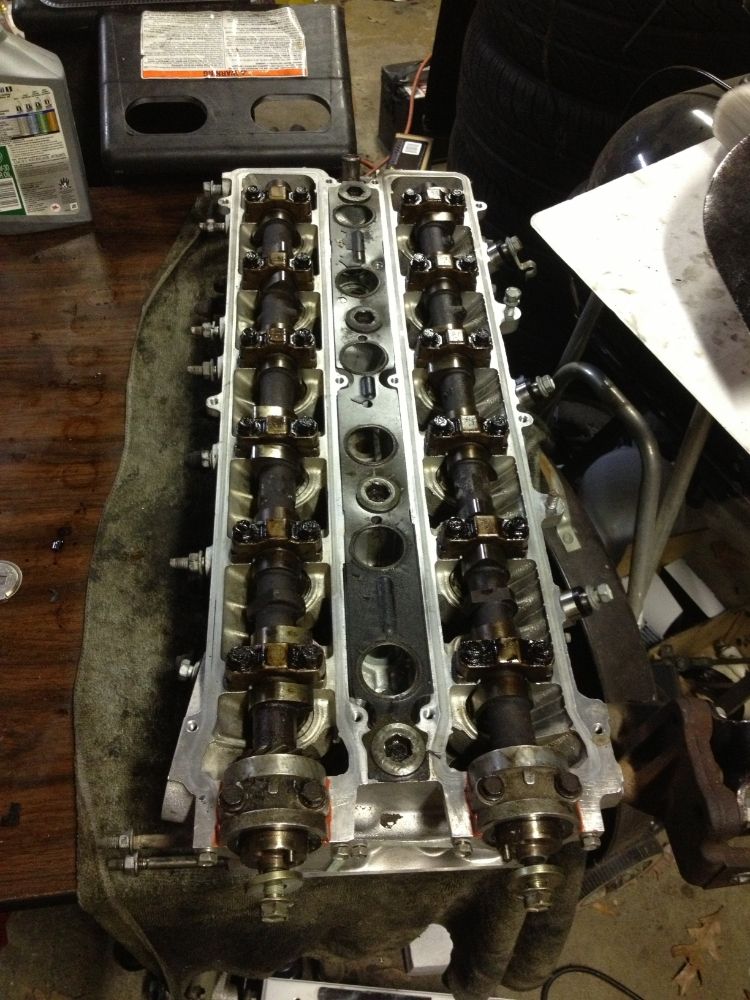
Bought a stock 20valve manifold off a guy on Club4AG. I'll have to
modify the outermost bolt holes, but otherwise it will bolt right up to
the head. I'll have to get a different downpipe to get it to work with
my car, but there's a guy that makes downpipes that bolt the stock SC
exhaust right up to a 20v manifold, so when I get time/money I'll order
one of those too.
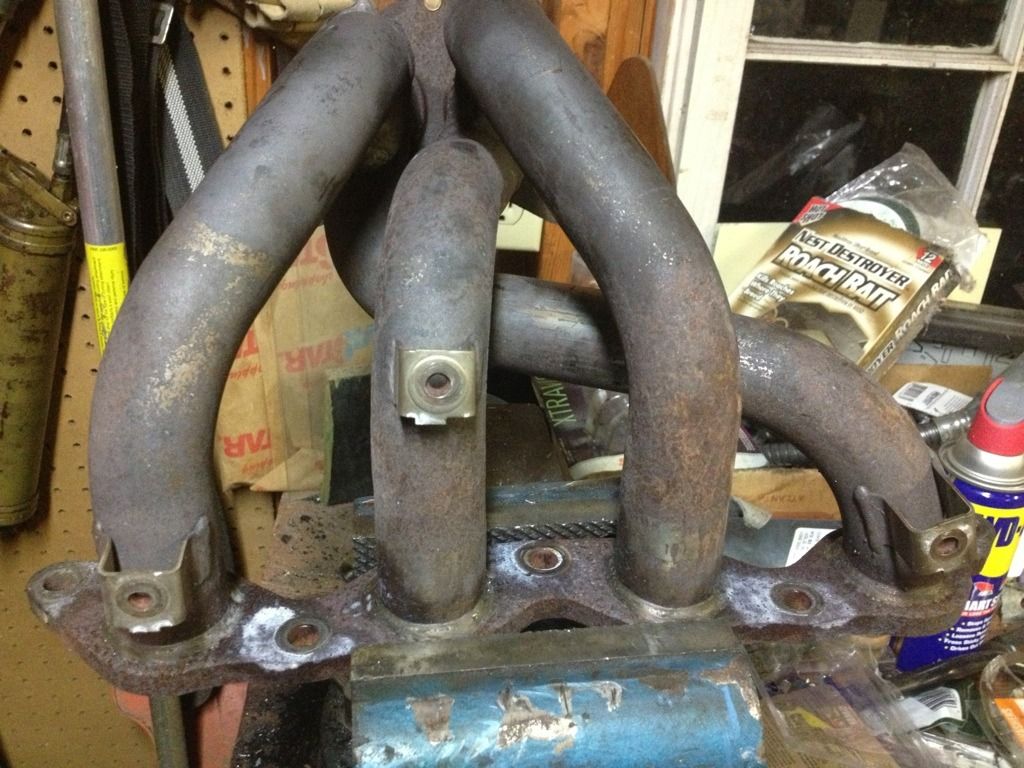
Yes, the head shield looks like ass, but it will be coming off and I
will either put the shield from my stock manifold on it, or wrap it,
but I hear wrapping stock headers on some cars causes them to crack, so I
gotta ask around and see if it's OK on these. This header will be much
lighter and flow much better than the stock one.
12 - 25 - 12
Got some Christmas cash and ordered one of these to match my incoming
20v manifold. I ordered mine with the OEM style O2 sensor bung AND an
extra universal o2 sensor bung so I have the option of putting in a
wideband at some point. Both the downpipe and manifold will be
wire-wheeled and hit with multiple coats of VHT flameproof paint, and
the header and front half of the downpipe will be header wrapped (header
for obvious reasons, downpipe because it comes very close to the oil
pan). And then I'll see if I can spray the wrap with a sealant to keep
moisture out. It's gonna be sah-weet.
From the SV3 Power website:
An SV3Power original. 20V-to-SC downpipe bolts directly between any
stock 20V upper header and your Supercharged MkI MR2's stock catalytic
converter or SV3Power SC-style cat or SC-style test pipe, makes any 20V
swap easier.
Standard 2.25" OD main tubing supports approx. 165hp
at the wheels and is ideal for a Blacktop (AE111) engine. Cars making
more than that should select the 2.50" OD main tubing option.
20V-to-SC downpipe features include:
- 100% bolt-in fit w/ full OEM compatibility
- Heavy 14-gauge aluminized tubing: 1.75" OD secondary, 2.25" OD main (2.50" optional)
- Proprietary laser-cut 3/8" thick steel flanges
- Outlet flange grooved for OEM-style crush (donut) gasket
- Braided stainless flex joint for maximum flow and durability
- Stainless tubular hanger fits car's existing rubber mount
- Muffler brace in OEM location for maximum rigidity
- Choice of Toyota-style oxygen sensor pad or threaded sensor bung
- Optional rear oxygen sensor fitting for wideband or dyno visits
- OEM-grade gaskets and quality M10x1.25 hardware included
Two-bolt sensor flange has studs at 44mm center spacing, fits MR2 sensor. 20V sensor may require modification to fit.
Flanges
and welds are normally painted with VHT FlameProof primer coating;
please check the 'unpainted' option if you will be applying your own
paint or coating and do not want this applied.
Photo shows
updated design with revised oxygen sensor fitting location and longer
secondary tubes for more midrange torque. Item in photo has 2.5" tubing,
rear oxygen sensor fitting, and VHT FlameProof coating (all optional at
extra cost).
12 - 27 - 13
Manifold came in today and it's in pretty great shape. Here it is before I started cutting off the heat-shield tabs:
And I got one tab and half of another off before I nicked my knuckle
with the grinder. Pretty deep, not quite to the bone, but close. 4 hours
in the waiting room later.........
Looks like I won't be working on my car over break much. >.<
12 - 28 - 12
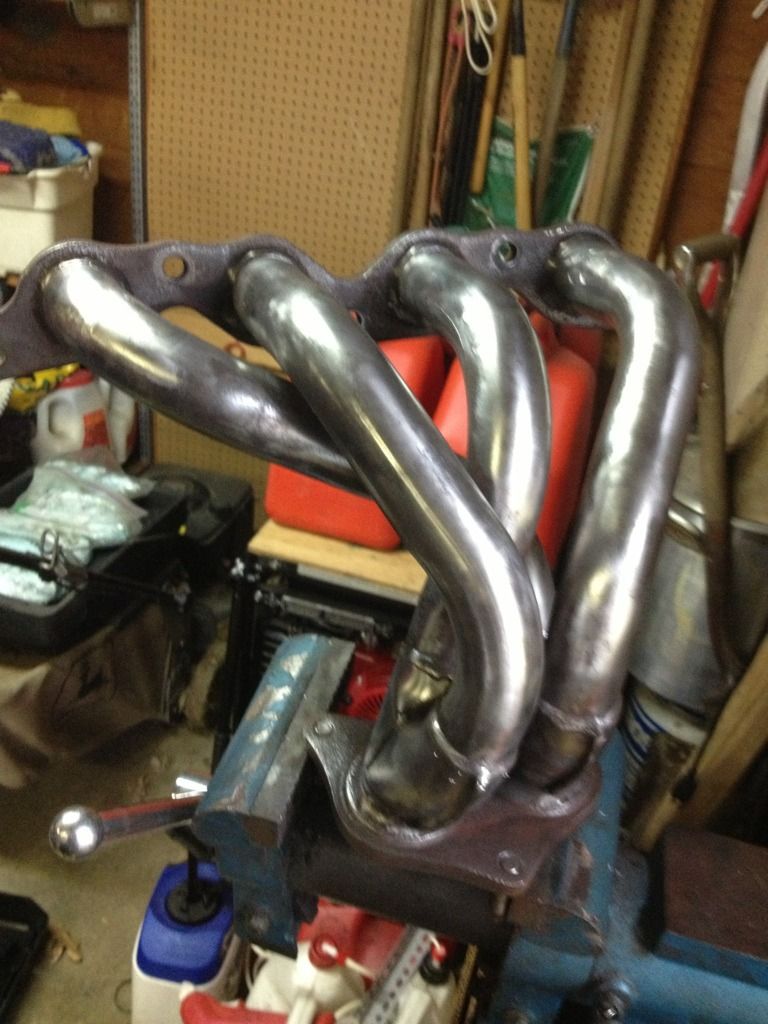
Tabs cut off, welds ground smooth, wire-wheeled to get the rust off
Hit it with some VHT Flameproof
Now it's on the grill curing.
12 - 30 - 12
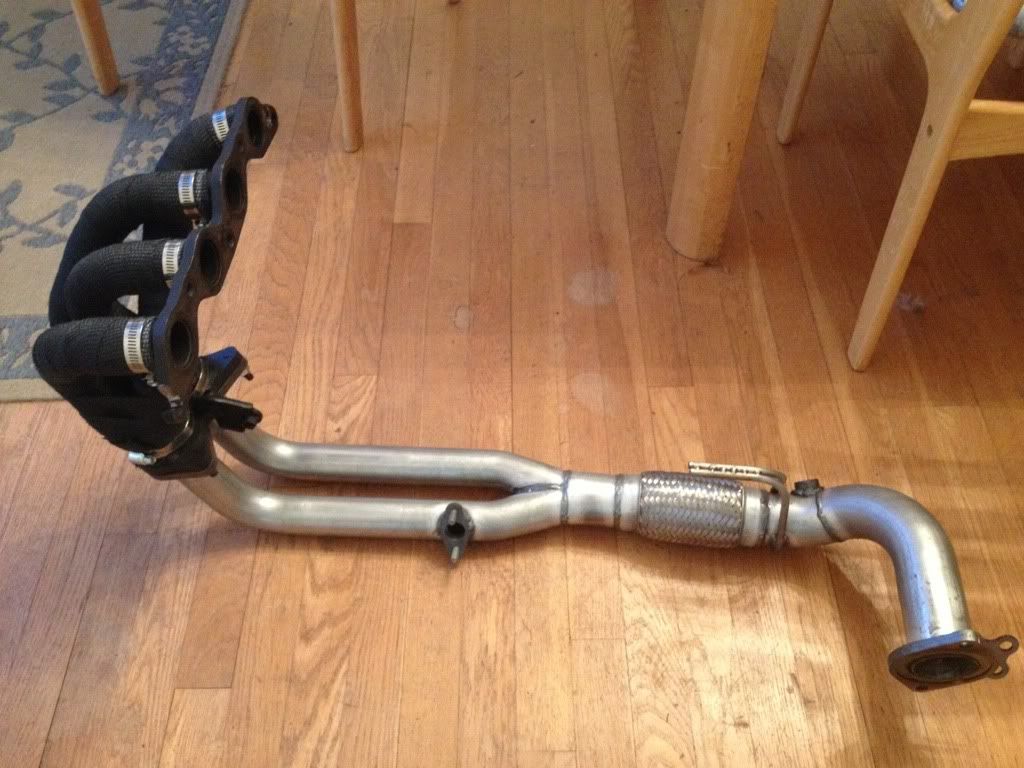
Manifold modified to fit a 16valve head. Had to slot one bolt hole and redrill another. Now it bolts right up.
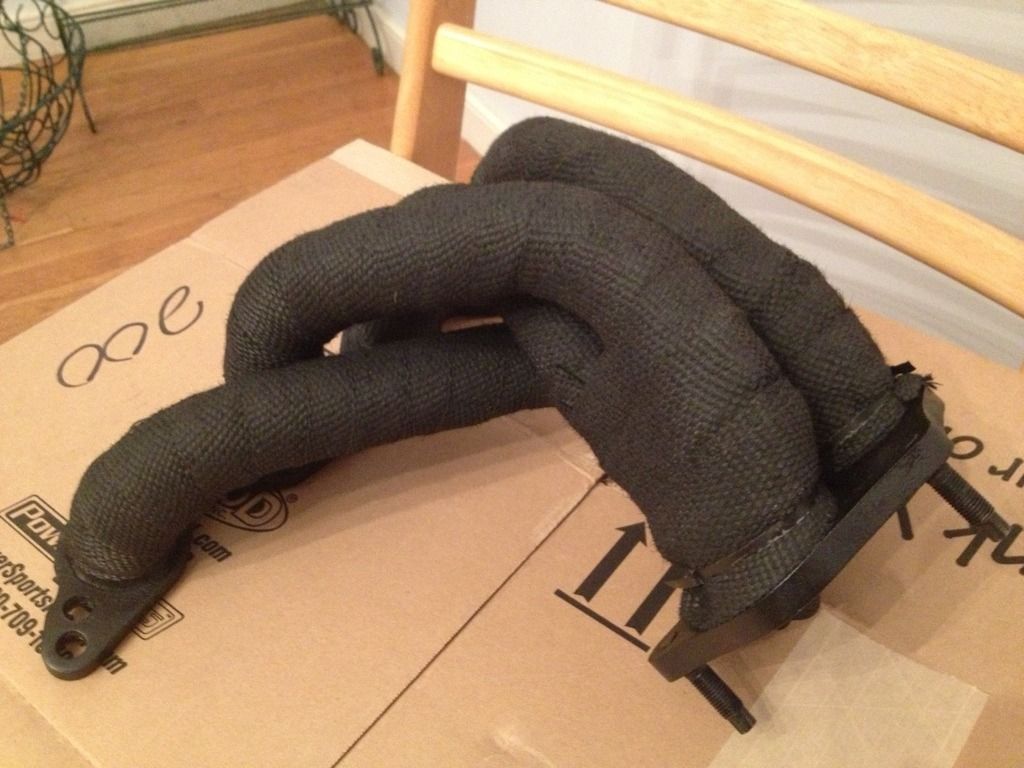
And here it is wrapped and sprayed with the moisture sealant
1 - 4 - 13
Finally ordered a Saikou Michi catch can from saikoumichi.com. I've wanted one of these for a long time now. I got a S1-OCC.
The reason the SM cans are so much better than pretty much everything
else is because rather than just being a shiny empty box with hose
fittings they actually do what they are supposed to do.
My engine has a VERY basic pcv system which is literally just a hose
going from a fitting on one valve cover straight to the intake piping
just before the throttle body. If you were to look inside my intercooler
you would see that it is completely coated with oil film. I think this
is just typical of older engine designs because the blowby on the
All-Trac was pretty bad too. Later JDM versions of the 3SGTE got factory
catch cans.
1 - 29 - 13
Catch can is installed. It took all of 10 minutes
plus a pair of ruined jeans (protip: don't accidentally kneel near a
capless can of spray paint. You will touch it. It will spray your
pants). Also, my downpipe has FINALLY shipped! If it can get here and
get itself on my engine before the dyno day, I may re-dyno the car just
for shiggles
2 - 3 - 13
250F, 350R. Yes.
Ordered them about 30 min ago
2 - 4 - 13
List of crap to do in the next couple months
Change engine oil/filter
Change transmission oil
Flush brake fluid/clutch fluid
Gut brake proportioning valve
Check all brake pads for wear
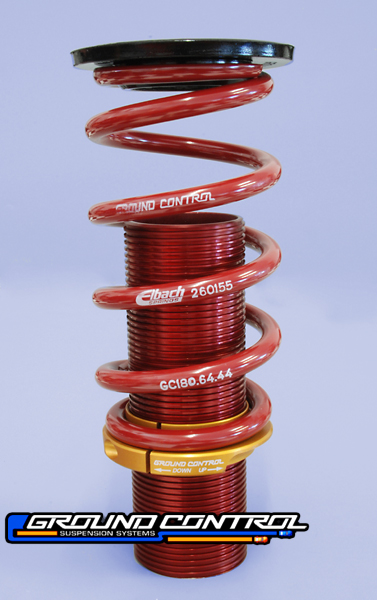
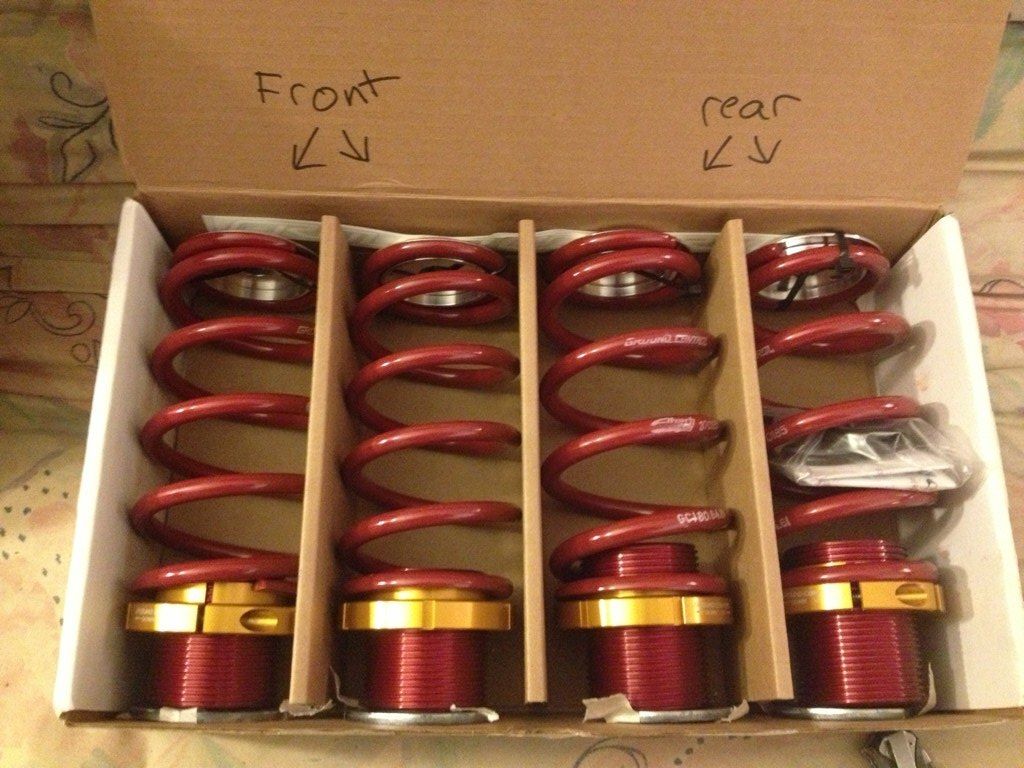
Build/install GC coilover setup
Get alignment, probably close to what I've been running, like -2/2.5 * F camber, 0 F toe, -1.5/2* R camber, 1/16 R toe in
2 - 5 - 13
2 - 9 - 13
or a while now I've been having issues with my car where sometimes when
it's cold the starter will not spin. You can hear it extend, but not
turn. Most of the time just holding the key in the "start" position
would eventually kick it on, but I finally got around to fixing it.
First you buy two of this part number: 28226-64110
Then follow these directions:
http://www.dorikaze.ca/dorikaze_guides_ ... hp?a_id=28
However
I ran into a strange issue. First things first: my car is an SC, so
it's a different starter from the NA. Second: it's not the original
starter. I don't remember the brand, but it's not Denso.
Now the
issue I hit was that on the replacement contacts, the bolt axis was on
the center line of the curve of the contact on both. In the starter, one
contact is this way, but the other is slightly offset. To fix this, I
had to elongate the hole in the housing and move the contact over about
4-5mm to get it to be aligned properly.
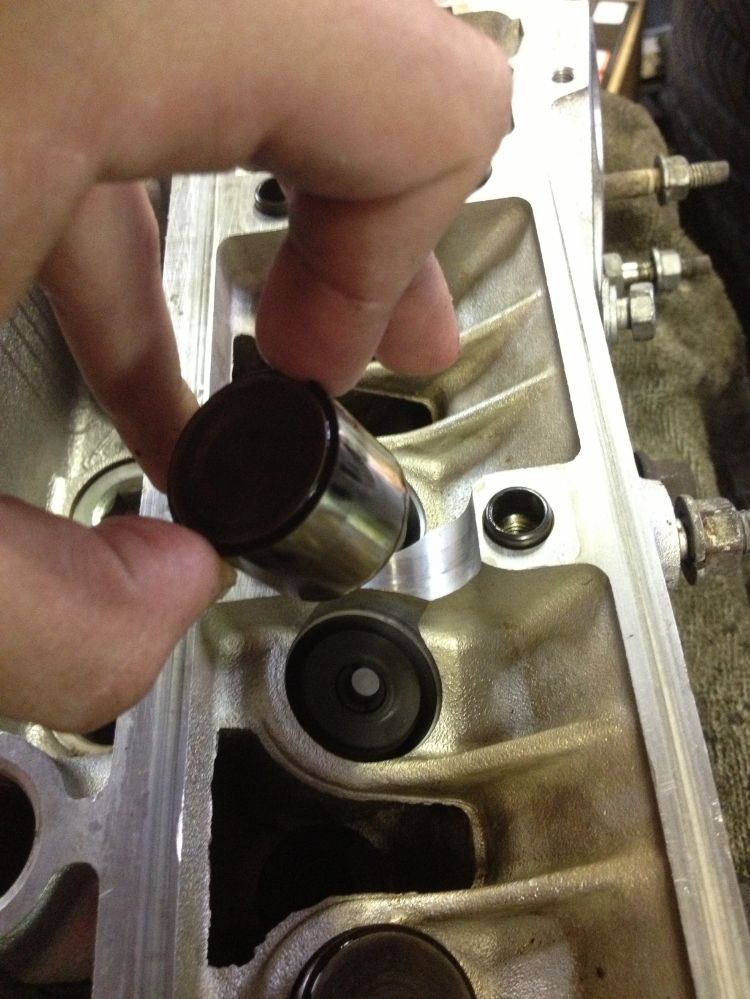
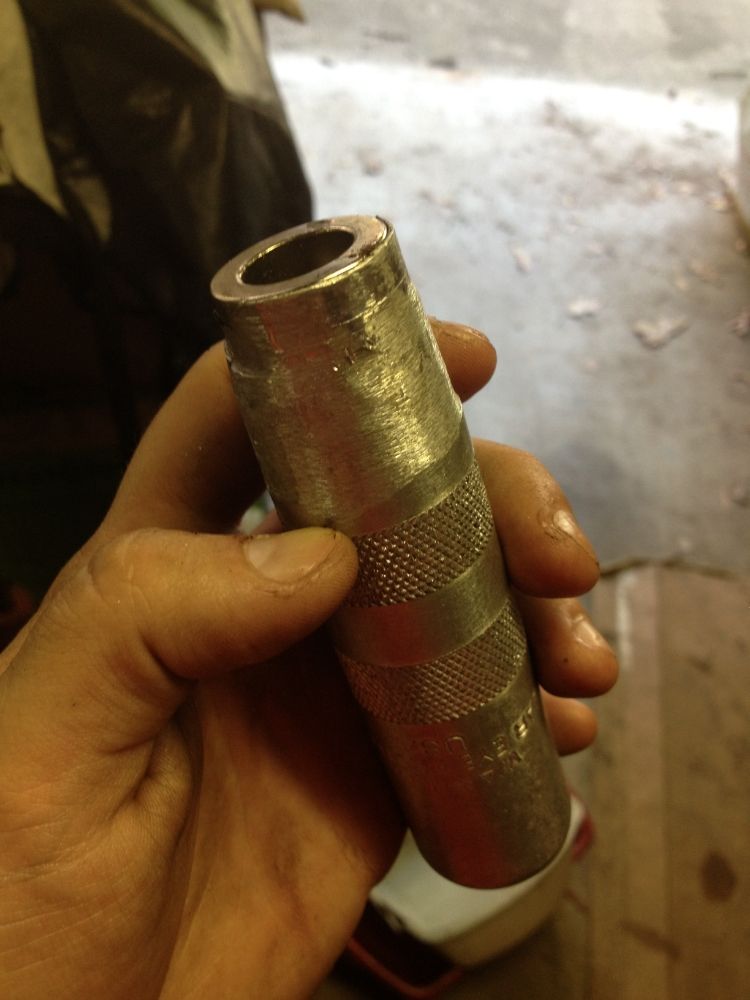
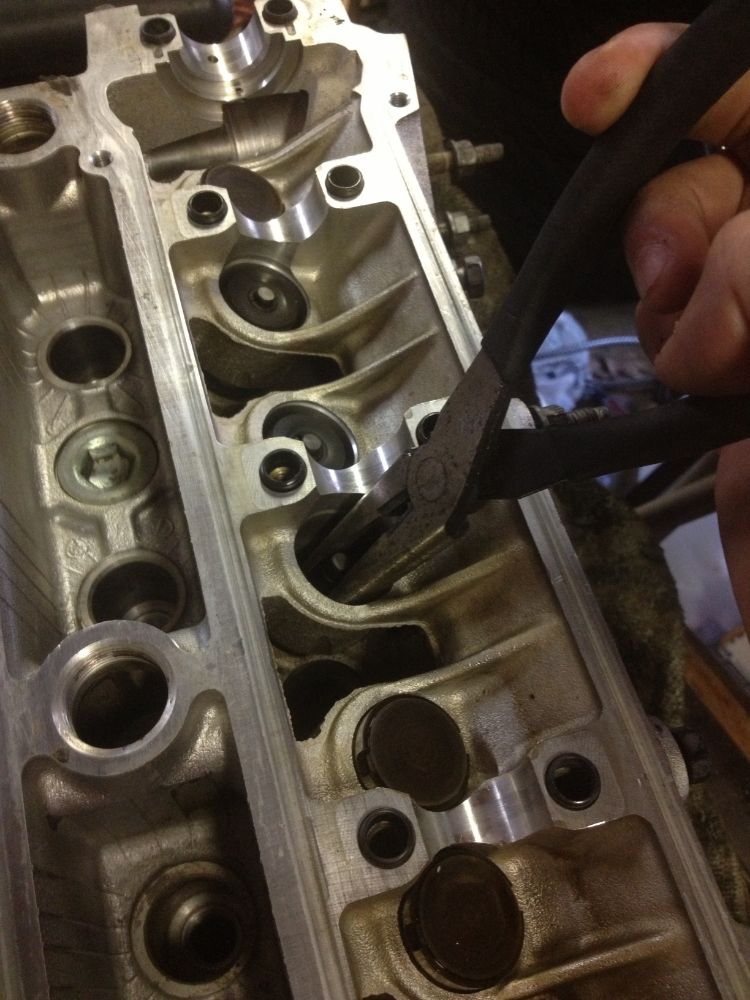
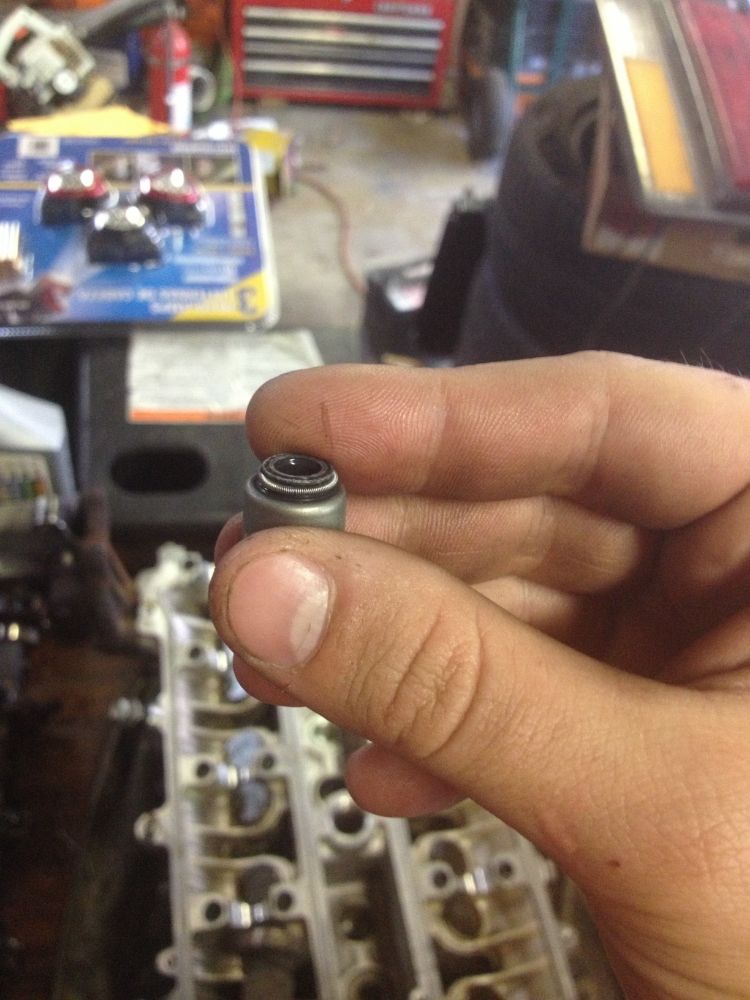
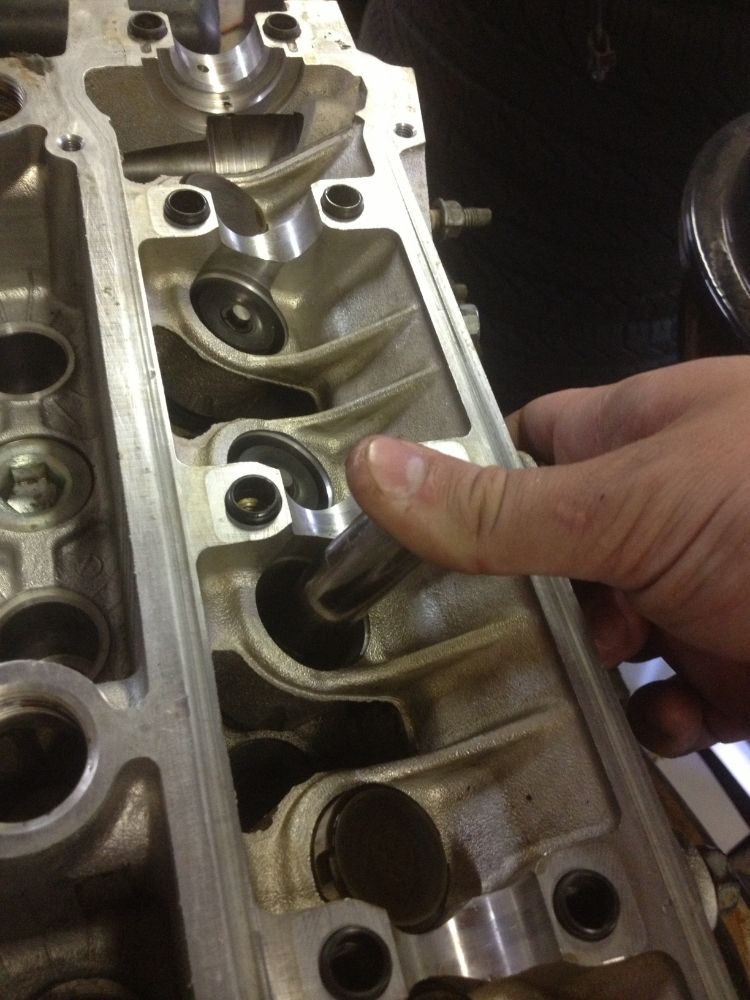
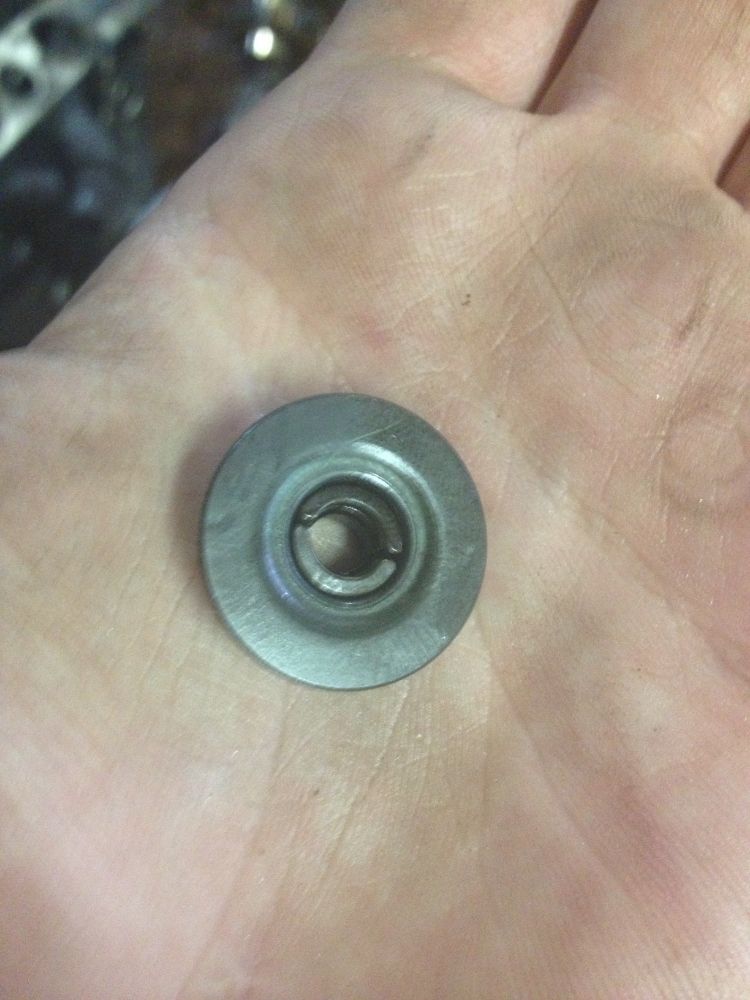
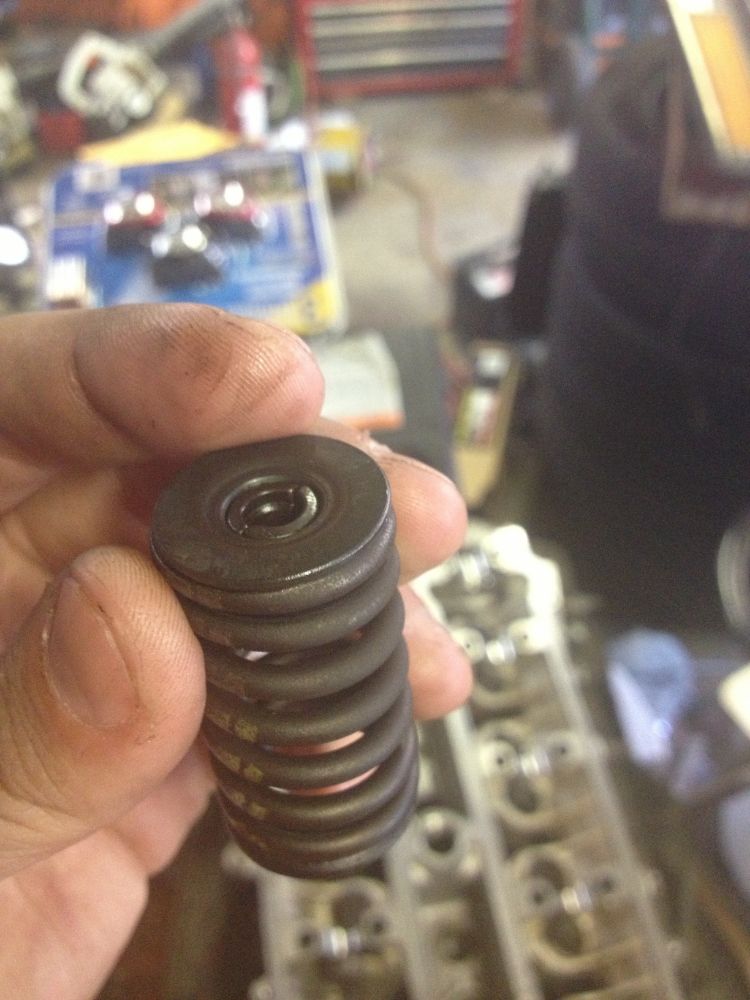
2 - 10 - 13
Manifold and downpipe are on. It was one of the
more frustrating experiences in recent memory. I didn't take many pics
because I was pissed off all day.
You know how sometimes there are little things that are annoying? Bolts
that are too long, have a hard time coming loose, or come loose then get
too tight then loosen up again? Hitting your head on motor mounts,
cutting/smashing/jambing hands on random hard objects. I had to install/remove
the manifold a billion times because more material had to be removed to
clear the HUGE alternator bracket that the SC has. Also I had to remove
the dizzy cap and alternator to get to one of the manifold bolts, each
of which had their own irritating issues. THEN the downpipe. Apparently
my cat is not stock so the pipe diameter of the cat and the downpipe are
different sizes and the gasket doesn't make a perfect seal. Close, but
just enough that I notice. Then, to put the whole downpipe/cat/muffler
assembly on, there wasn't enough wiggle room to put the muffler in the
hangers and slide the downpipe on the manifold studs, so I had to unbolt
the hangers from the chassis (WAY HARDER THAN IT SHOULD BE), slip them
on the muffler, bolt it up to the manifold, then jack up the muffler and
bolt up the hangers to the chassis with the exhaust already on it (WAY
WAY WAY WAY HARDER than it sounds).
There were many other things that pissed me off but that's all I can immediately remember
2 - 12 - 13
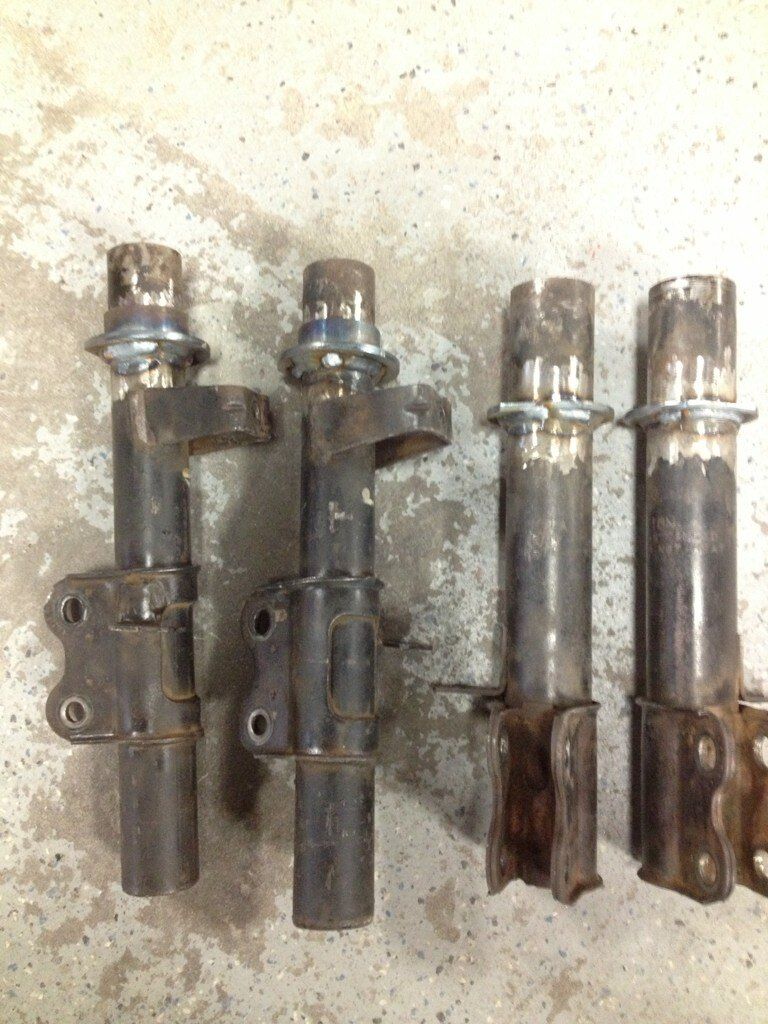
It's the little successes that really brighten
your day. I've had a rear strut assembly sitting in the garage for
months that I've tried EVERYTHING to get the gland nut off to remove the
shock insert. It's seriously one of the most-stuck nuts I've ever
messed with. So tonight I got bored and went out and figured out a way
to use an old tire iron in conjunction with a pipe to get enough torque
to turn it. I had to put it nut-first into the vice and tighten the vice
with the pipe. BUT it came out. And then I cut off the spring perch,
ground out the welds, and wire-brushed the top layer of grime off. If I
can do the same to the rest of the strut housings from the parts car I
can MASSIVELY minimize the down time for the GC install!
2 - 13 - 13
All the threaded collars are *gasp* THE RIGHT SIZE!!!
2 - 16 - 13
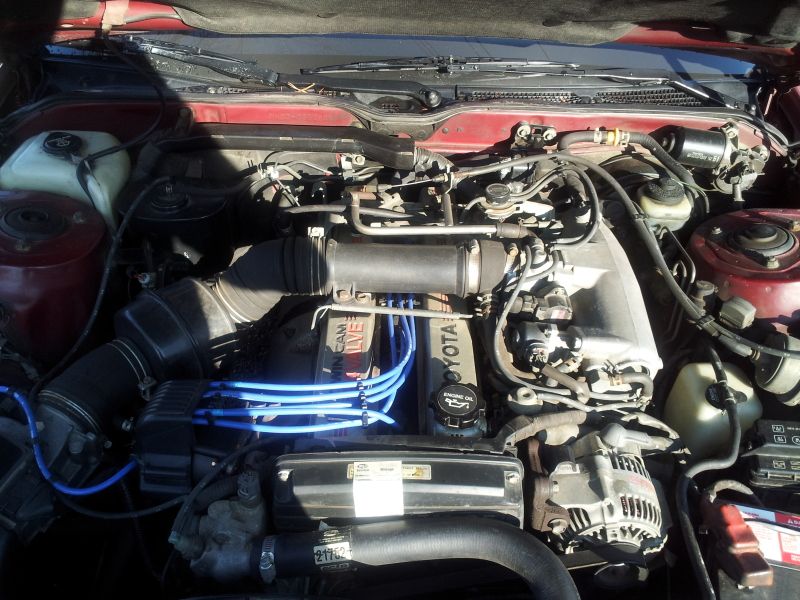
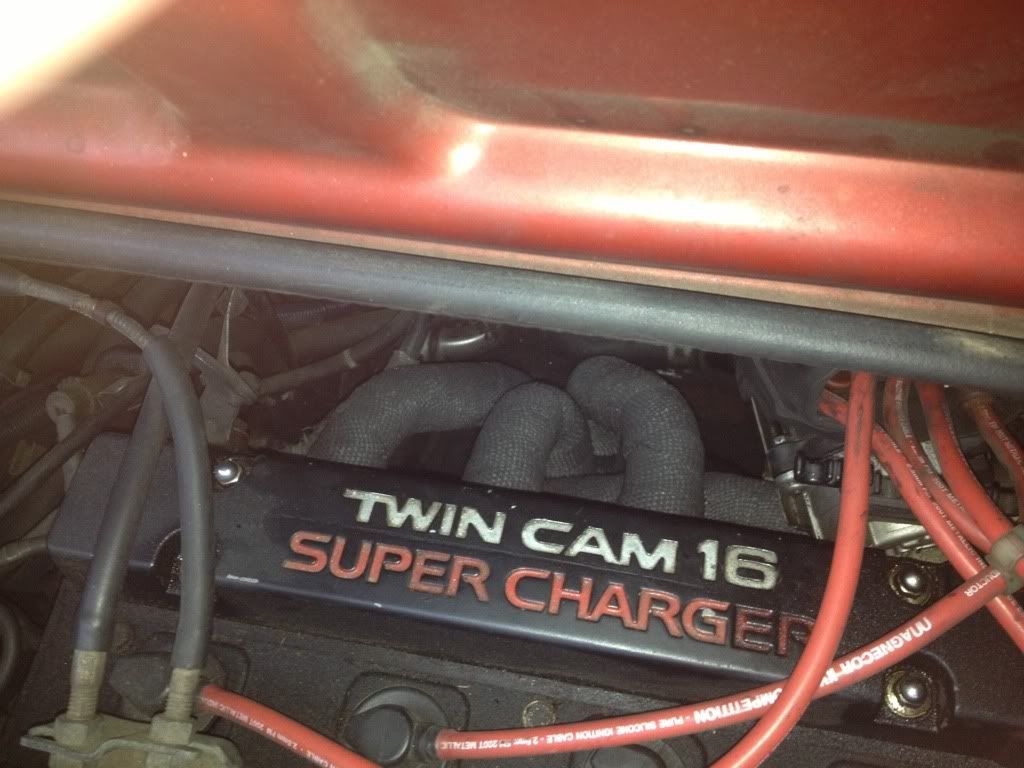
Took this a few days ago but forgot to post. Also, I'm really glad I
wrapped it because it's REALLY close to one of the shifter cables. Also,
I forgot how freaking close the dizzy and alternator are to the
manifold, so any protection I can give them is a plus.
It's a bit throatier sounding, maybe some slight low rpm power loss with
gains above 4k rpm. Keep in mind this header was designed for an engine
that revs to 8000+ rpm
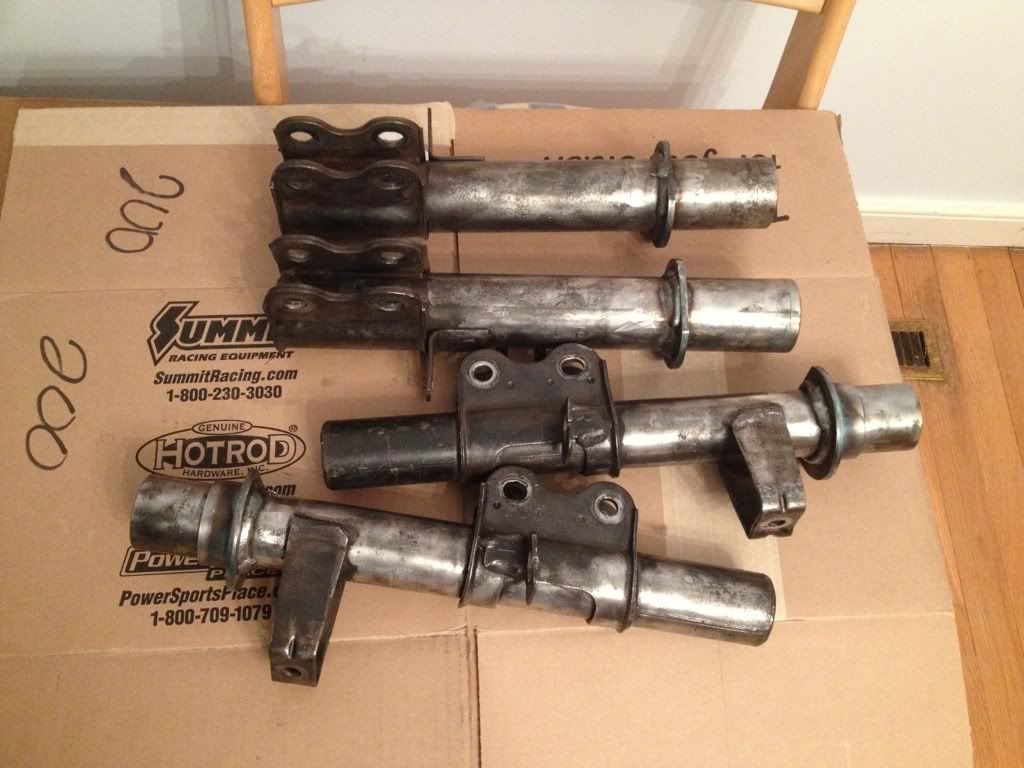
2 - 17 - 13
Went over to Mitchell's shop yesterday to work on the 86 and I brought
along my struts. Corey came over and used a welder in the shop to weld
up the spring perches. Now I just have to prep them and paint them and
then they will pretty much be ready to go on the car. I'm thinking about
getting camber plates for rear as well to complete the setup.
2 - 20 - 13
Struts are cleaned up and ready to be painted this weekend. I'm gonna
give them the same treatment as the wheels: adhesion promoter, primer,
and bronze paint
Weights: 5 lbs each. That's just the housing with no springs or shock insert.
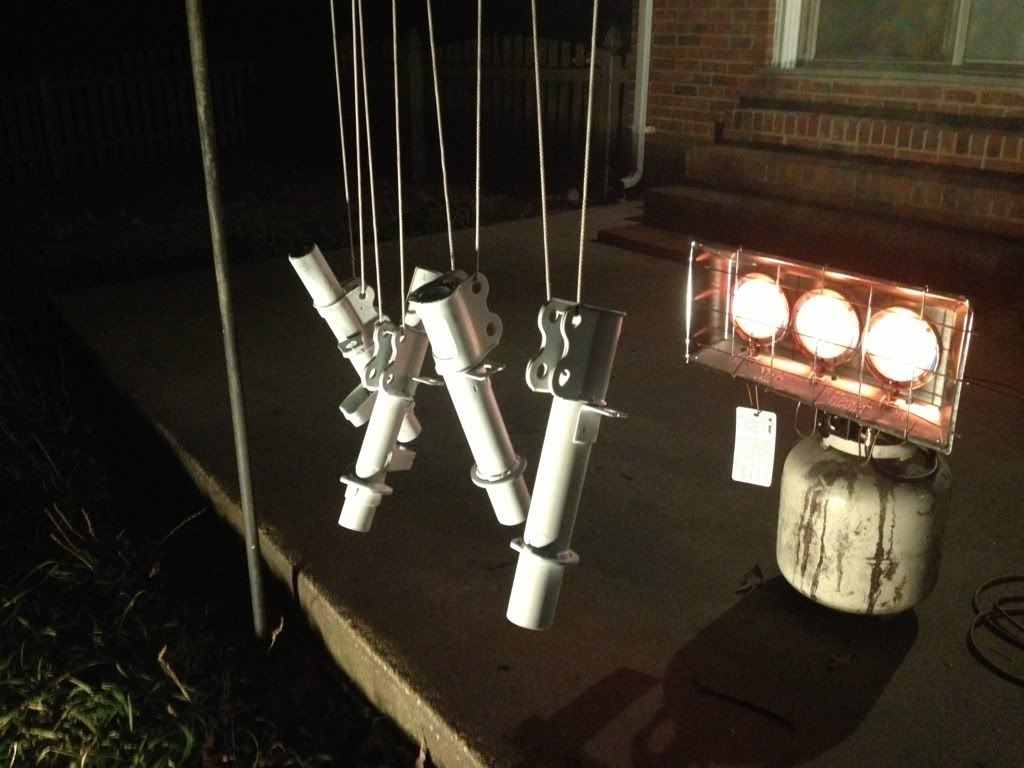
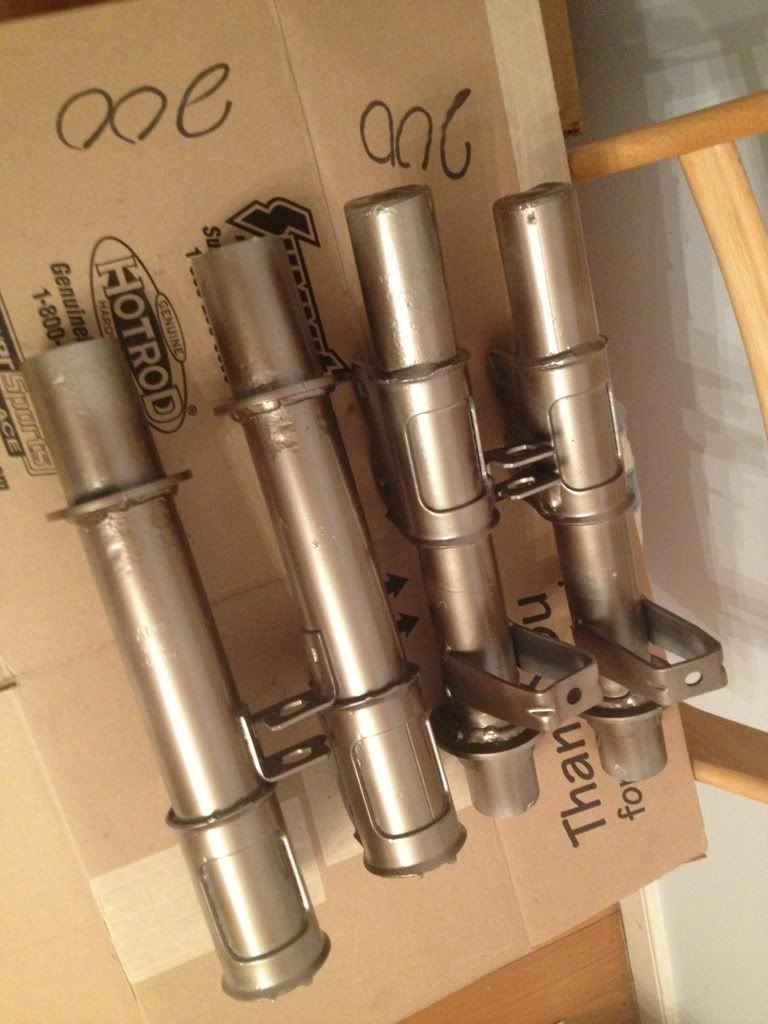
2 - 22 - 13
Primed
Painted with leftover bronze from my wheels:
2 - 23 - 13
Dyno'd again today. Graph is exactly the same.
Looks like the exhaust doesn't gain any power, but it is still lighter
and the wrap will cut down on underhood temps
3 - 5 - 13
Changed the trans oil and flushed the brake fluid yesterday. Also gutted
the brake proportioning valve so now I have equal brake distribution
front to rear.
Mileage is around 196k
3 - 17 - 13
Put in some fresh spark plugs. NGK BCPR6ES-11, re-gapped from 0.042 out of the box to around 0.032-0.034 in the car.
3 - 20 - 13
After multiple instances recently where I really
needed immediate supercharger-style oomph down low but didn't have it, I
finally ordered a Gruntbox so I can actually have some power under
3500rpm with that CSI spraying some extra fuel in there. Needing to
merge NOW and having to wait 2 seconds for rpm's is not acceptable on an
SC engine.
4 - 5 - 13
I bought this car 5 years ago today!
4 - 13 - 13
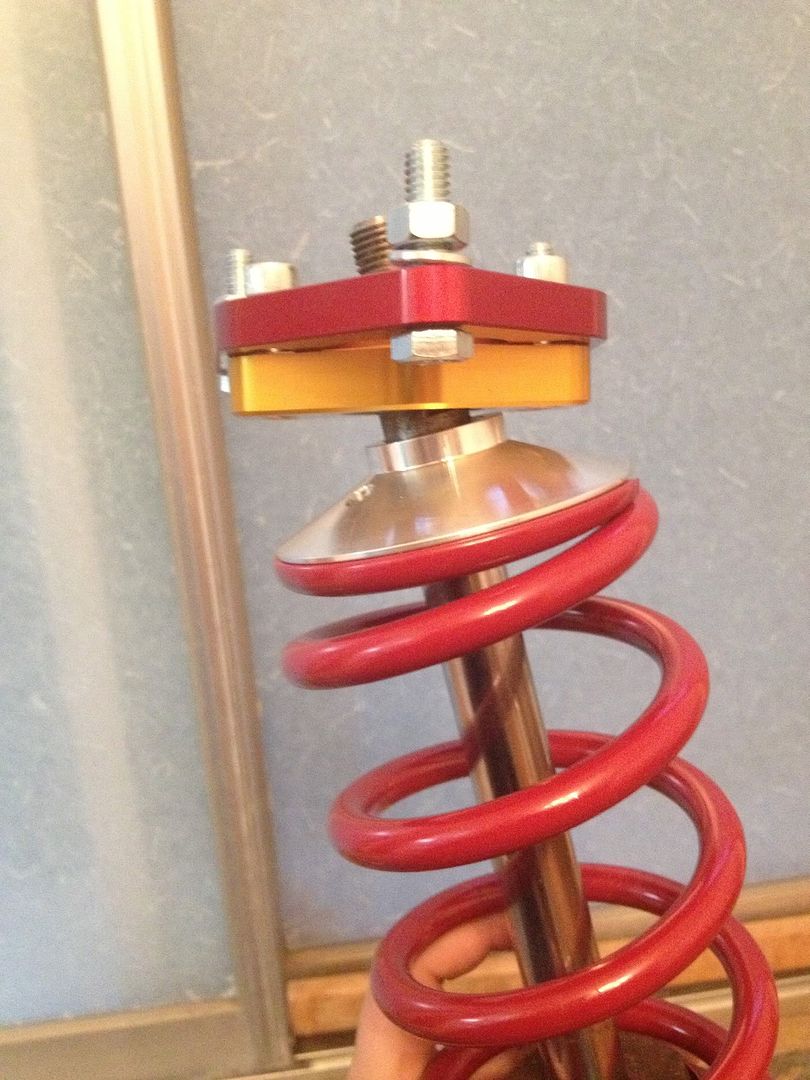
So I've been staring at my coilover bits about to go on and there are several things that bug me.
1.
Even though I followed the supplied directions, I don't think the
welded perches are low enough. No way to know until a test fit though.
If not, good thing Mitchell has a welder now, so I can just grind it
down and re-position them.
2. I might need to get some helper springs
but they aren't cheap. Most people just go without, but if it's not TOO
expensive, I may go ahead and do that after some test fitting.
3.
How the T3 camber plates interact with the upper spring hat baffles me. I
have two different kinds of hats: the GC-supplied flat ones, and some
conical ones I bought for (relatively) cheap from T3. Now, T3 also makes
a "camber plate" upper hat, but from the picture on their site it
doesn't look like it solves my issue, so I've emailed Gabe about it.
This is what I said to him that describes the issue:
"Hey there,
I am currently piecing together coilover stuff for my
88 AW11 MR2 SC. I have the typical Ground Control weld-on stuff with GC
springs, Koni shocks, and your awesome T3 camber plates, all just
waiting to go on the car. However, after looking at how the upper spring
hat and the camber plate will interact, I have been trying to figure
out the best way to make this work. I have the standard GC-supplied flat
upper hats, but I saw that that wouldn't work because then the upper
hat will be hitting the bottom of the camber plate at a weird angle on
the front where I am running a bit of caster. So I ordered a set of
conical upper hats from you guys to see if that would be a better
solution, but now it's just the top (collar is the right word I suppose)
part of the hat that will be making contact with the plate, still at a
weird angle.
I suppose my main question is: what is the main
difference with your "camber plate" upper hats besides having a bearing?
Does it have some kind of spacer that goes on top of the bearing that
fits inside the recessed part of the bottom of the camber plate and
makes contact with the pillow ball itself, thus allowing some caster
angle? Can I get a better image of a complete "camber plate" upper hat
and how it interfaces with the camber plates?
Sorry if that's super long winded, but I've been staring at these parts in my room for so long it's giving me a headache haha.
Thanks!"
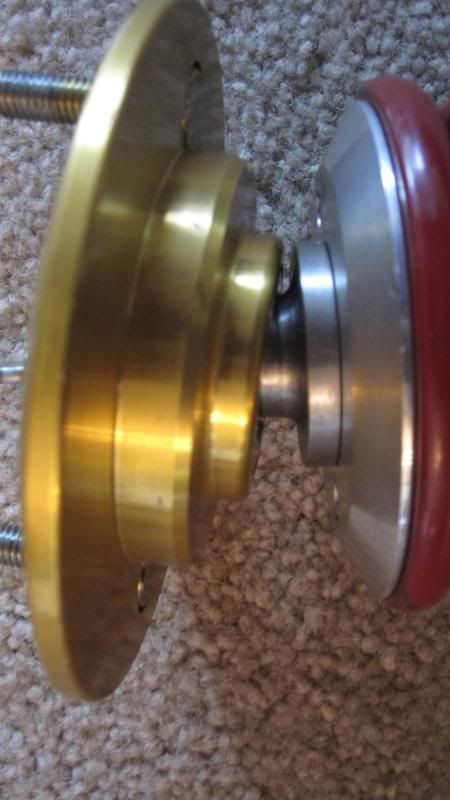
Here are pictures of what I'm talking about:
GC flat upper hats
T3 "conical" hats
And here's the generic picture of the "camber plate" upper hats from
T3's website. I think they do come with a hardened spacer/washer thing
that would clear all this up, but I'm not 100% sure, and those are
$60/pair vs the $20/pair I paid for the conical ones.
"The Camber Plate Upper Hat System is available for any car using
coilovers. It can also be utilized with most other camber plates on the
market, including Cusco and Cusco-Clone camber plates.
This part is only required when using coilovers and camber plates together.
Camber Plate Upper Hat System Includes
2 upper hats
2 hardened washers
2 needle bearings
2 upper race washers"
At this point I'm getting sort of wary of the
whole GC setup. Not to mention the fact that the kit that comes from
TwosRUs (and GC themselves) is different than what T3 sells (T3 kit has
much longer threaded collars but not the part that takes up the extra
space between the front strut housing and the weld-on ring). I almost
wish I just poney'd up for BC's and was done with it. At least those
adjust ride height by moving the whole shock body to preserve travel
like coilover should, as opposed to just moving the lower spring seat
around. Plus, by the time I'm fully invested in this setup I will be
basically at the same price point anyway. Koni's are $600, GC kit was
just over $400, T3 camber plates were $180/pair so that's $360, the
conical top hats were $40, and if I need to get the T3 "camber plate"
top hats those are $120 and I'll return the conical ones. That's like
$1600 for a setup that lacks many features of "real" coilovers. I'm
aware that your typical ebay fare (D2/F2/Ksport)'s are junk for
dampening, but people seem to like the inverted higher-end BC's.
If
I can't figure out this top mount issue and get the ride height right
after some test fitting, I may just sell off all my stuff and buy the
inverted BC's.
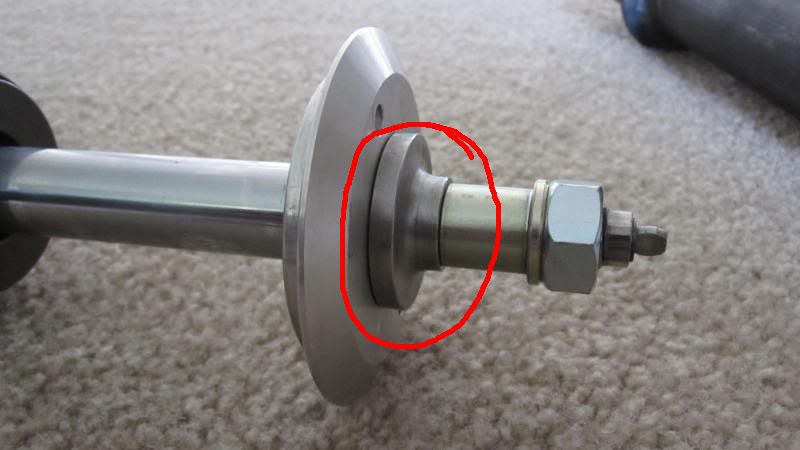
It looks like this is the kind of thing I need. I found these on google image search.
I'd need them to be able to slip over the shock shafts. Front shaft
is 3/4", rear is 7/8". As it stands, the T3 conical hats I have are all
7/8" so they fit the rear fine, but have some free play on the front
(the opposite is true with the GC hats, they are all 3/4" and don't fit
on the rear shafts). I think that if I could find the weird spacer
things like in the pictures, in the right sizes to fit over the shock
shafts AND deep enough to clear the camber plates, combined with the T3
"camber plate" top hats with the needle bearings in them (assuming they
too can be made in the right sizes), would be a perfect solution.
I'm going to email Gabe and see what they say.
5 - 1 - 13
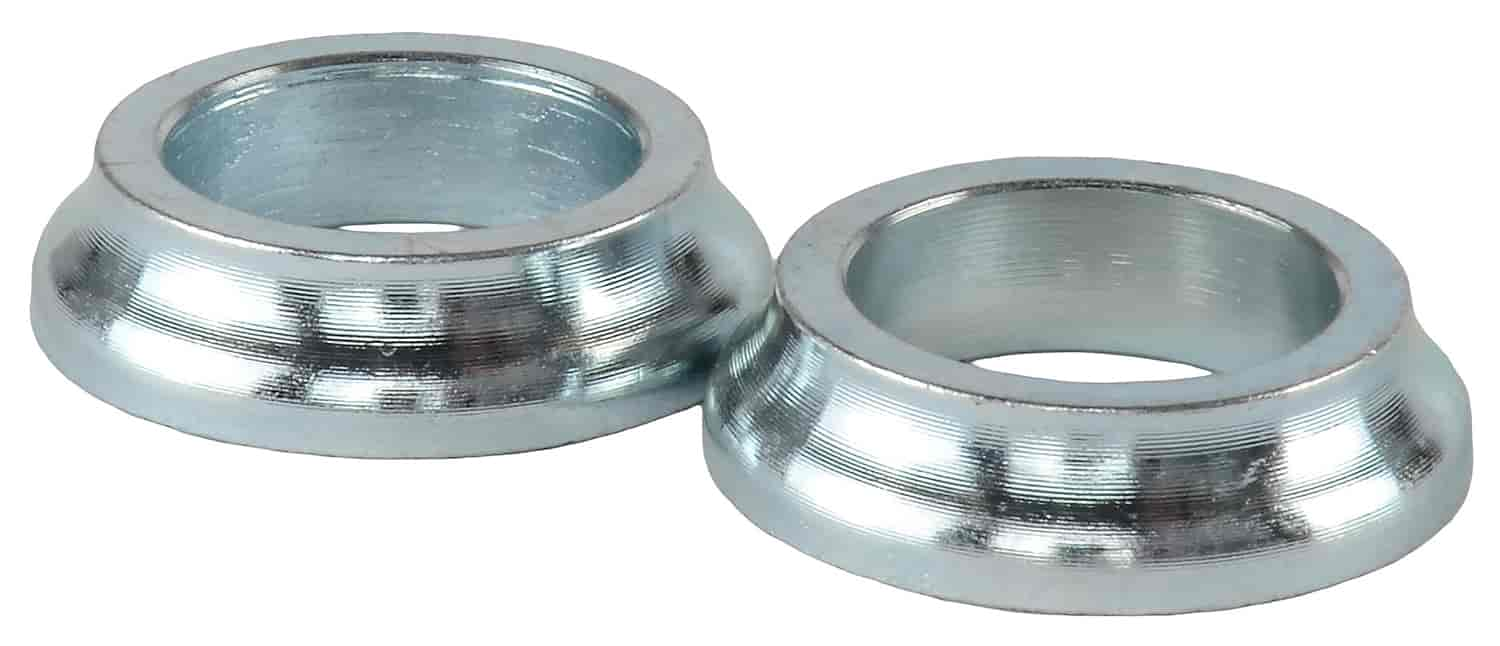
I ordered four of these little guys. I think some combination of these, a
washer, and maybe a little bit of machining on the camber plate should
work
http://www.jegs.com/i/JEGS-Performance-Products/555/64205/10002/-1?parentProductId=1299641
LATER THAT DAY
Got a response from Gabe at Techno Toy Tuning
"For the front it is best to use these:
https://technotoytuning.com/toyota/aw11 ... m-aw11-mr2
The
setup you are talking about would focus the complete weight of the car
on the bearing in the camber plates. This would put the bearings in an
axial load and constantly try to drive them out of socket. This is why
camber plates typically start making noise fairly quickly.
You are correct that it would give the best full articulation, but at a cost of noisy and quickly damaged camber plates.
We
put our swivel bearing hats directly against the gold block. The 4
parts of the swivel hat handle the camber articulation reasonably well,
put the full weight of the car on the gold block, and free up steering.
The needle bearings do take more load on one side than the other, so end
up being a sacrificial part, but they generally last 3 to 4 years of
daily driving and keep the camber plates quiet. I only send a few sets
of needle bearings out a year as replacements out of hundreds of sets of
camber plates sold per year.
Out back you don't need any turning
motion at all. I would suggest a thick rubber washer between the flat
upper hats you have and the gold block.
The rubber washer will
handle the minimal camber angle fine, and keep metal on metal noise
down. Again, focusing the weight on the gold block and preserving the
bearing in the gold block.
Whatever upper hat you use, it should be free floating up and down the shock shaft.
The rear shock shafts you have are likely 22mm, the front 20mm.
If
using a 22mm bore hat on a 20mm shaft, you will not get any undue slop
or noise. We've done it plenty of times with no poor results.
Please let me know if you have any more questions."
Then I replied:
"I hadn't really thought about wearing the
bearings, I guess I thought that's how it was designed? My main concern
with this was the angle created when there is extra caster dialed in,
but I just looked closer at the car and the front strut mounts are not
vertical, and in fact already tilt back quite a bit, minimizing the
would-be angle between the plate and upper hat. Maybe I'm worrying about
nothing?"
5 - 5 - 13
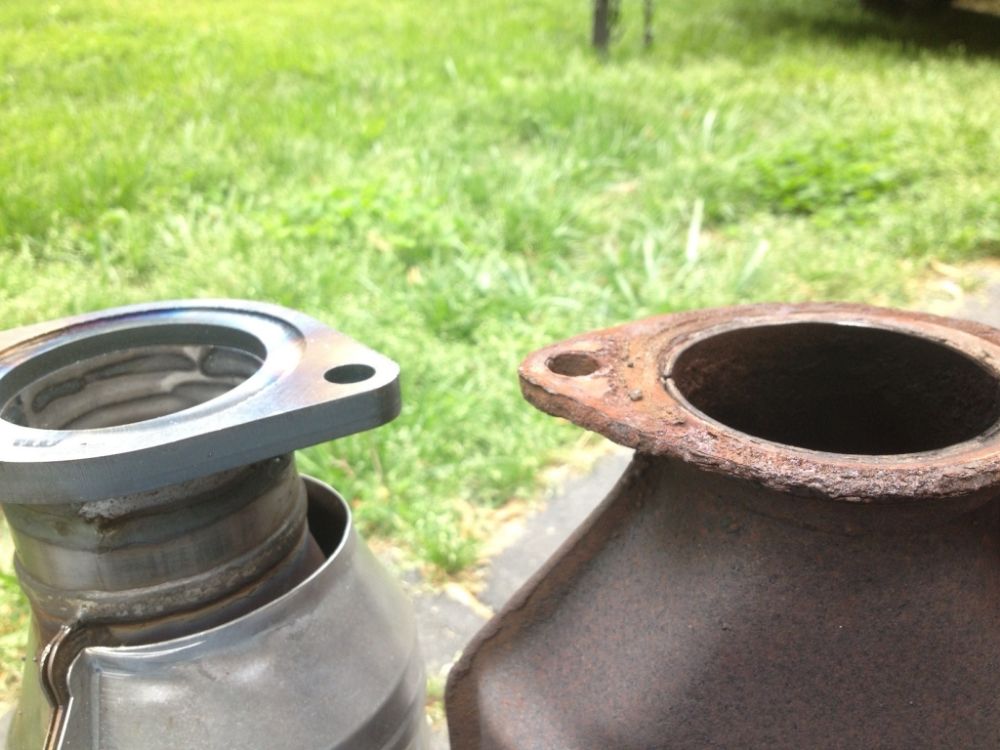
New cat is in. It's a Magnaflow universal cat with Toyota flanges welded
on by SV3Power.....flanges that are actually the right size and seal
properly. Imagine that.
5 - 6 - 13
My to-do list for this car
Remove muffler, prep, paint, reinstall
Install Gruntbox (whenever it comes in)
Install/adjust coilovers
Adjust sway bars to compensate
Get alignment
Front: -2 or 2.5* camber (whatever it's running now, I don't remember)
Max caster (something like 6.5 - 7*)
0 toe
Rear: -1.5* camber
0 toe
Remove gutted brake prop valve housing and replace with fittings
Completely rewire fog lights
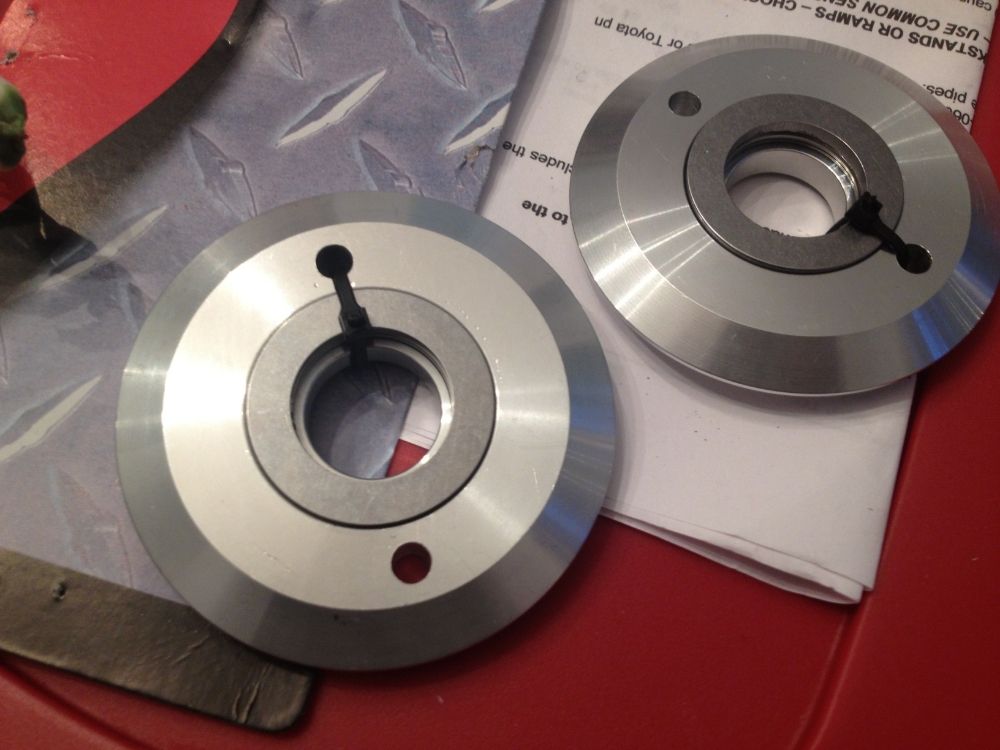
5 - 7 - 13
Took the T3 camber plate upper hats over to the Ju house and used the
drill press to drill the holes that will be used to zip-tie them to the
top of the springs. Aluminum is MUCH easier to drill than steel, by the
way.
5 - 16 - 13
New aux input cable (now standard 1/8" instead of old iPod 20-pin) and the GruntBox
The ipod cable in my car is breaking on the inside. It no longer charges
the ipod, and it occasionally stops sending signal to the left side of
the car. Plus it doesn't work on newer ipods/iphones for some reason.