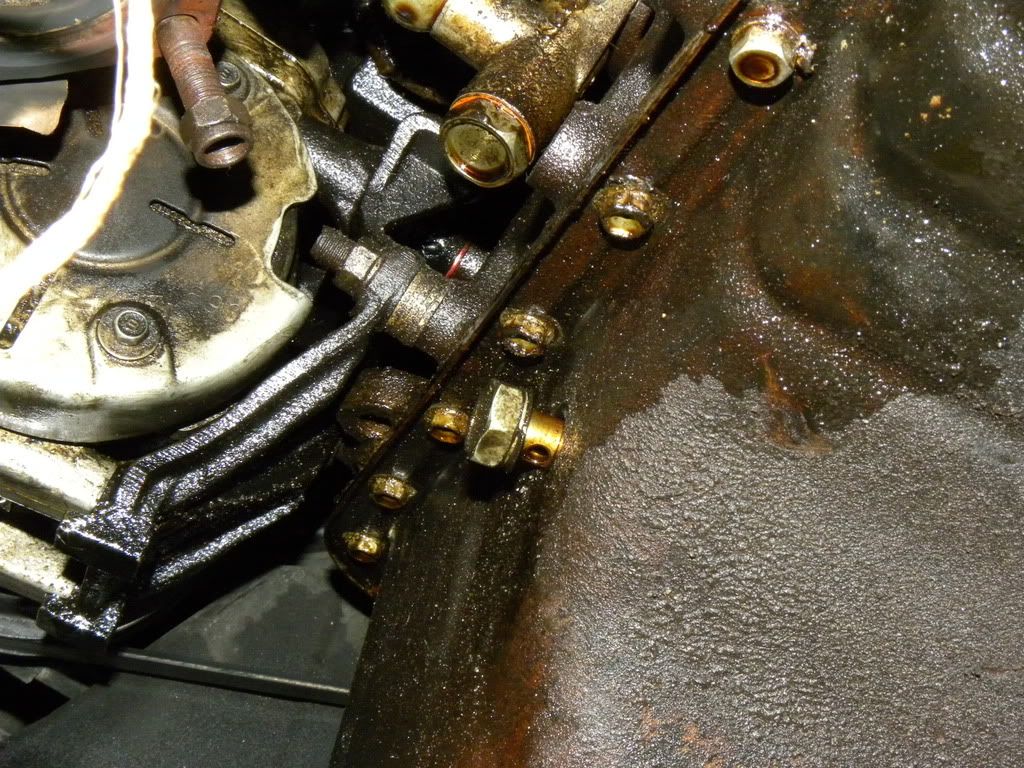
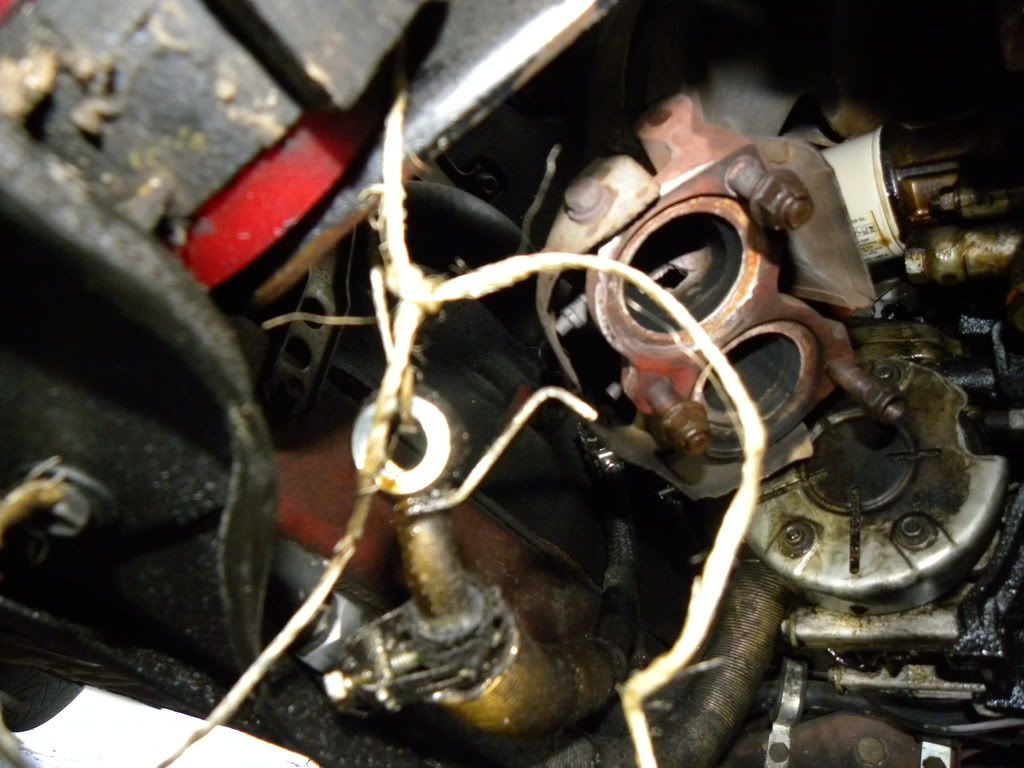
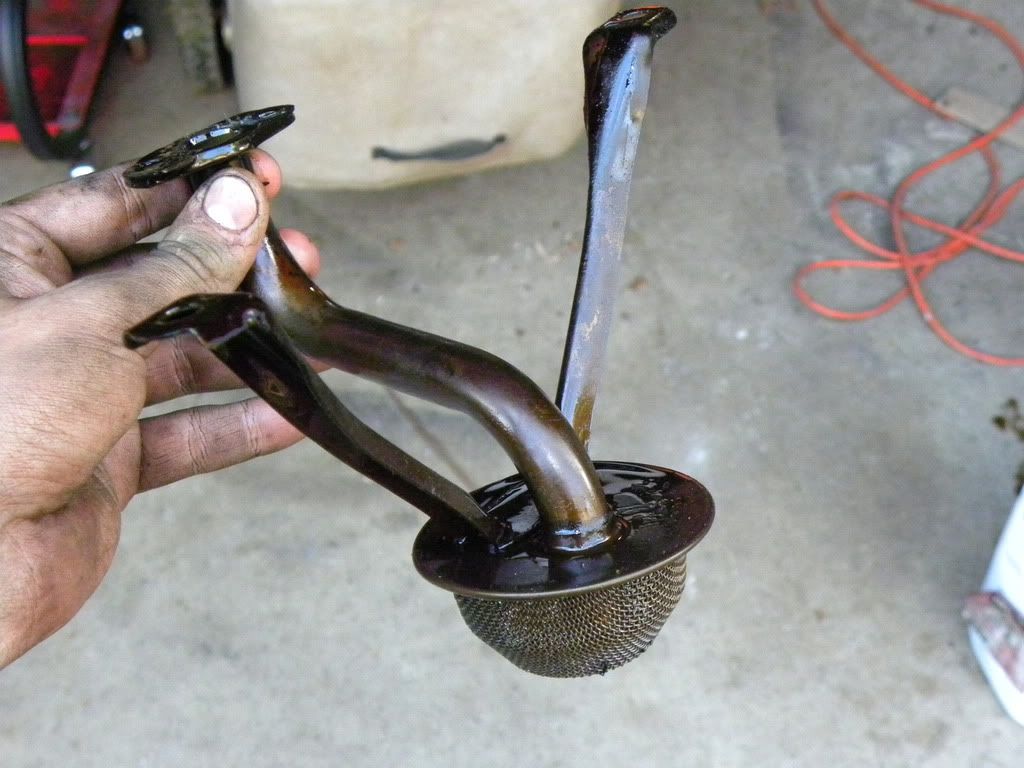
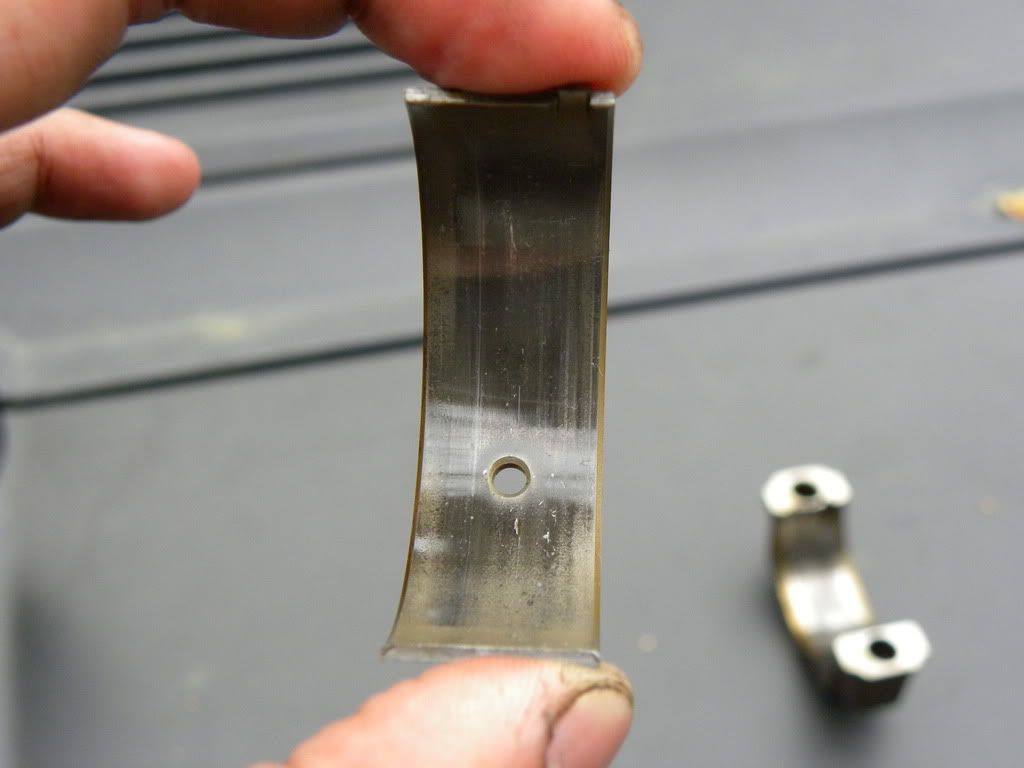
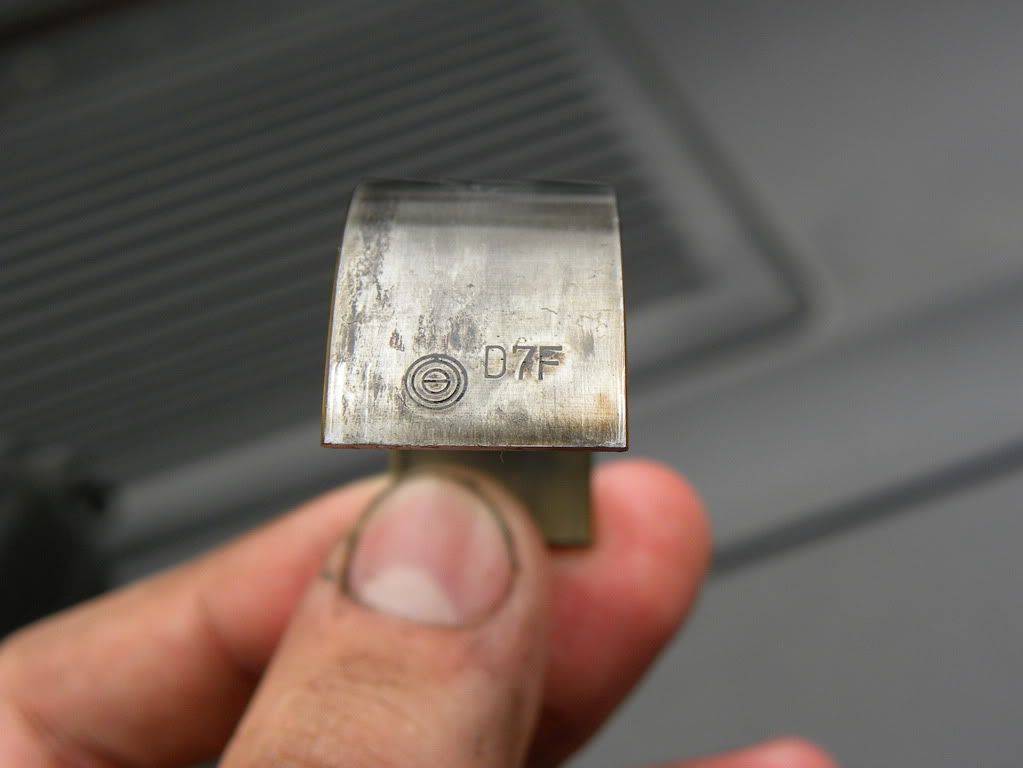
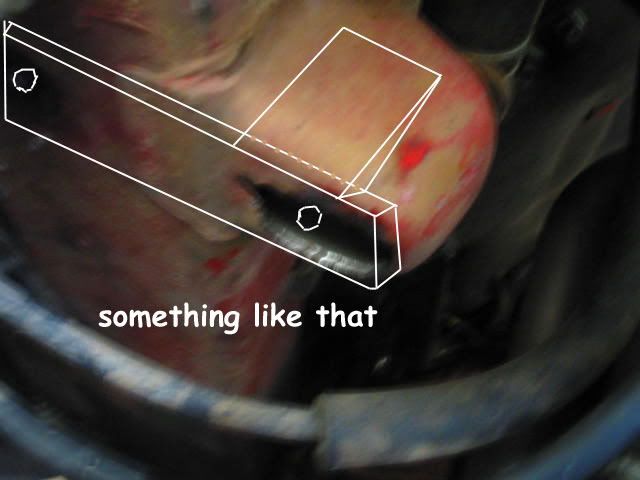
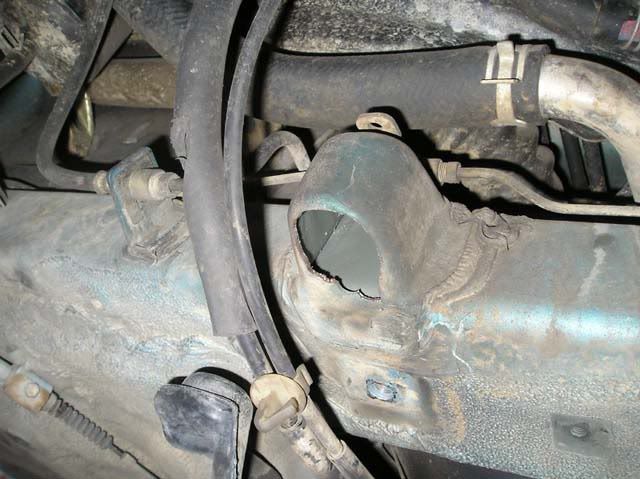
New water pump is in
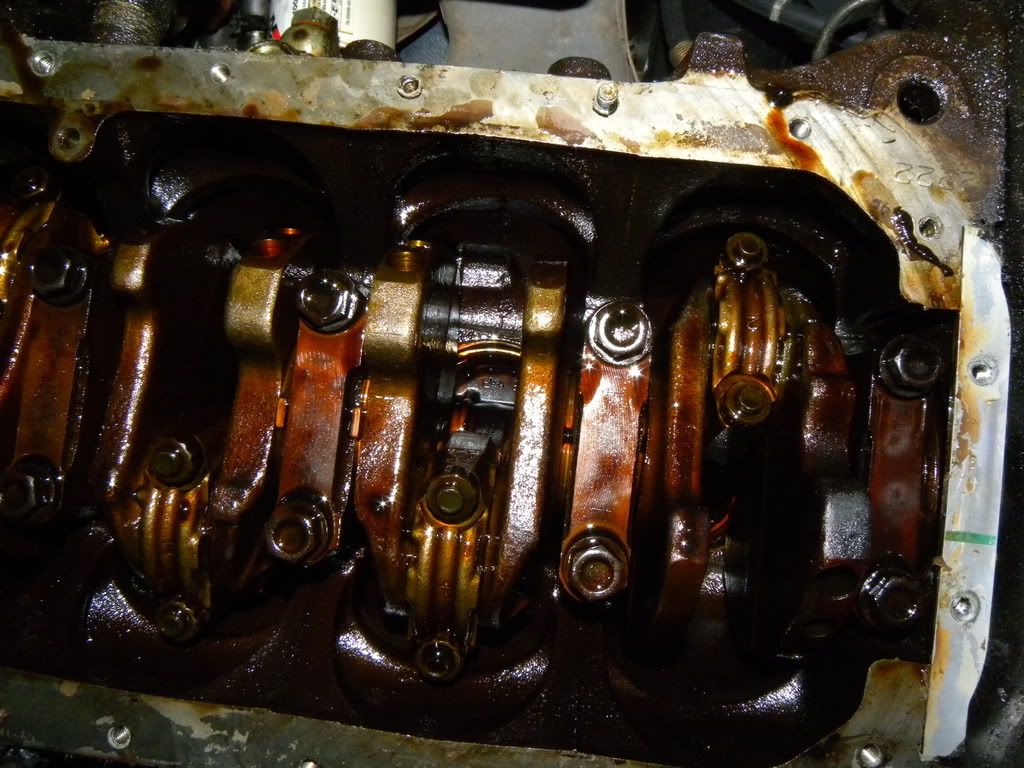
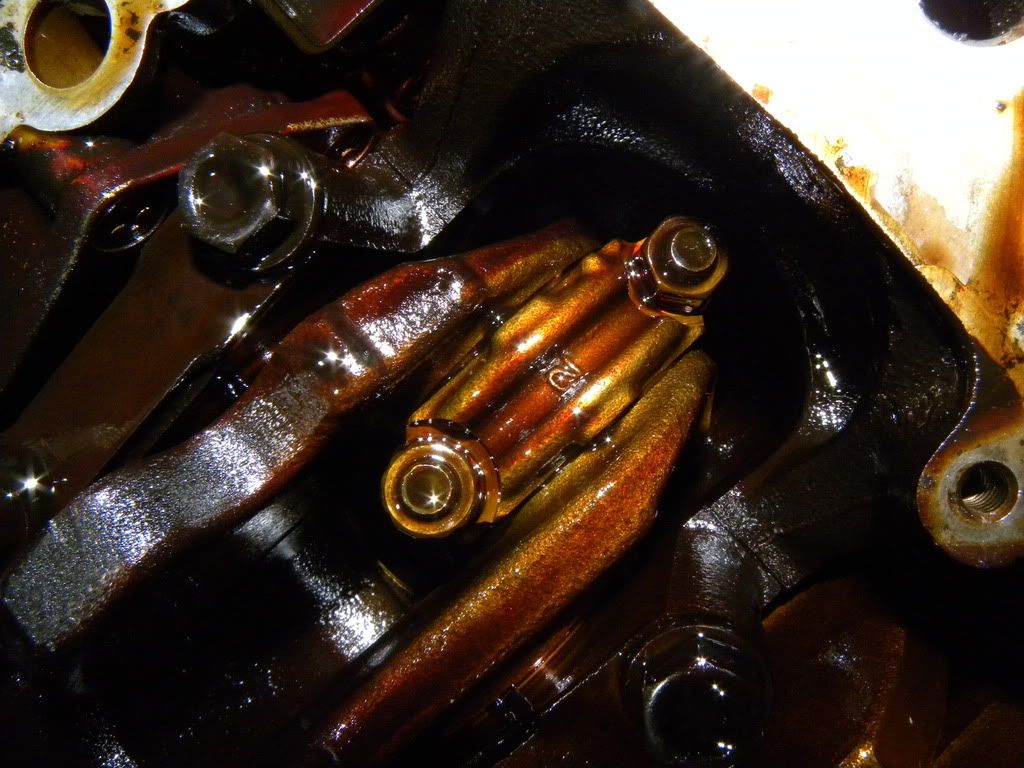
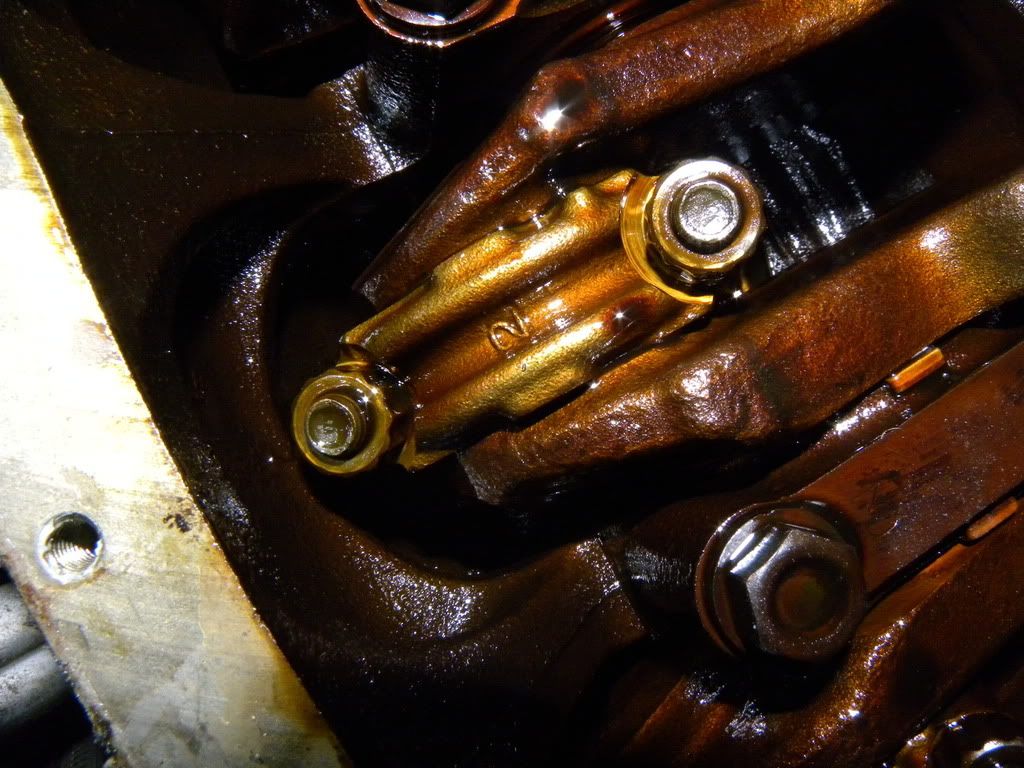
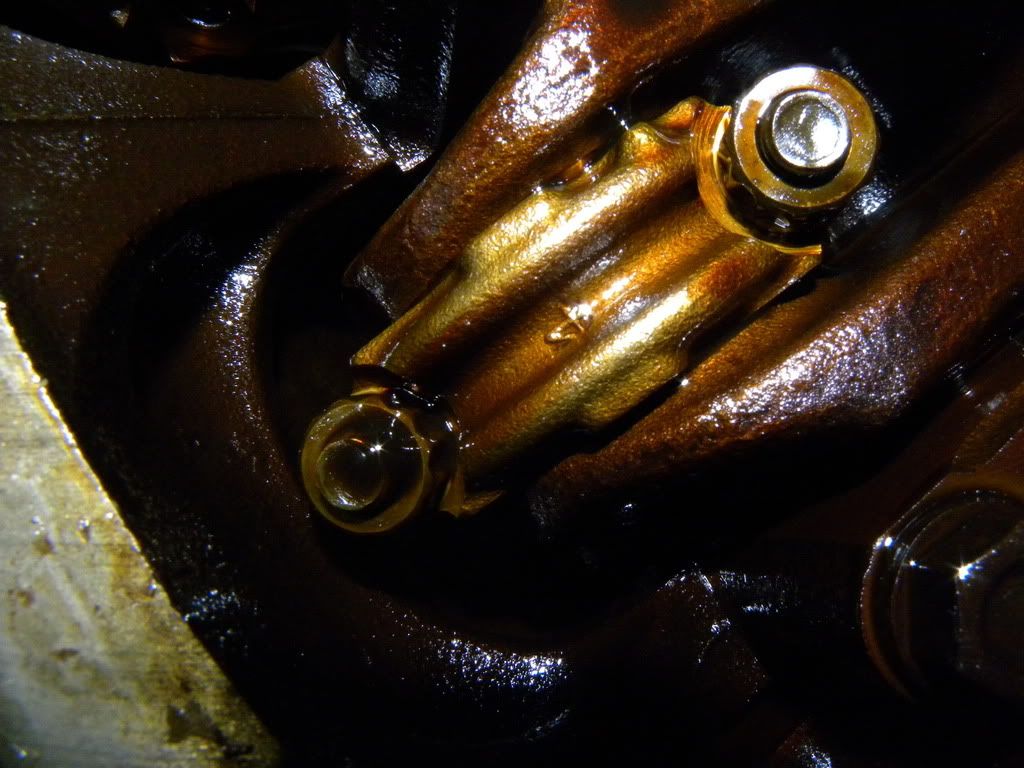
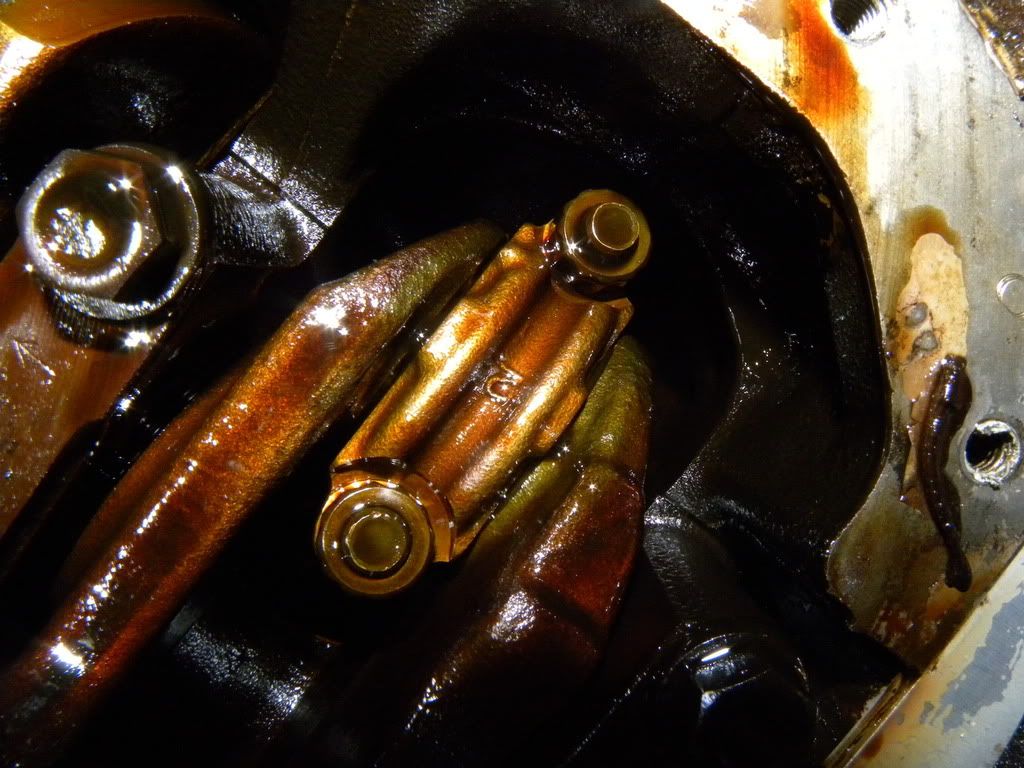
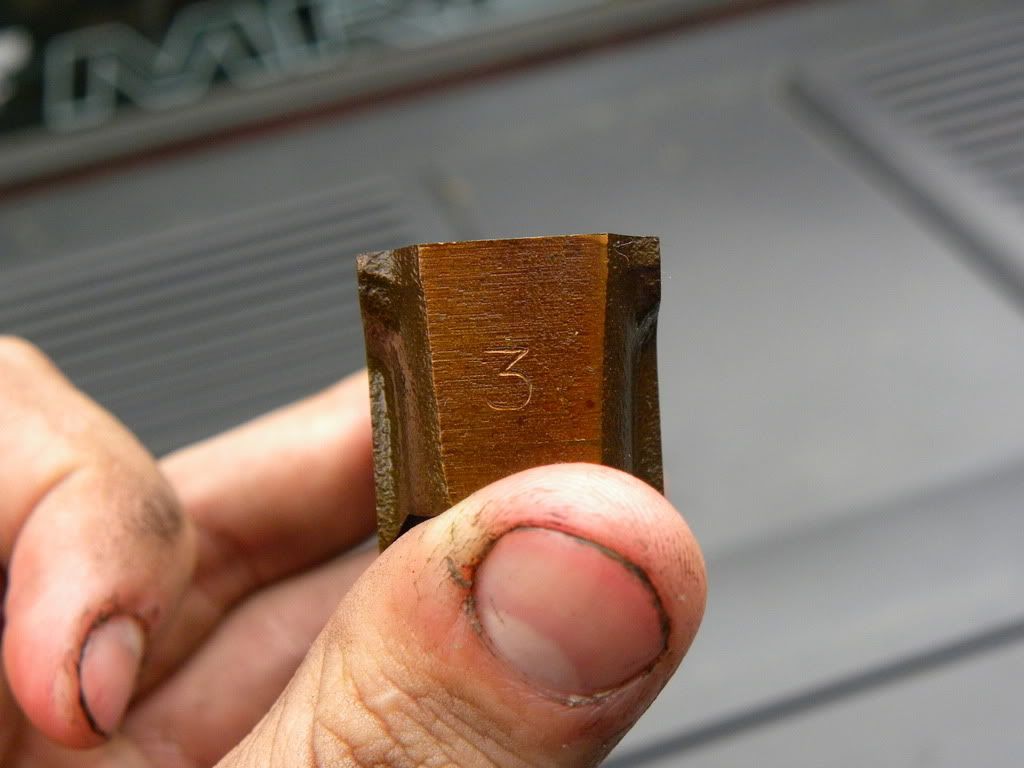
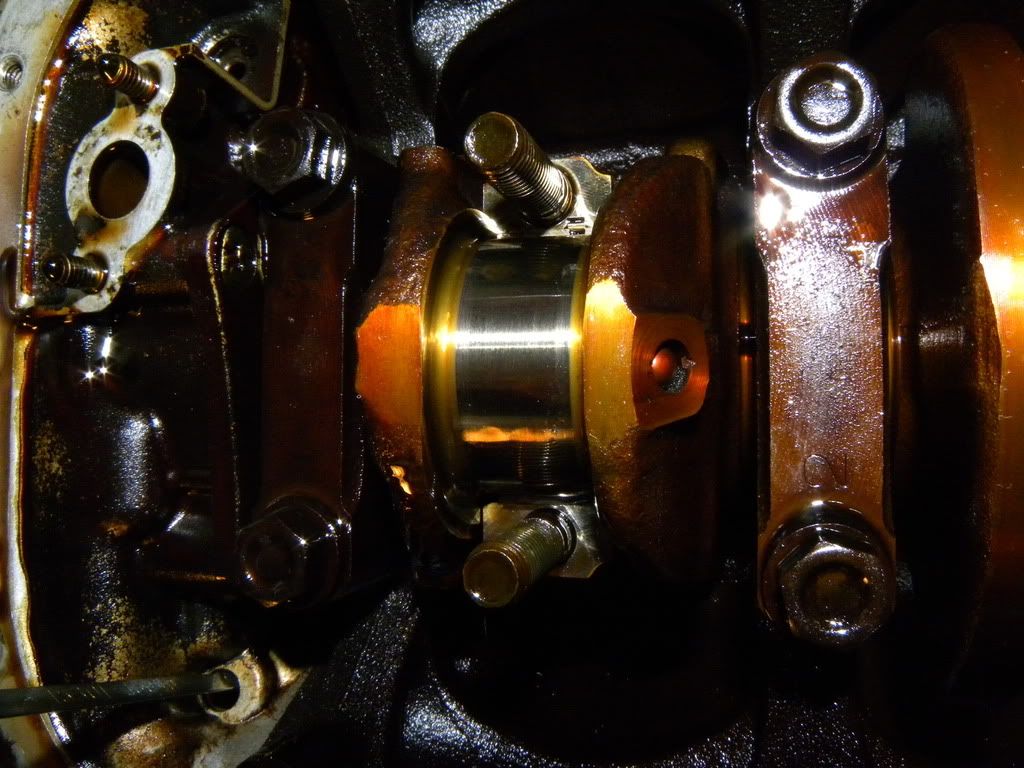
 It looks like my pistons are burned or something.....or like one part of them is not dirty. What does this mean?
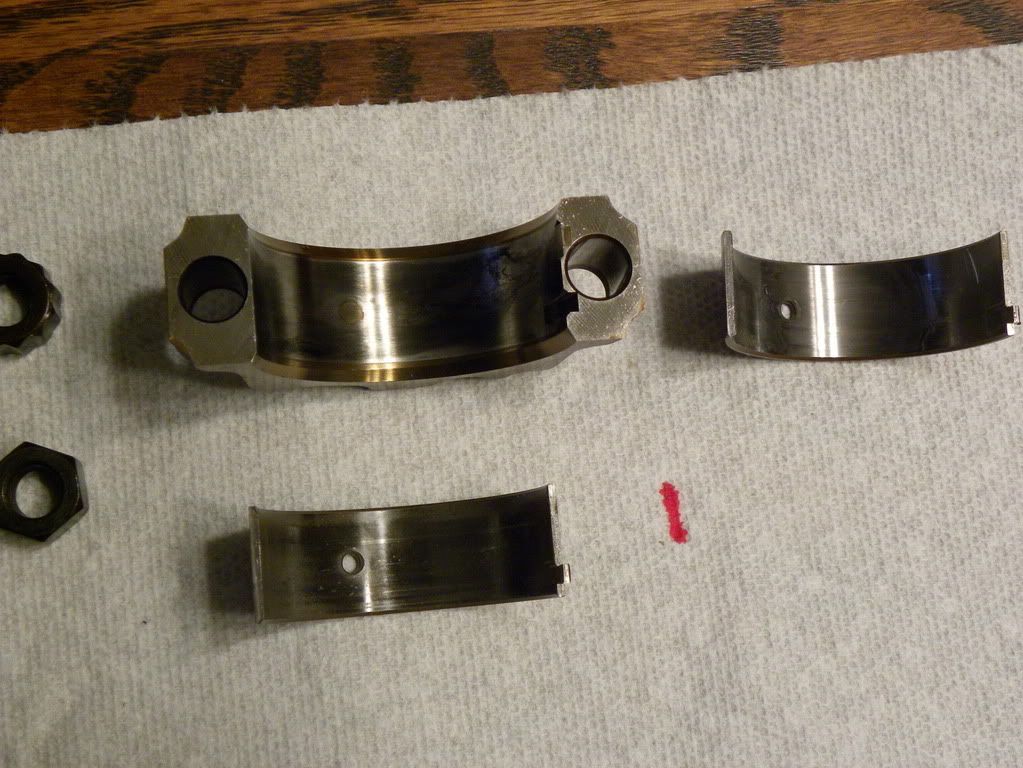
Piston #1

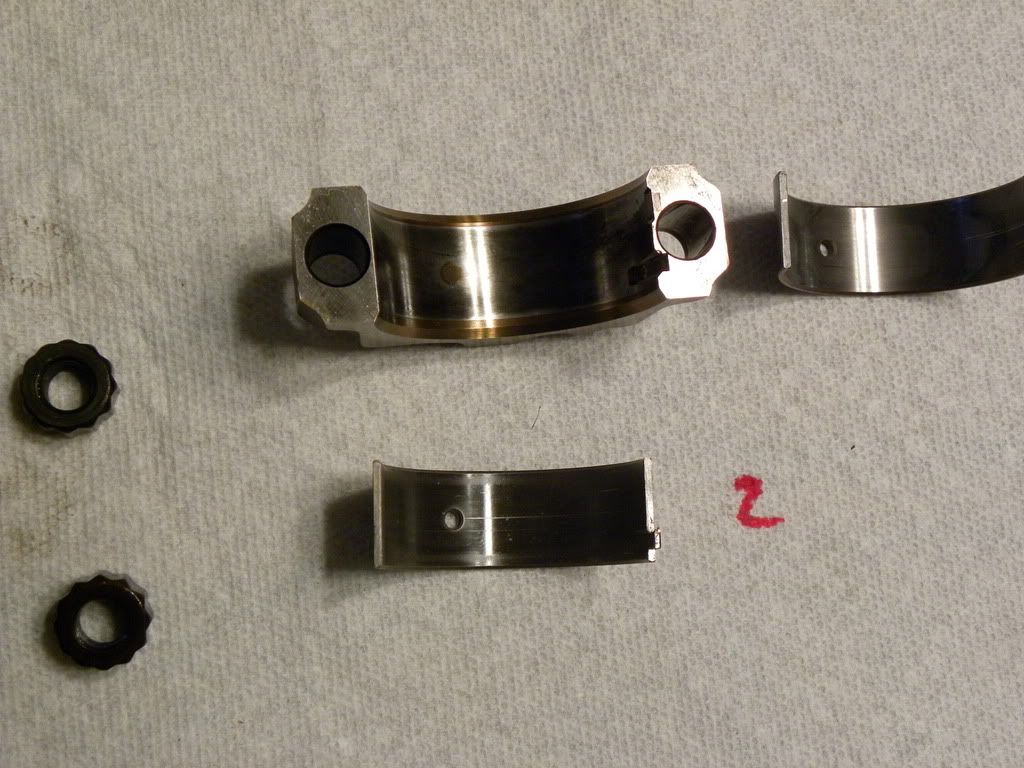
Piston #2

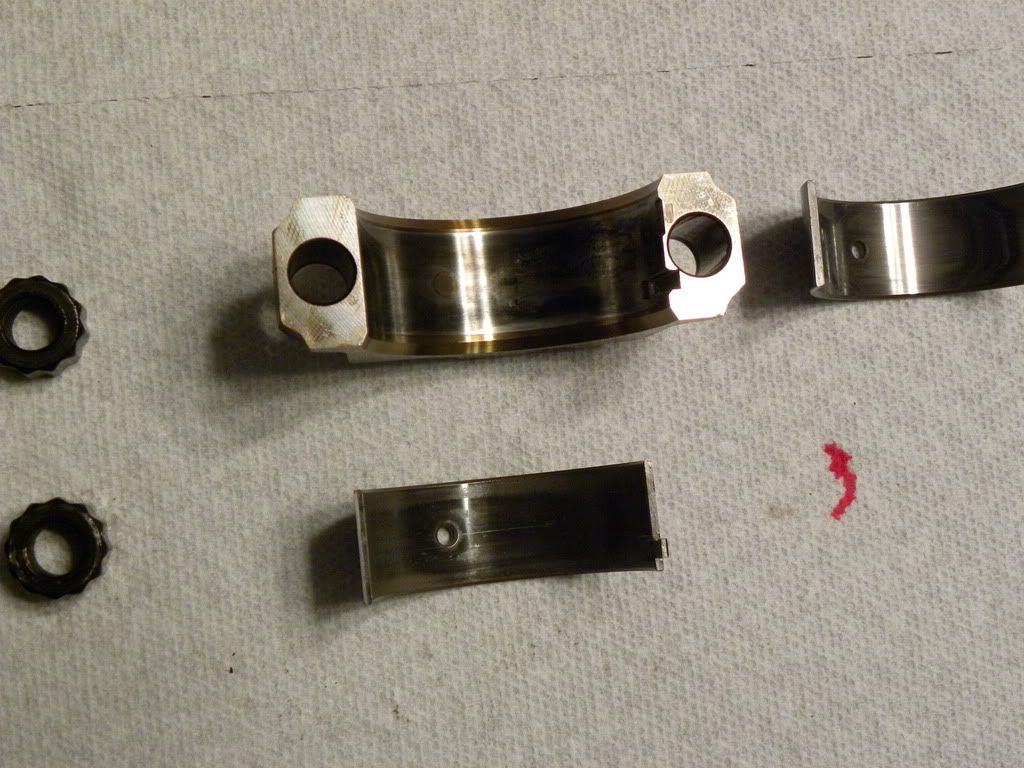
Piston #3

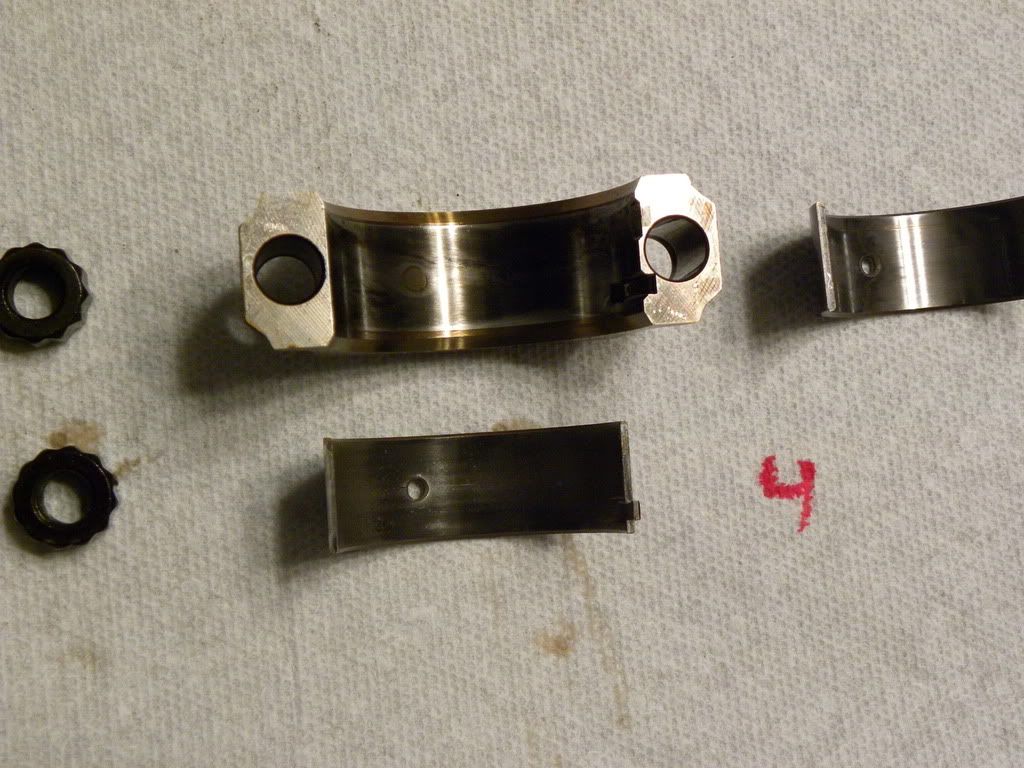
Piston #4

6/9/11
Because things are taking so damn long I'm probably going to end up taking it to NAPA machine shop up on Chamberlayne. Dude said it would be like $270 for milling and valve job and would take like a week
6/15/11 all parts are in. took the head to the machine shop today only to learn that i had left the cams on they can adjust the valves for me.....I thought I was gonna have to do that myself.
anyways so I brought it back home and put the cams back on and I'm taking it back tomorrow
6/16/11got my HellaFunctional sticker in today :D