3/9/14
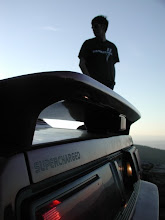
Limit
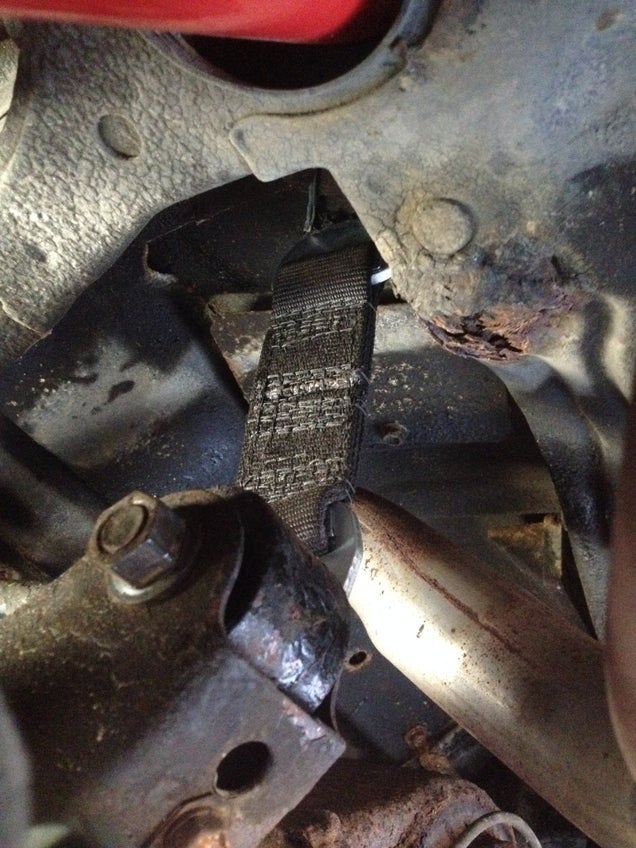
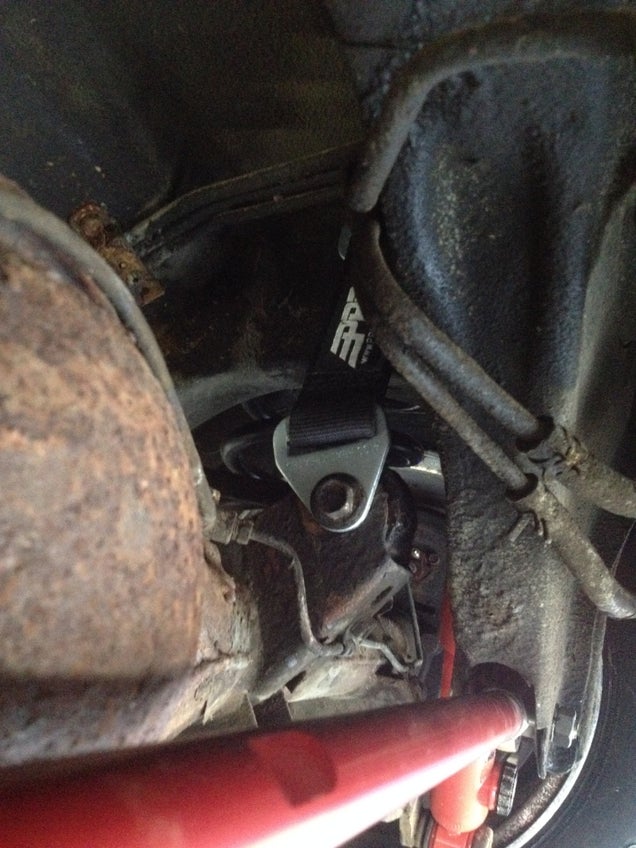
straps installed. Bottom is bolted to the upper arm bolts and the top
is fed through slots cut in the floor of the trunk and held in place
with crossbolts. Not super ideal but hey it works.
3/18/14
Ever
since I bought the car the HVAC controls have been very hit or miss.
There are four fan speeds: Auto, Off, Low, and High. Off obviously
worked, but Low never did and High was intermittent. Basically to have
any fan at all I'd have to use Auto which varies in speed depending on
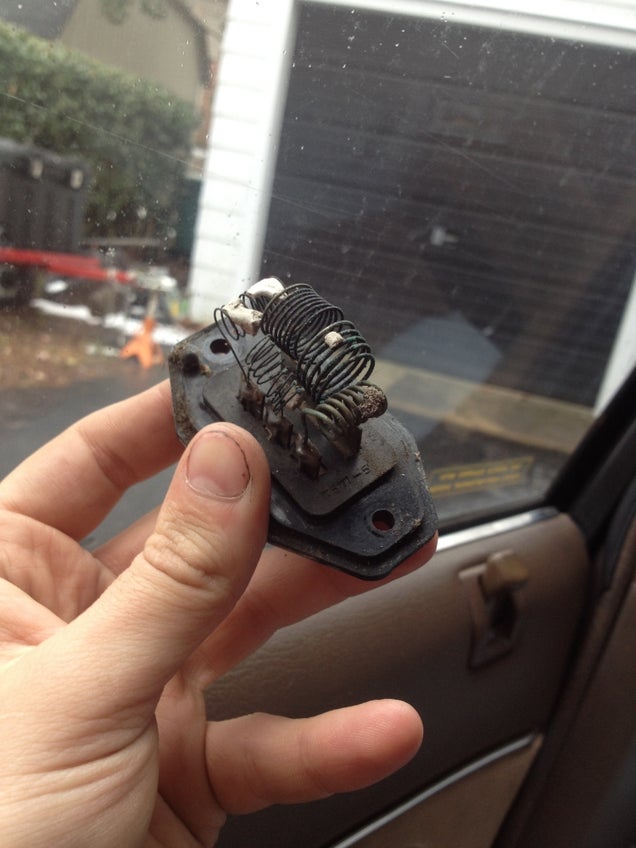
the temperature in the car. So I overheard somebody talking about a
blower motor resistor pack. I'd never heard of it so I googled and low
and behold it could be the issue. So I looked it up at work and it was a
whopping $12. Discontinued. One left in the country. Bought.
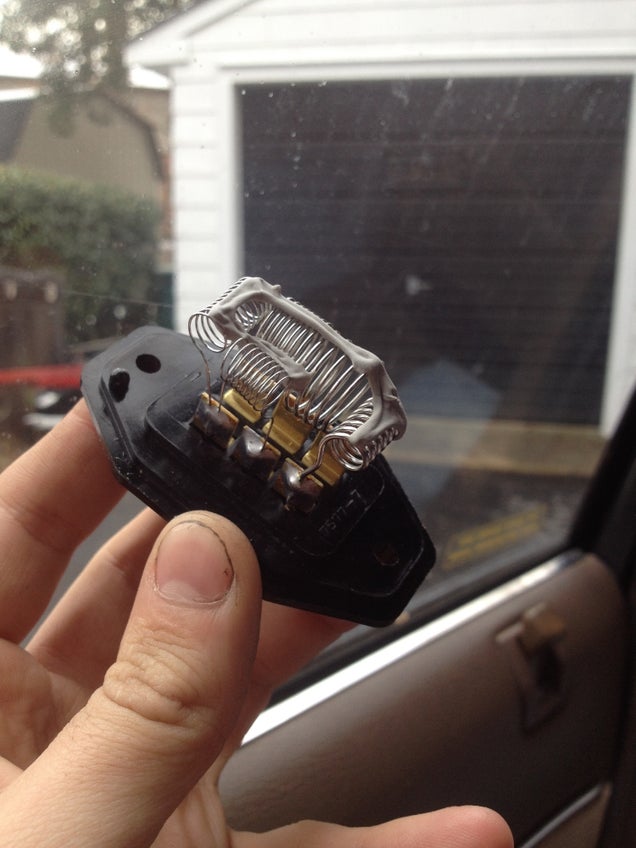
Installed. Fixed. Here's the old one. Several broken connections,
deteriorated metal, and generally garbage condition.
Here's the new one. So shiny and functional-looking.
SUCCESS!
3/31/14
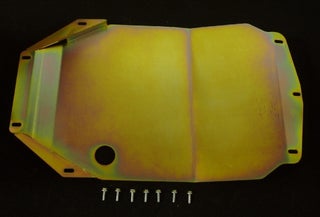
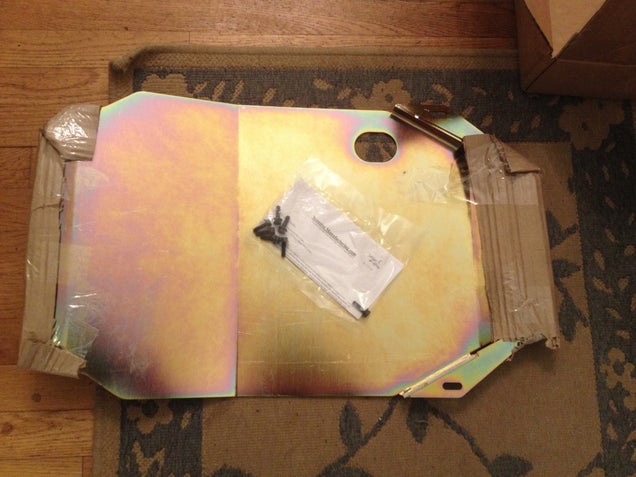
Just
ordered one of these pretty babies. This comes after freaking myself
out by scraping my subframe while shuffling cars around my driveway. I
figured my oil pan could use a little extra protection.
4/7/14
I
swapped out the front parking light peanut bulbs for some LED's and
holy god are they bright. And awesome. I did the same on my MR2 (euro
dual bulb housings ftw) and it just looks awesome.Tomorrow my skid plate
should be arriving, but more importantly weather permitting I will
probably be putting the car in the air and pulling the diff out to
investigate my clunk. I'm almost positive it's the spider gears. I'm
going to bring the diff into work and have one of the mechanics look at
it (the guy restores vintage Land Cruisers, so he knows a thing or two
about diffs). The fix will consist of either new shim washers to get
proper clearance of the spider gears (like $10), or a spider gear kit
with new gears (like $165, with only two left in the country last I
checked). So hopefully I'll be rid of this awful rear end clunk
relatively soon.
4/8/14
I
got the diff out today. I think there are some clearance issues with
both the spider gears AND the ring/pinion. Neither are terrible, but I
think a combination of the two is leading to too much play. I'll be
taking it in to work with me tomorrow. Hopefully one of the techs will
be able to help me sort it out. Also, this came in
4/14/14
Long
story short, talked to guy 3 hours away about buying his axle. Arrange
time/place over facebook chat. I show up, he's nowhere to be found,
not responding to messages. Time wasted, kinda pissed.So, I ordered $25
worth of different sized shims and stuff to re-adjust the stock diff to
eliminate the clunk. Looks like I get to learn how to clearance a
diff. Hooray.This evening I started working on the diff. Keep in mind
I've never done anything like this before so this is all new to me. I
started by removing the retaining lock things for the diff carrier
adjuster bolt things (yeah there's going to be a lot of that sort of
language in here. Sue me.) and then removing the two caps that hold the
diff into the 3rd member. I was careful to mark everything so it all
goes back exactly the way it came apart. Here's my workspace:
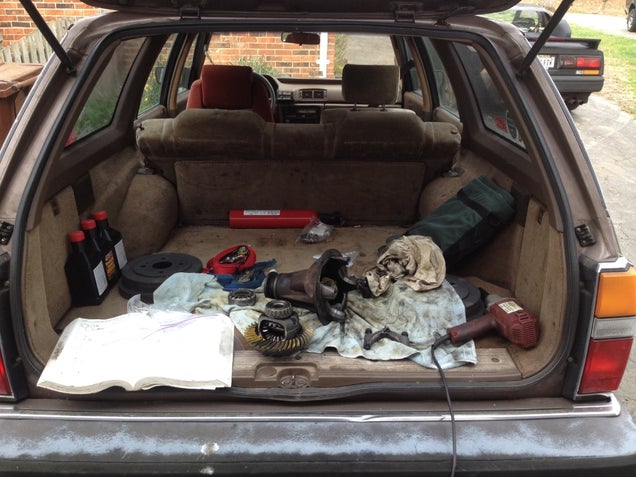
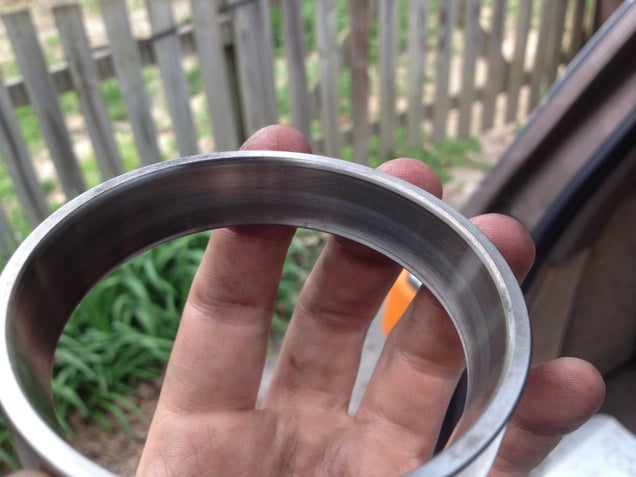
Here's one of the races for the big diff bearings. Both of them looked great.
The bar
that the spider gears ride on is held in with a little pin that is
staked in the housing. That took some persuading to remove, but once I
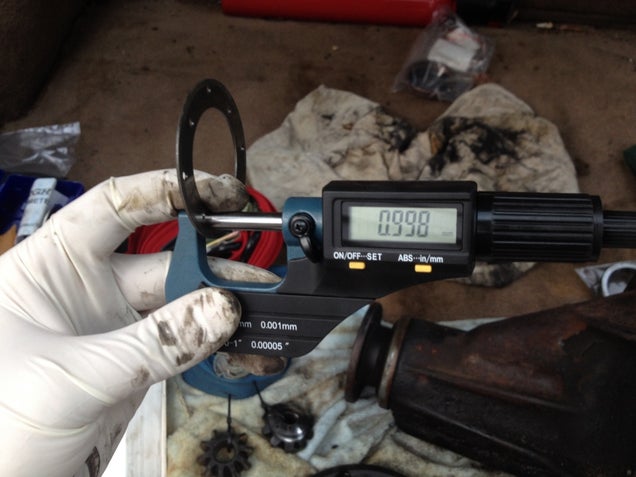
figured out it only comes out one way, I got it.Here's one of the
offending articles: the passenger side axle gear adjusting shim. This
one is pretty much exactly 1mm thick. I don't recall the thickness of
the ones I ordered, but it was over 1mm which is good.
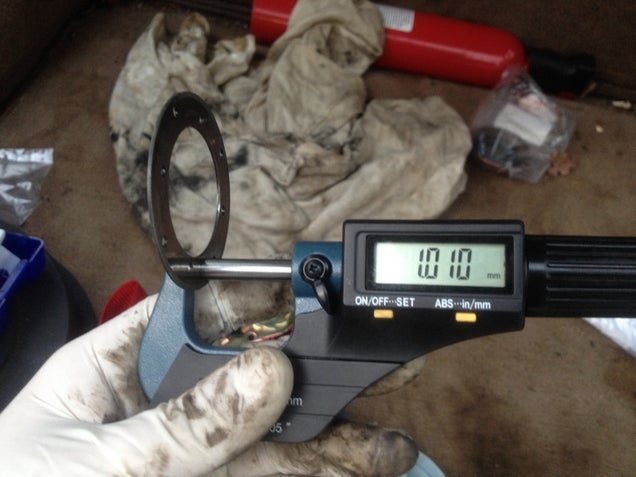
And the left (driver's) side shim washer: 1.01mm
So now as
far as that goes, I'm waiting on parts from Toyota. They were all in a
warehouse in California so it will probably be Friday or early next
week before I see them.I did however have a pinion oil seal (two,
actually which as it turns out was a good thing) and nut already from
when I rebuilt the axle last summer. I never used them but now I can!
So basically I used a punch to un-stake the pinion nut and my steering
wheel puller to pull the flange off. Unfortunately when I put the oil
seal in I forgot to put in the bearing oil deflector so I had to
destroy that new seal getting it back out. Luckily I had accidentally
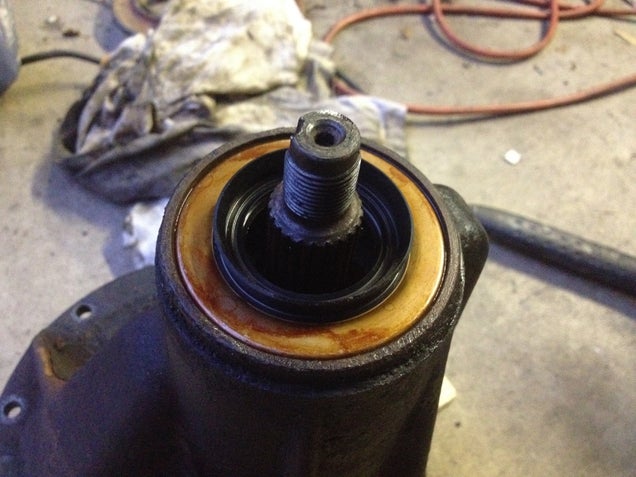
ordered two pinion seals last summer so I had a spare. So now the
pinion is all back together and shouldn't need to be re-adjusted since I
never messed with the bearing. Here's the new seal:
So now we
wait on shim washers. I also ordered a dial indicator with magnetic
base from Amazon so I can check my backlash and such. Also in that
order is some awesome DEI gold heat reflector tape that I'm gonna go
crazy with in the MR2 engine bay. Woo hoo!