OK I'm trying to go over the neutral safety/reverse switch wiring in my head and this is my best guess at this point:

So essentially my understanding is that to start the car the computer has to think it is in either Neutral (N) or Park (P). In order to make the comp think it is in N or P, pins "B" and "N" in the left-hand plug (Plug 1) must be connected. Simply shorting that connection with a bit of wire should allow you to start and drive the car.
However, now the computer permanently thinks it's in P or N all the time, disabling cruise control. I was thinking that if you ran those connections to the clutch pedal switch so that you have to push the clutch to start the car, and that also allows for cruise control to disable when the clutch is pressed.
Alternatively, you would wire it to a switch in the cabin, you can then toggle that P/N connection on and off. Have one switch position labeled "Start" and one "Cruise". "Start" position would be a complete circuit, tricking the car into thinking it's in P or N, allowing you to start the car. "Cruise" position would be an open circuit, making the computer think it's in D, and allowing the cruise control to work.
Next issue is reverse lights
The plug coming out of the W58 has two wires in it, and I'm GUESSING that the way it works is when you put the trans in reverse, it completes a circuit. So basically all you'd have to do is connect pin C on plug 2 to one pin in the trans plug, and pin R in plug 1 to the other pin in the trans plug.
This is all just me looking at diagrams. I have no idea if this will work or not.
7/20/13
Got the head and flywheel back from the machine shop yesterday!
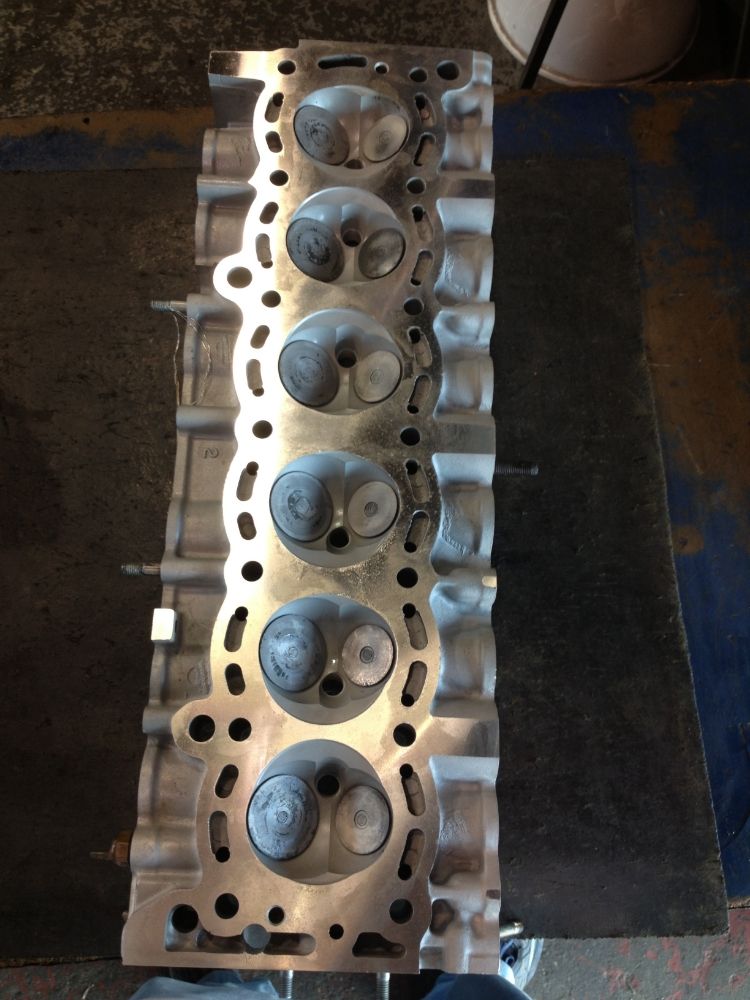
I chased the threads in the block with the tap from DriftMotion and put the ARP studs in

And the head is on!
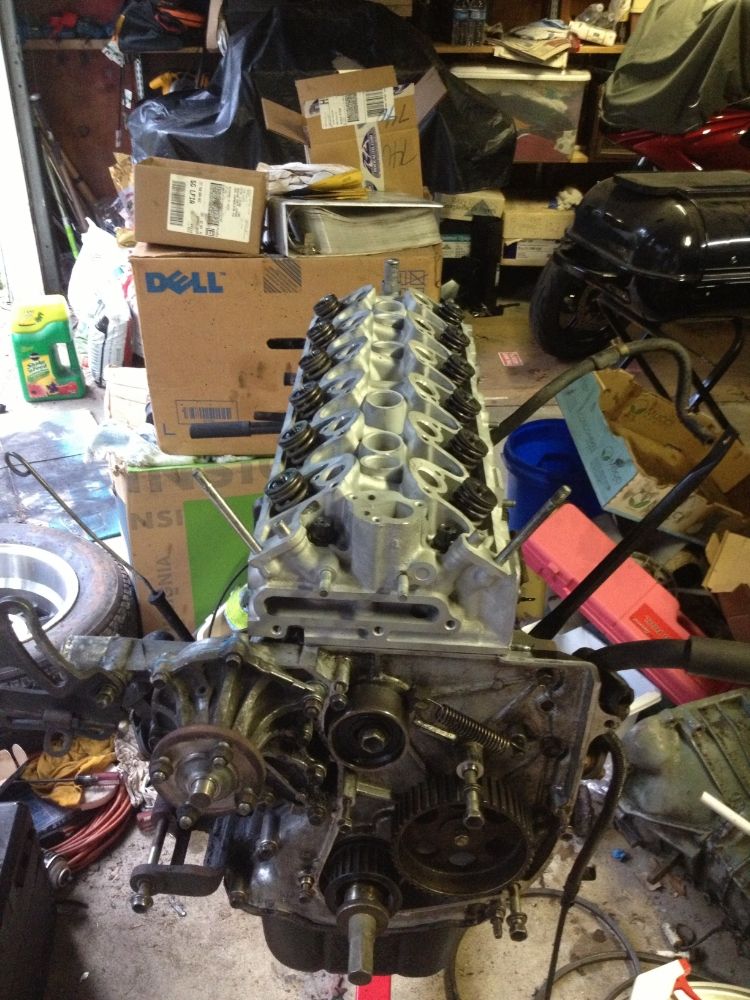
The only weird thing about using 7M studs on a 5M is that the 7M studs
are a hair too short, so basically you thread them into the block as far
as they will go tighten them hand tight, put the head on, install the
washers and nuts finger tight, then "loosen" the studs so they have more
threads in the nuts. I made it so there is one unused thread in the
nuts, I feel as though this is adequate threading for both the nuts and
the block. Then torque it down in sequence in three equal steps up to 90
ft-lbs. My torque wrench only goes up to 75 unfortunately, so I just
did up to 75 plus 30* or so.
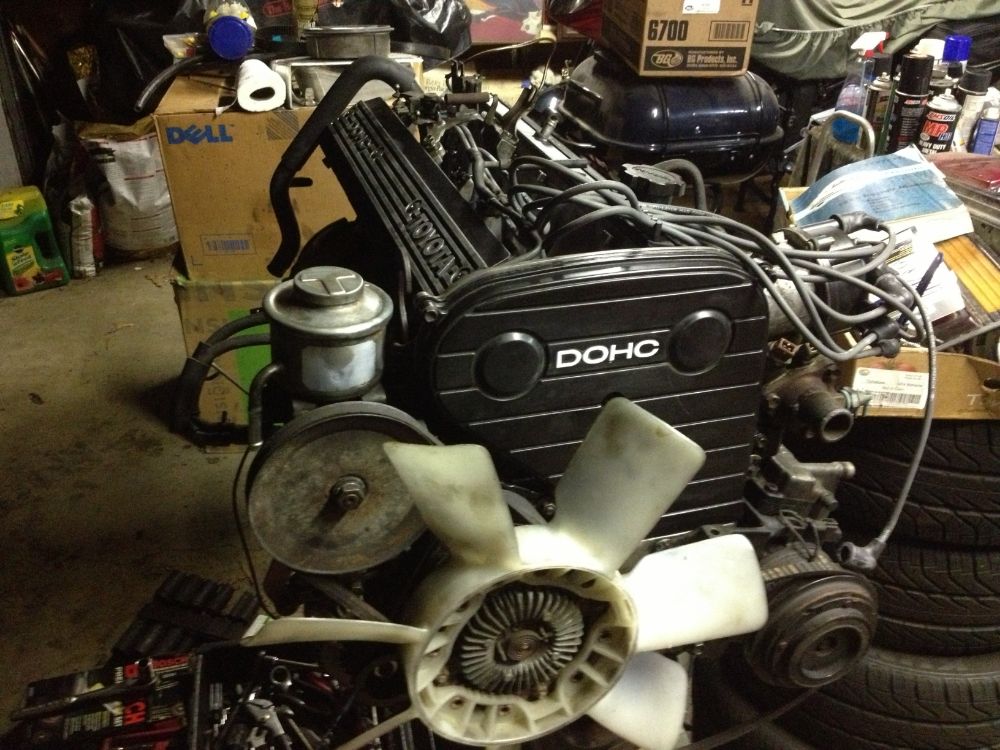
How the engine sits tonight before I go out of town for the week. It looks like a real engine again!
7/29/13
Got a bunch of little things done today after work.
Clutch master cylinder has been bench bled and installed (yeah one of the bolts is wicked long. It's all I had at the time. Sue me)
Clutch master cylinder has been bench bled and installed (yeah one of the bolts is wicked long. It's all I had at the time. Sue me)
I also connected up the clutch line and slave cylinder and bled the whole thing on the bench, so the hydraulics are ready to go.

The old throwout bearing has been pressed off the hub and the new
bearing has been pressed on and everything is greased and ready to go.

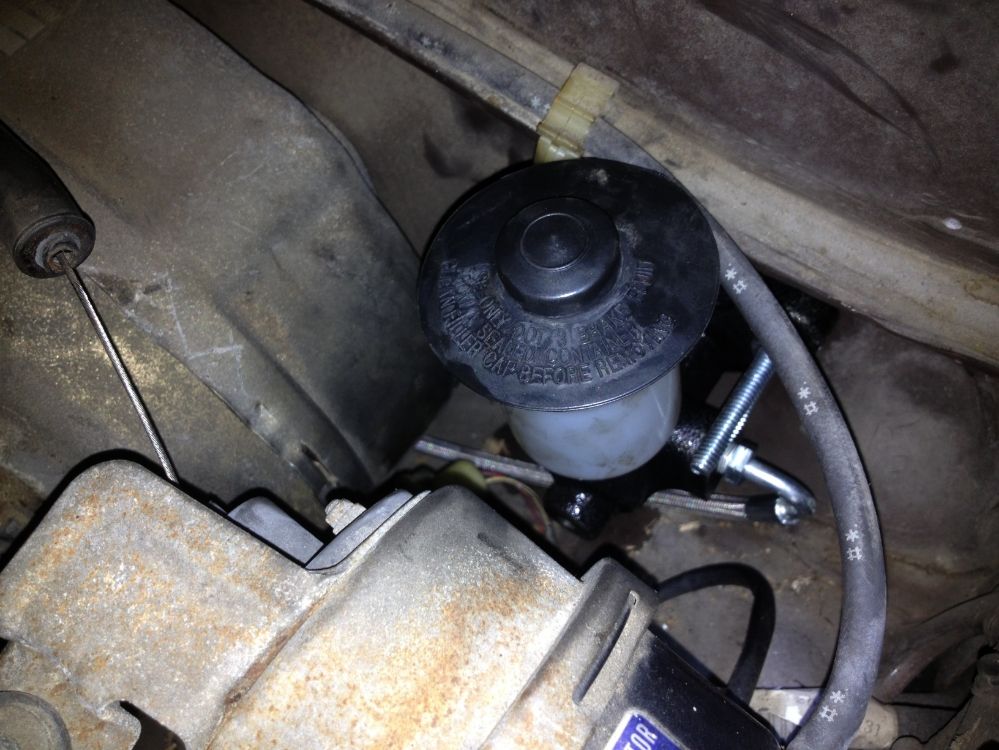
I also took a peek inside the brake reservoir, just to check the fluid
since the pedal went straight to the floor on the test drive. This is
what I found:
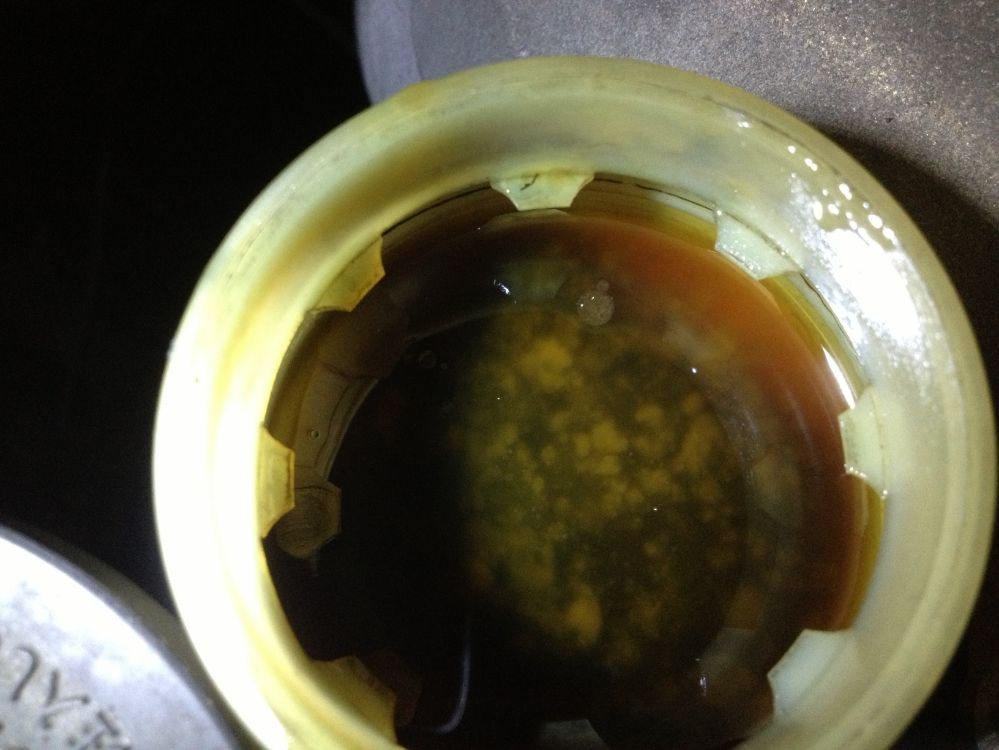
It is growing algae. My brake hydraulics have become a freaking ecosystem. I sucked out all the fluid in the reservoir and it was SO nasty and completely opaque (it's supposed to be clear, for those of you that didn't know)
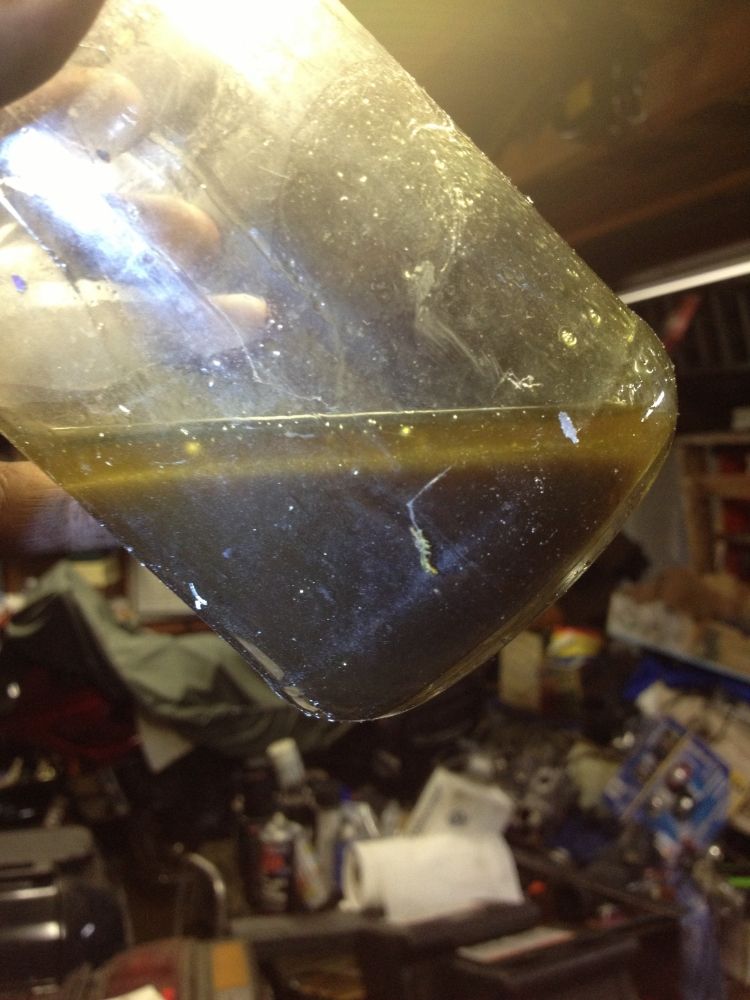
The system is going to need to be flushed for a good long while before the car moves anywhere.
I don't have a pic, but I also got some wires soldered to the terminals on the clutch safety switch. That will go in tomorrow, and will be wired up after the engine is in the car.
Parts I still need to order:
clutch fork boot
thermostat
fuel filter

No comments:
Post a Comment